


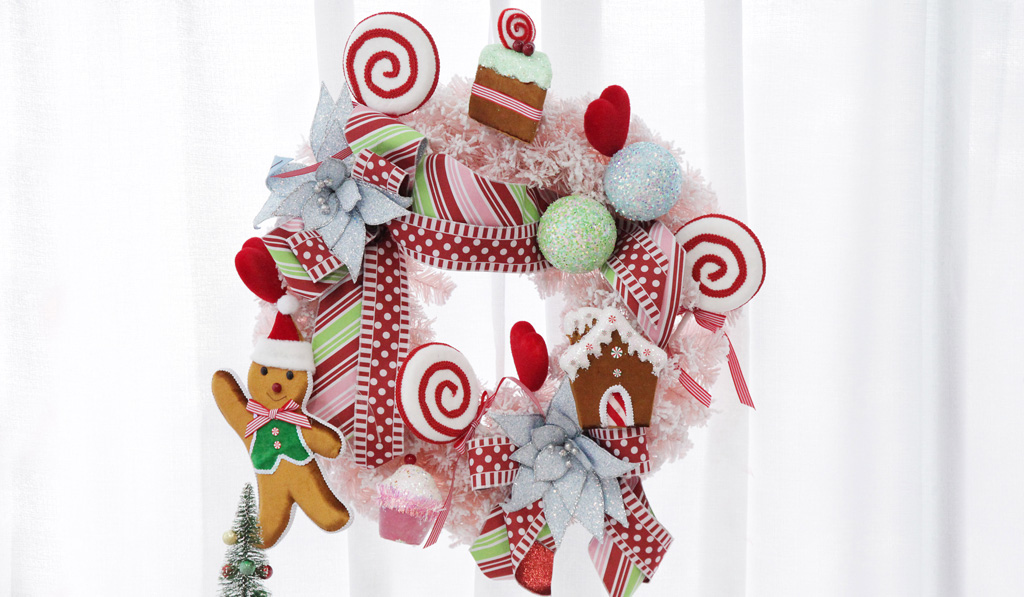
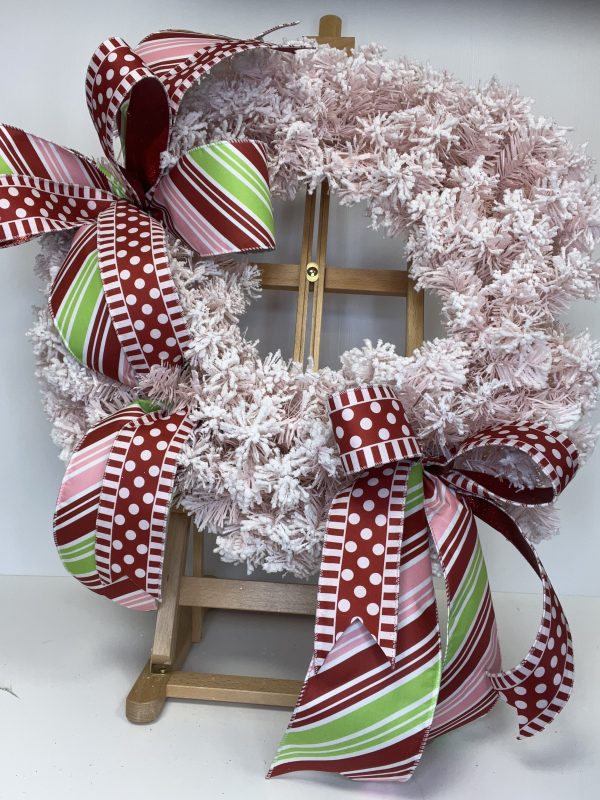
Every year we love getting crafty and creating and decorating an amazing DIY wreath. This Sweet Gingerbread Christmas Wreath craft project has to be one of our most fun yet and we can’t wait to share with you how we did it, so that you can join in the festive crafty fun too!
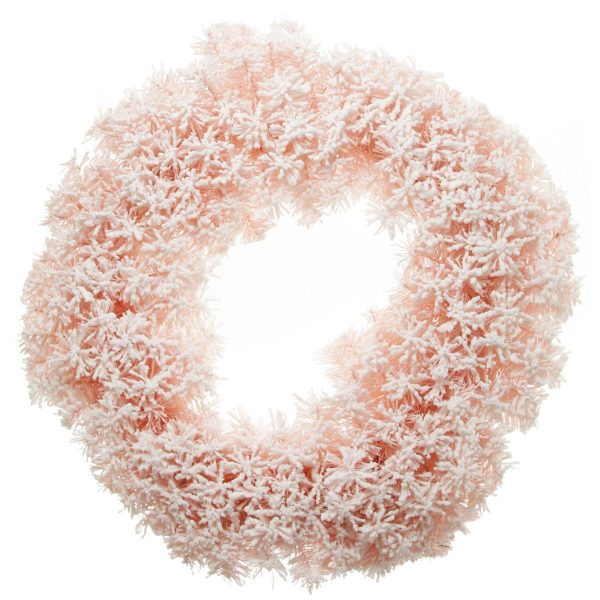
We are absolutely loving the gorgeous pink floral pieces that are featured in our Sweet Gingerbread Christmas collection this year. There’s a stunning pink tree, gorgeous pink garland and a beautiful pink wreath. The unique colour and lush foliage of the wreath makes it a perfect base to create the sweetest DIY Christmas wreath that you ever did see.
In addition to the pretty pink wreath base, there are so many deliciously sweet decorations and embellishments to choose from that you can create a truly unique Christmas décor piece to add to your home.
Grab your trusty glue gun and cable ties and get ready to make and create your very own Sweet Gingerbread Christmas Wreath.
Supplies List
Like we mentioned already, there are so many amazing decorations to choose from to decorate your wreath. We’ll walk you through the pieces that we chose and our tips for how to best construct and style it all together, but of course you should feel free to choose your own combination of pieces. The most important thing with any craft project is to have fun and not sweat the small stuff. The fun that you have through the process will be reflected in the finished product.
For our Sweet Gingerbread Christmas Wreath, you’ll need:
Christmas Craft Pieces
- Wreath base – we used our Snow Flocked Pink Fir Christmas Wreath
- 1 x 10cm wired ribbon
- 1 x 6.5cm wired ribbon (approx. width – the one that we used is 6.38cm)
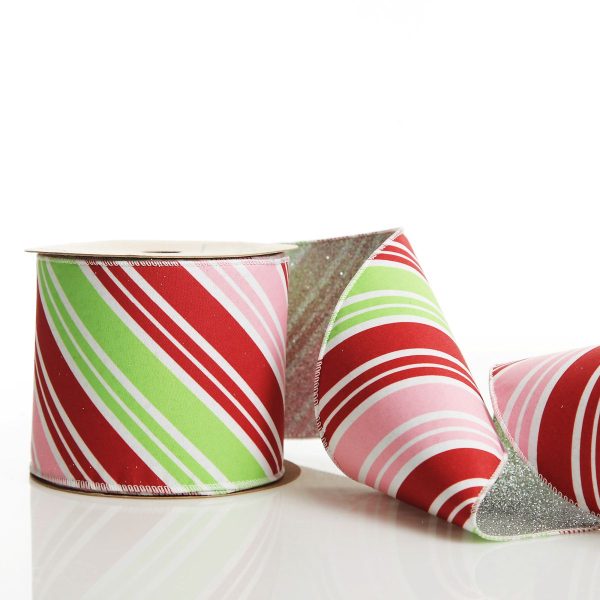
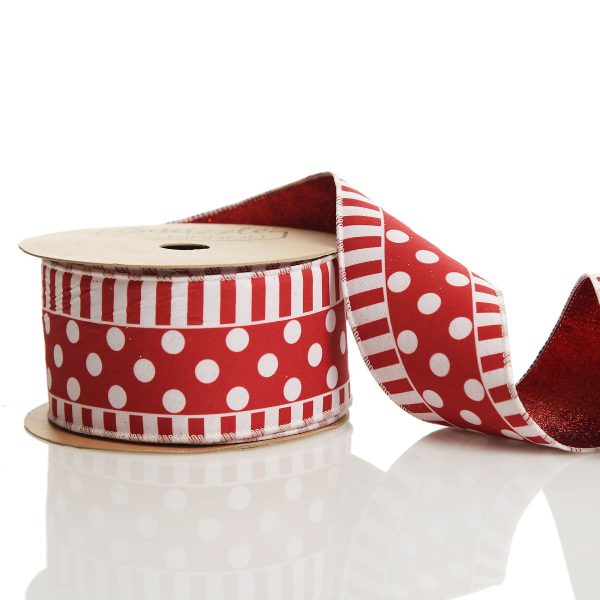
Tip: choose bold, contrasting patterns and styles for your 2 x ribbons to suit this brightly coloured decorating theme.
- Pieces for decorating
- 3 x feature tree decorations – we used:
- 1 x gingerbread man
- 1 x gingerbread house
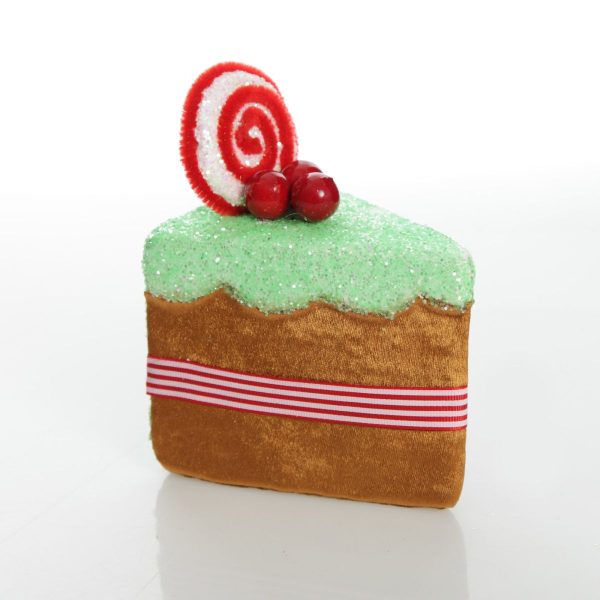
- 1 x cake slice
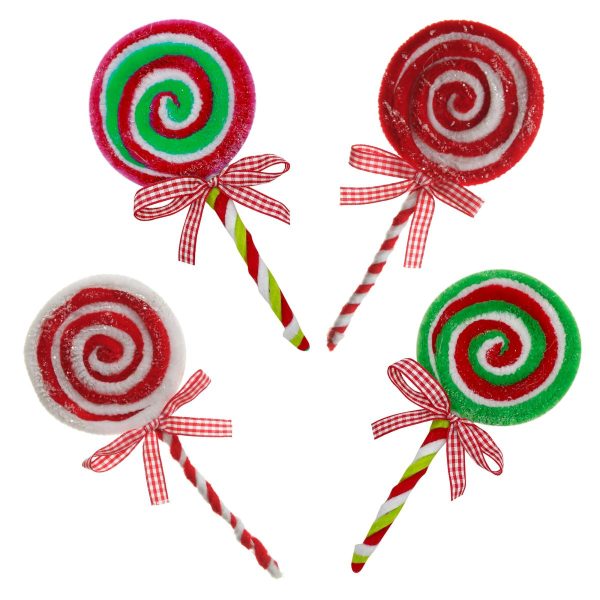
- 4 – 5 lollipop picks – 1 x large/medium size and 3-4 small sized
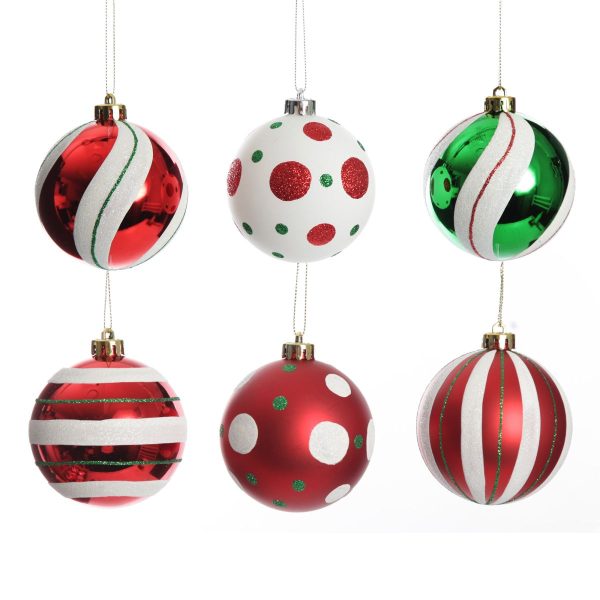
- 4 – 5 brightly coloured decorative baubles in various sizes and designs
- Additional sprays and tree picks to fill the spaces – we used:
- Bright blue glitter curly ribbon pick
- Bright blue starburst sparkle pick
- White sparkle ball picks
- 3 x feature tree decorations – we used:


Craft Kit Staples
- Hot glue gun
- Cable ties
- Pipe cleaners (in close/complimentary colours to wreath and chosen decorations)
- Scissors
That’s it! With your supplies and decorations at the ready, it’s time to get started on your Sweet Gingerbread Christmas Wreath masterpiece.
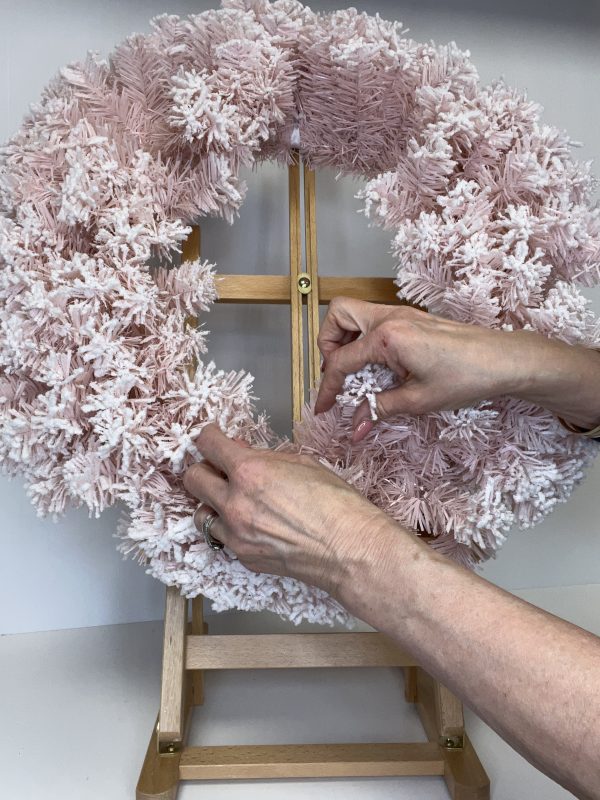
Step 1 – Ready your Wreath
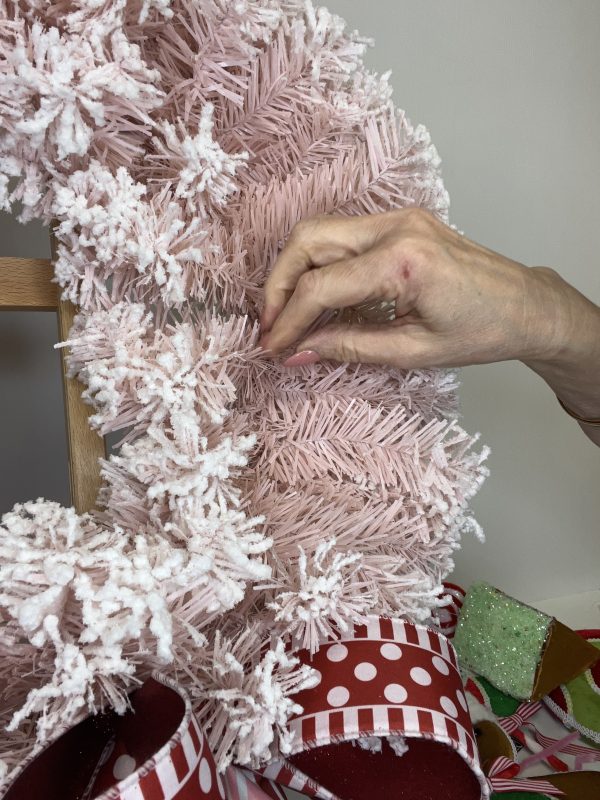
The first thing to do is to fluff and shape your wreath so that it is nice and full and ready to be decorated.
The process is very similar to fluffing your Christmas tree – simply work your way around the wreath, separating and positioning each pine needle to make it nice and full all over.
Step 2 – Big, Beautiful Bows
With your wreath all fluffed and ready to go, it’s time to start adding the fun parts.
We’ll start with the feature bow.
Make the Feature Bow
Take your 10cm wired ribbon and fold/arrange it to make a large bow shape, keeping it pinched in the middle. You should leave a tail of around a 25-30cm on the left side and a shorter tail of around 15cm on the right side.
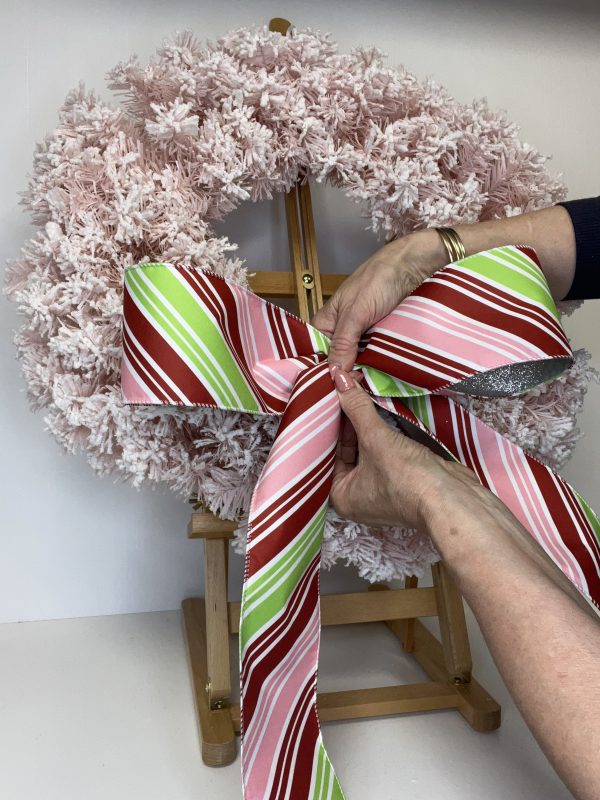
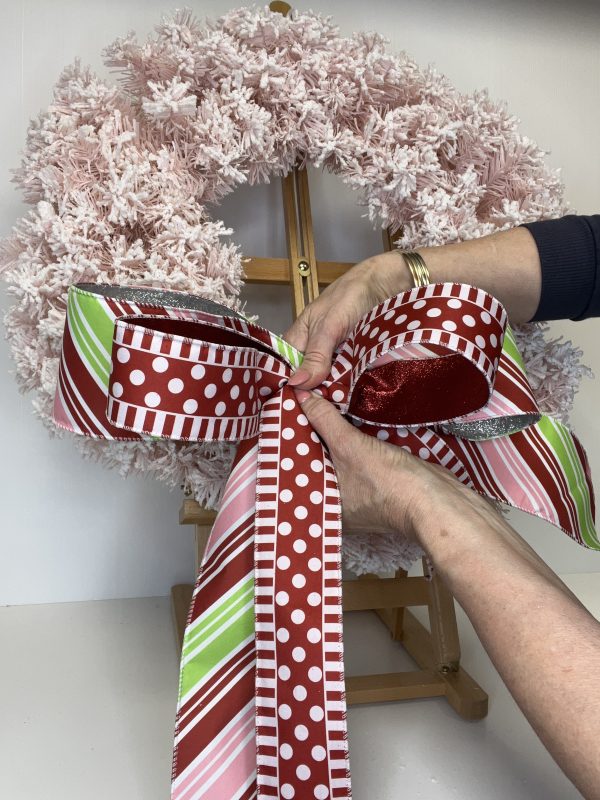
Repeat the same process with the smaller width wired ribbon and place it over the top of the larger ribbon, joining/pinching them together in the middle. As with the larger bow, you should leave a tail of around a 25-30cm on the left side and a shorter tail of around 15cm on the right side for the smaller ribbon too.
Starting from the front of the bow, wrap a cable tie around the middle/pinch point of the 2 bows/ribbons and secure it on the back side of the bow, but do not pull it tight just yet.
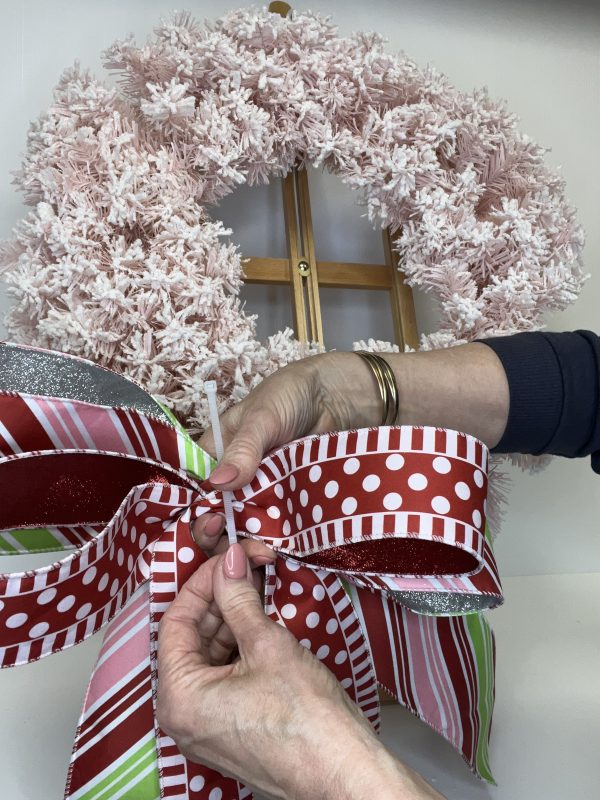
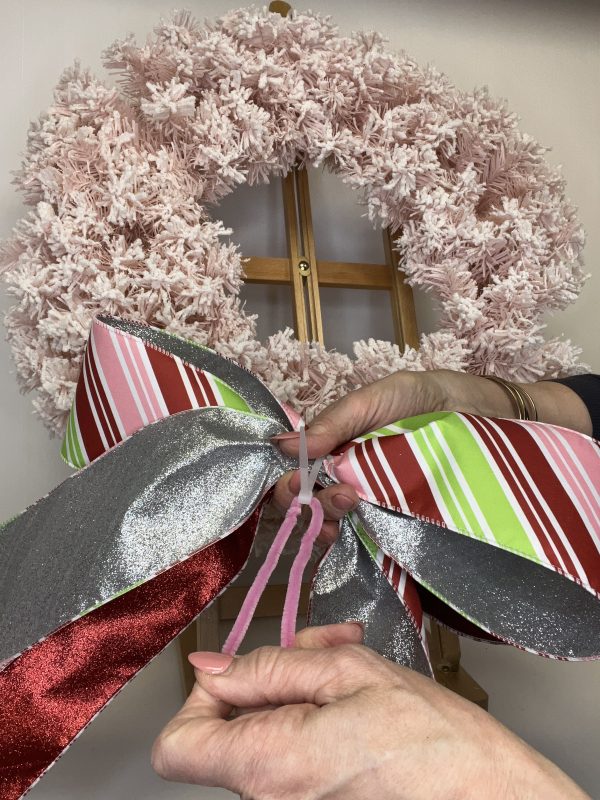
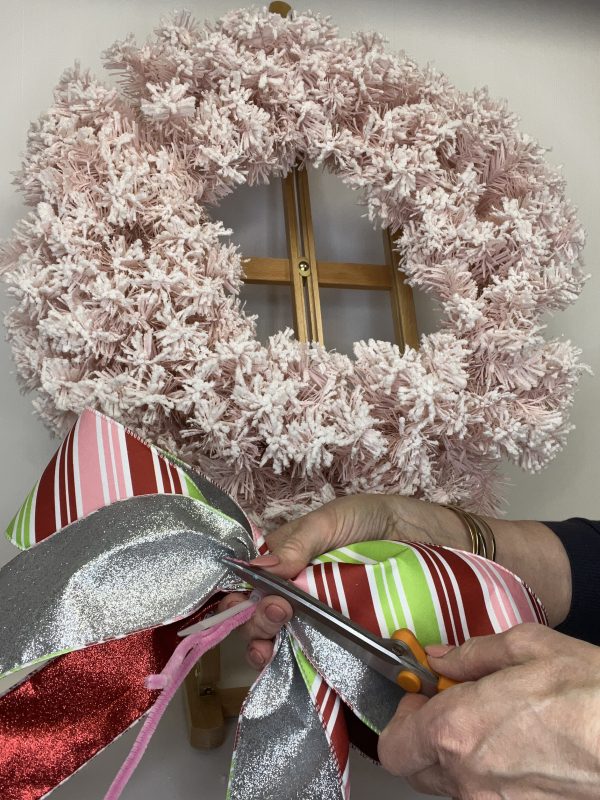
Before you pull finish pulling the cable tie tight, thread a pipe cleaner through the loop. You can then proceed with tightening the cable tie and cut the excess length from the cable tie.
Secure the Feature Bow to the Wreath
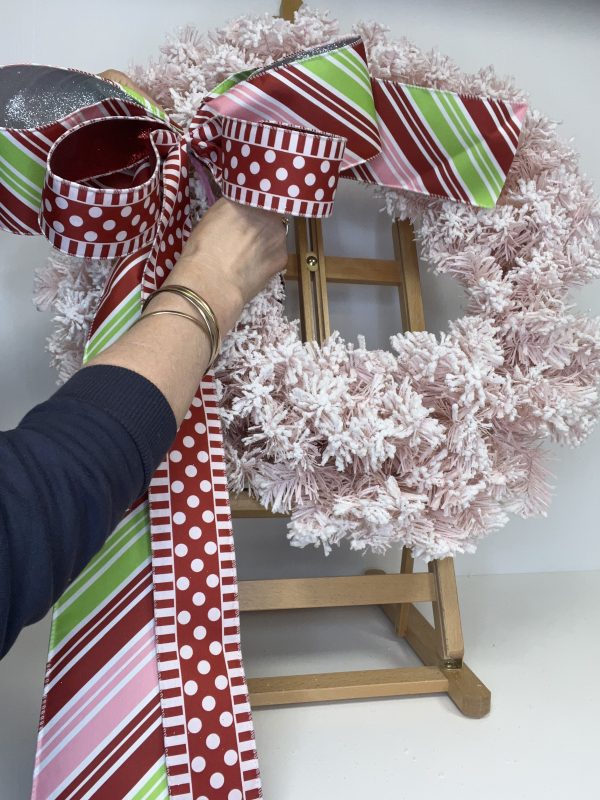
Position the bow at around the “10 o’clock” position on the wreath. You’ll use the pipe cleaner to secure to bow to the wreath base.
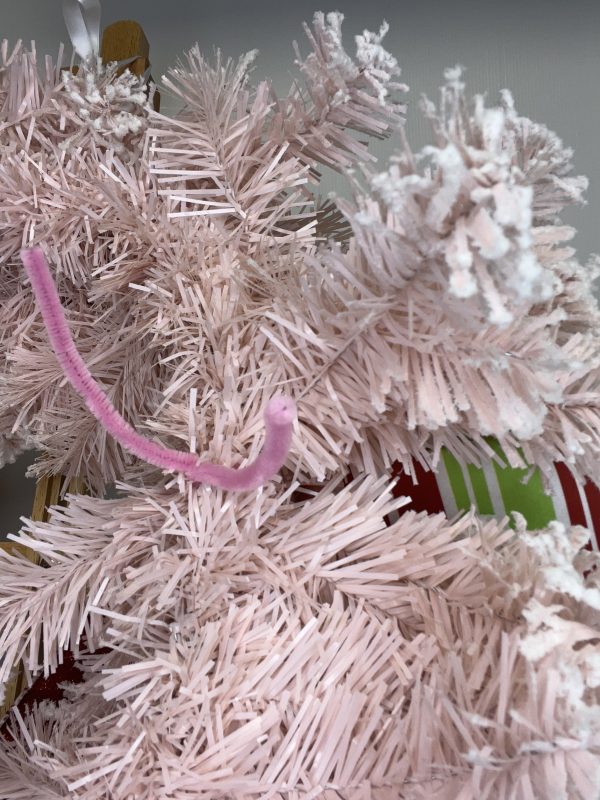
With the bow held in place, carefully turn the wreath over and bring the pipe cleaner ends through to the back, one on either side of the wreath frame. Twist the pipe cleaner ends tightly around each other to secure the bow to the wreath.
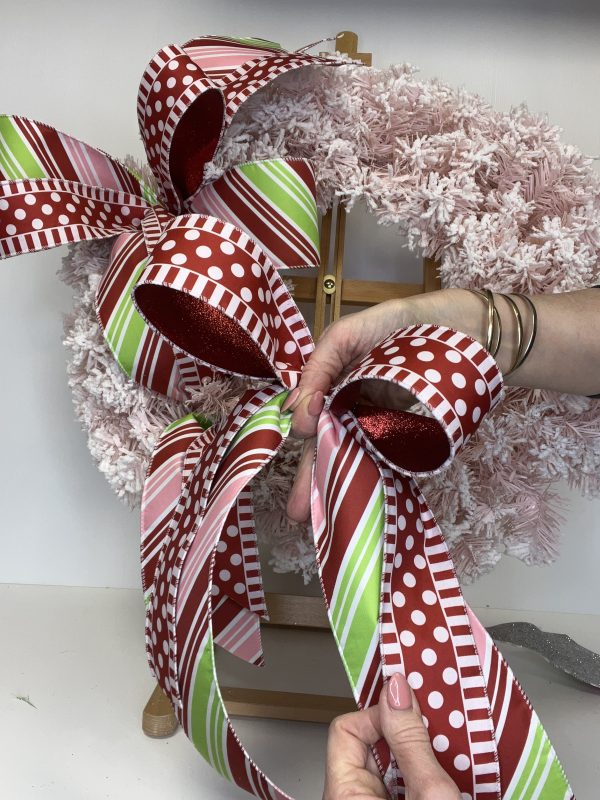
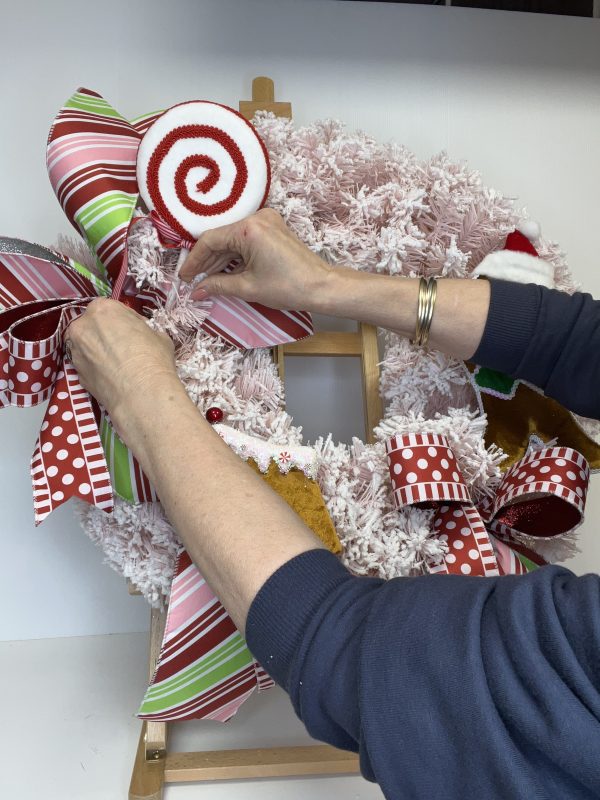
Styling the Bow
Turn the wreath back over to the front side.
Using the wired edges to hold it in place, shape the loops of your bows to be nice and full and then position them so that fill the available space, as opposed to the smaller loops sitting directly on top of the larger ones.
Position the 2 smaller tails towards to the top of the bow/wreath (use the wire to arrange over the top edge of the wreath) and let the longer tails fall down towards the bottom of the wreath.

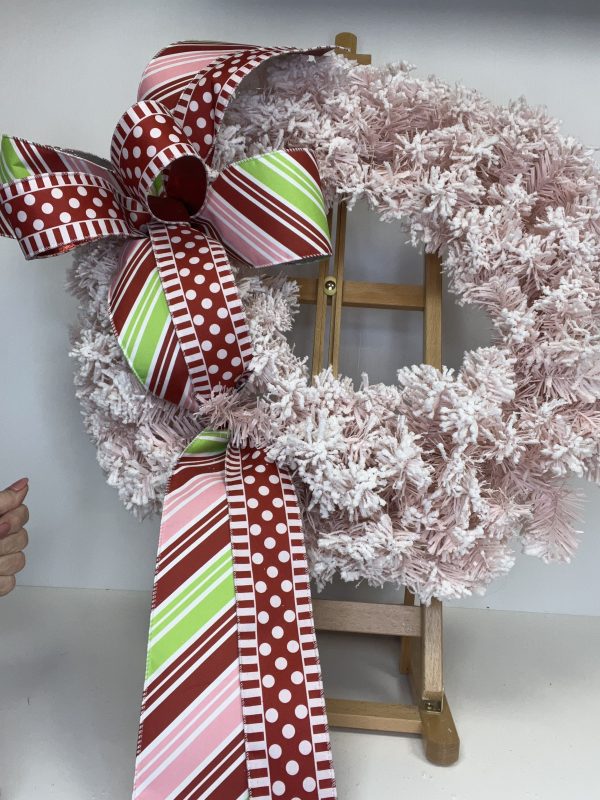
Gather up the 2 long tails and bring the gather closer towards where the bow is anchored to create a soft loop. Cross 2 needle pines from the wreath across each other and over the top of the ribbon/gather point to hold the loop/tails in place.
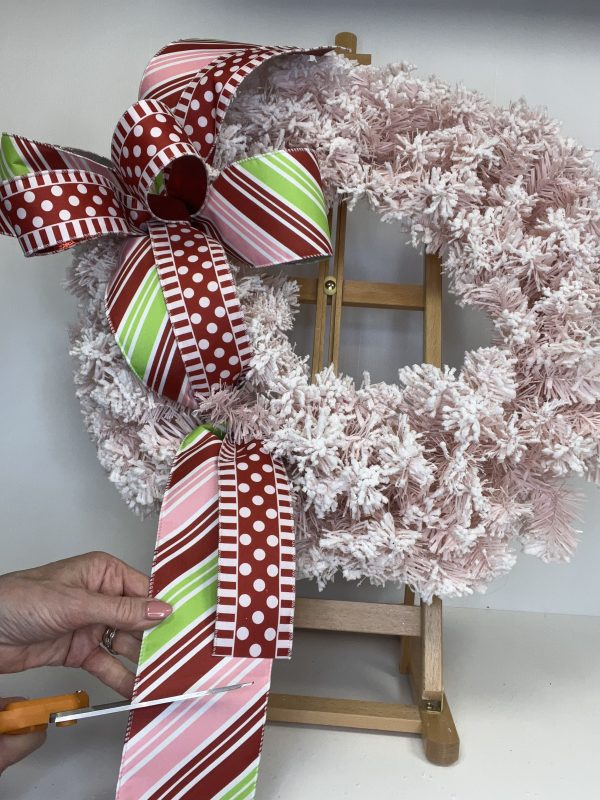
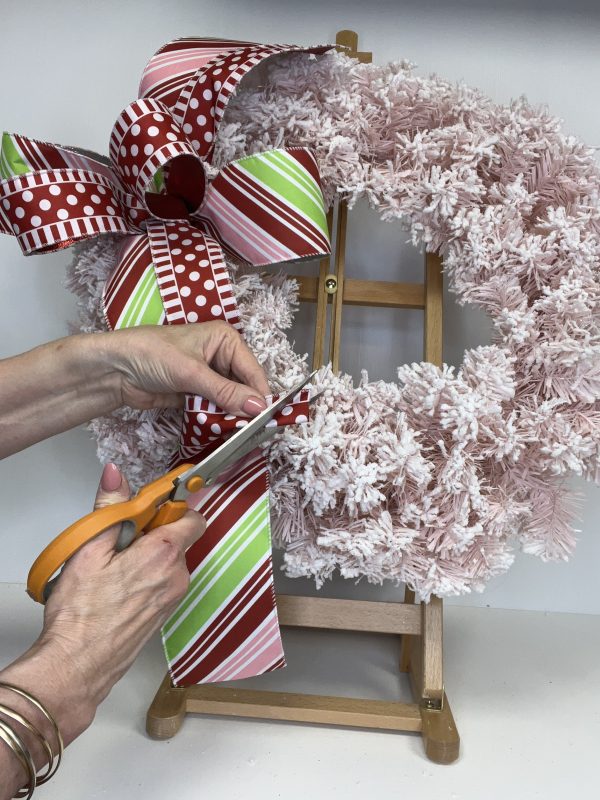
Trim dovetails into the bottom of each ribbon tail, leaving the wider ribbon a little longer than the narrower ribbon.
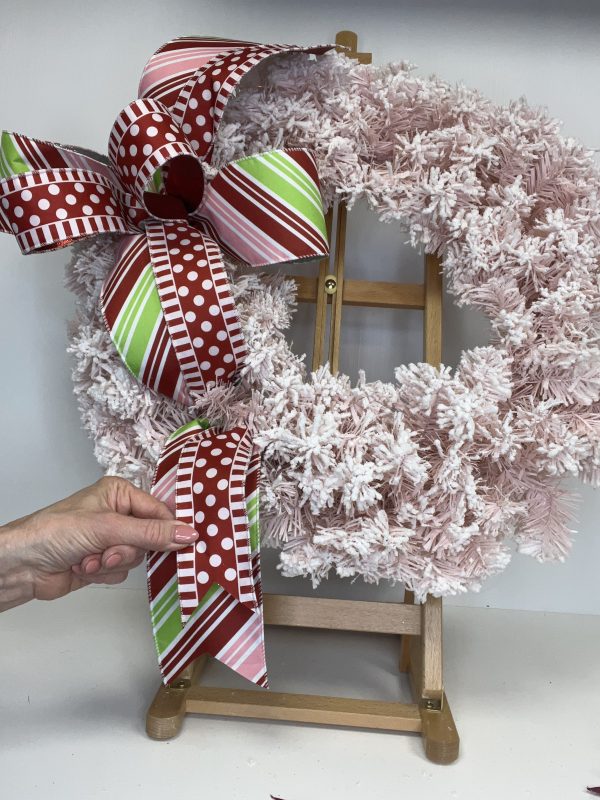
Build the Second Bow
Using almost the same steps as above, create the second bow. The only difference for this one is that you will create the bow from only the narrower ribbon and add a set of tails in the wider contrasting ribbon.
Affix the second bow at around “4 o’clock” on the wreath and cut dovetails on the ends of the tails. Again, leave the contrasting wider ribbon tails sitting a little longer than the narrow ribbon.
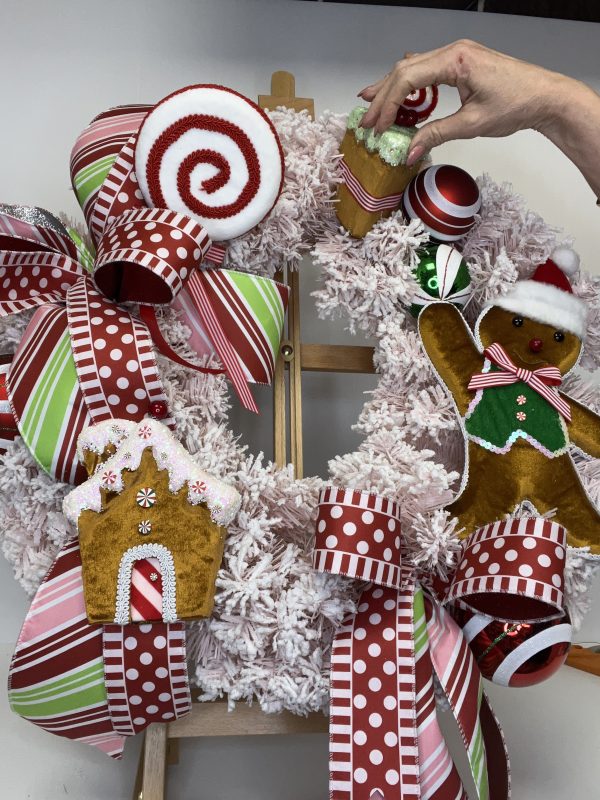
Step 3 – Add Focal Decorations
Next it is time to position your focal decorations. Depending on the decorations that you have chosen, think about how you can best secure it to the wreath base.
For example, for our gingerbread man decoration, we used hot glue to attach 2 x pipe cleaners to the back of the decoration.
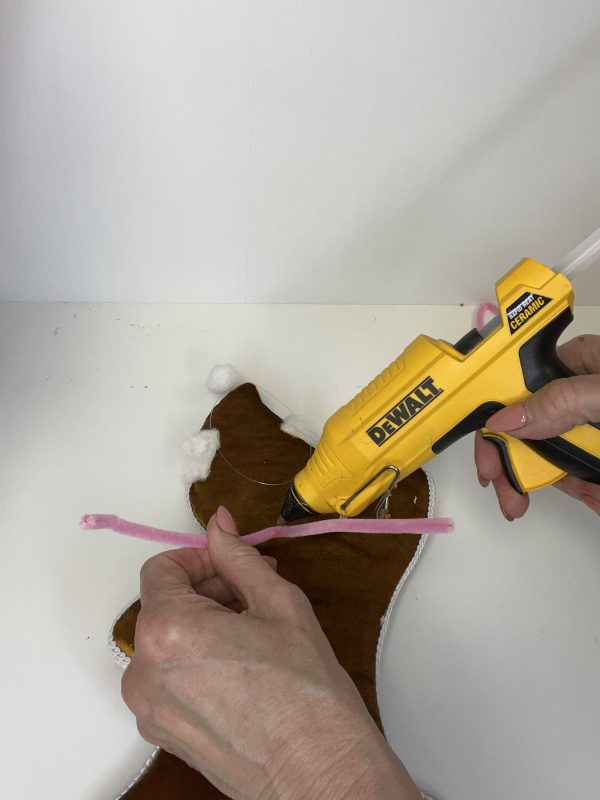
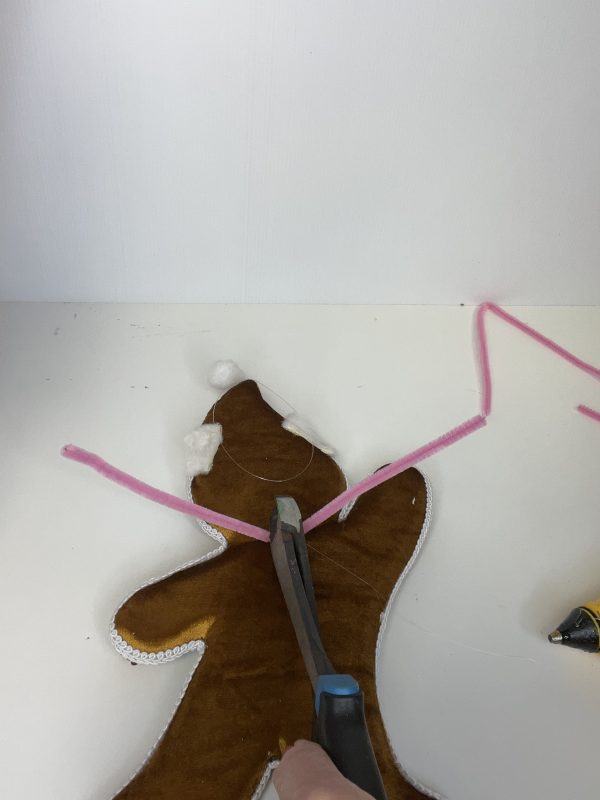
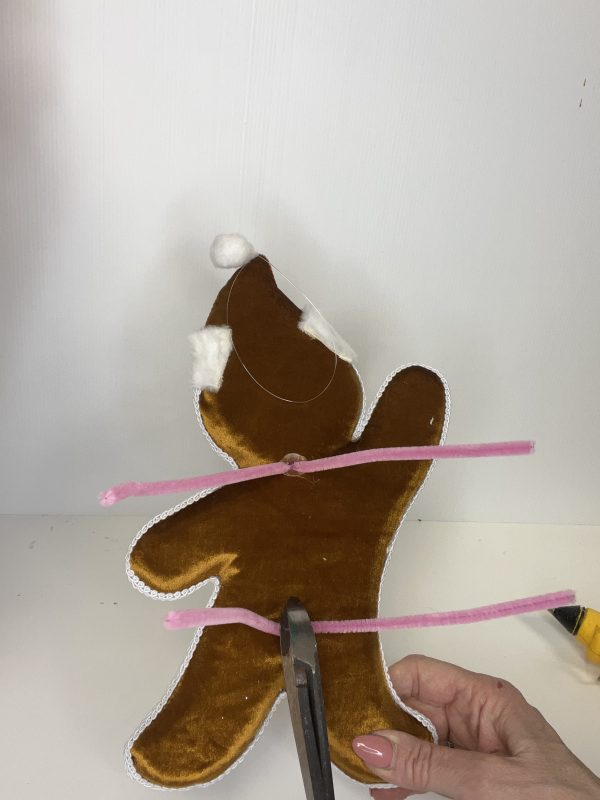
Tip: As the gingerbread man is a pretty large and long decoration we opted for 2 pipe cleaners so that we could secure it well to the wreath. Depending on the decorations you choose, you might only need one in some instances.
We applied some weight/pressure with a heavy item that was on hand, such as wire cutters, while the glue cooled.
Decide where you are going to place the decoration and separate/arrange the needle pines to create a good space for the decoration to sit.

Use the same process as we did for the bow, threading the pipe cleaner to the back of the wreath and twisting, to secure the decoration to the wreath base.
Repeat the same process for the other focal decorations you have chosen.
Step 4 – Add the Big Lollipop
Add your big lollipop pick near the feature bow.
Push the stick into the volume of the wreath base. Secure it using the needle pines. You could add a drop of hot glue if you wanted to make it a bit more secure.

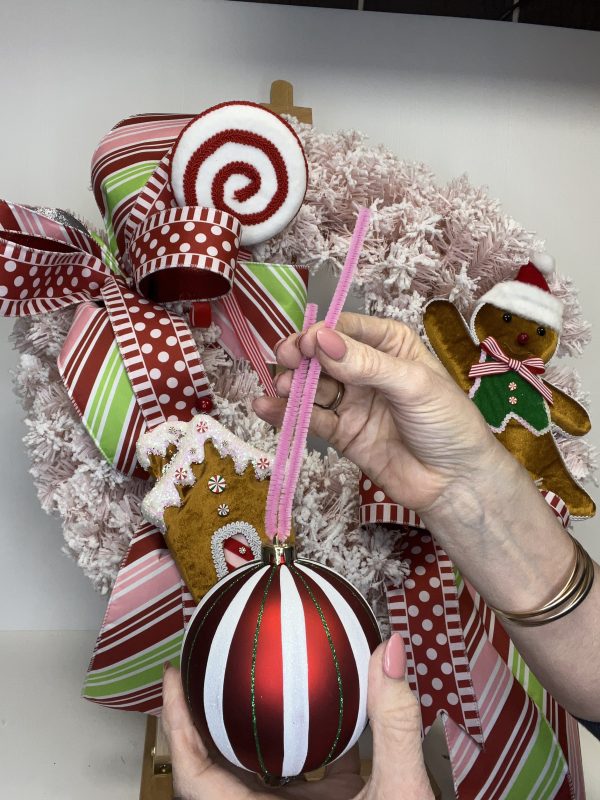
Step 5 – Add the Baubles
Thread pipe cleaners through the top of the baubles.
Push the pipe cleaner through to the back of the wreath and twist the pipe cleaners to secure the baubles in place.
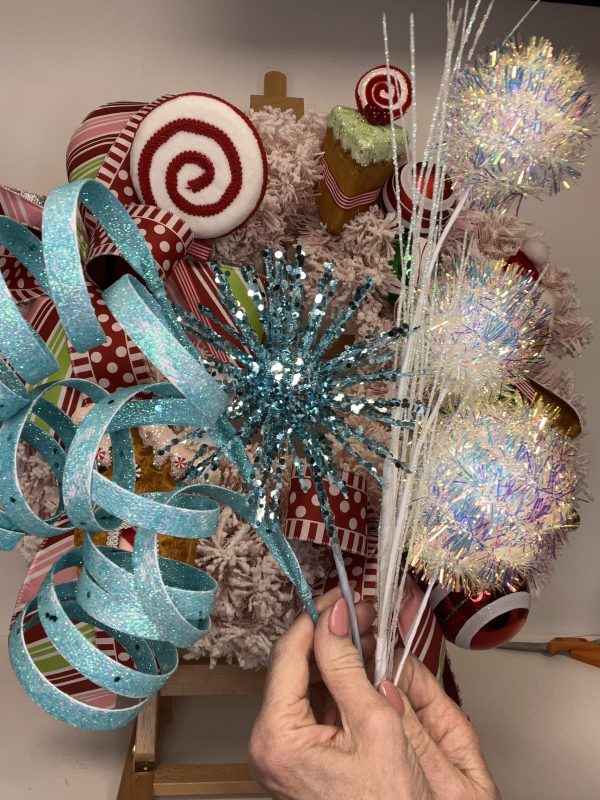
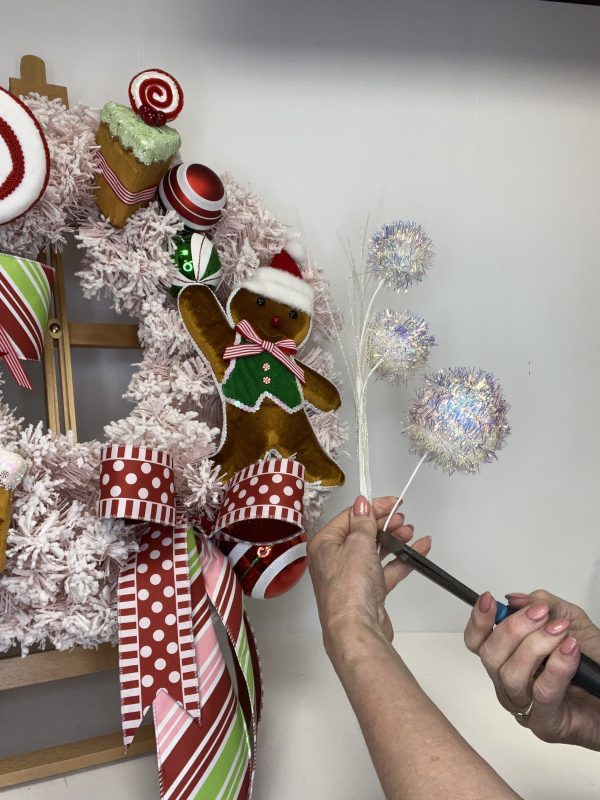
Step 6 – Add Other Picks
Fill the spaces with picks. Deconstruct the picks using wire cutters and attach the individual elements to the wreath.
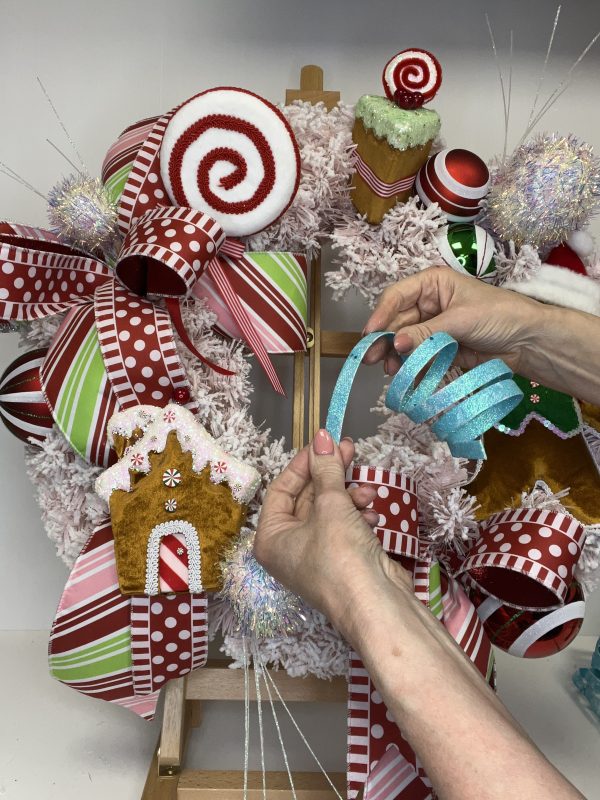
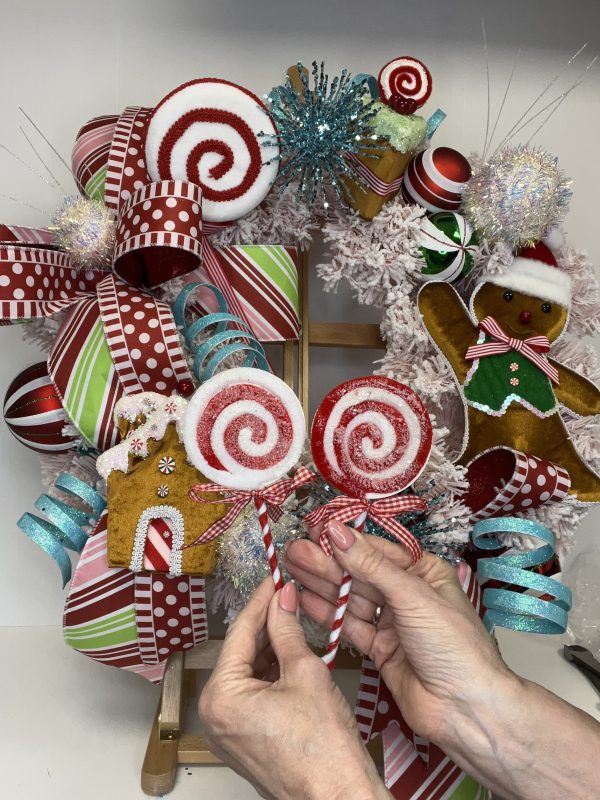
Step 7 – Fill the Space with Small Decorations and More Ribbon
Continue to really fill every available space by adding the smaller lollipop picks.
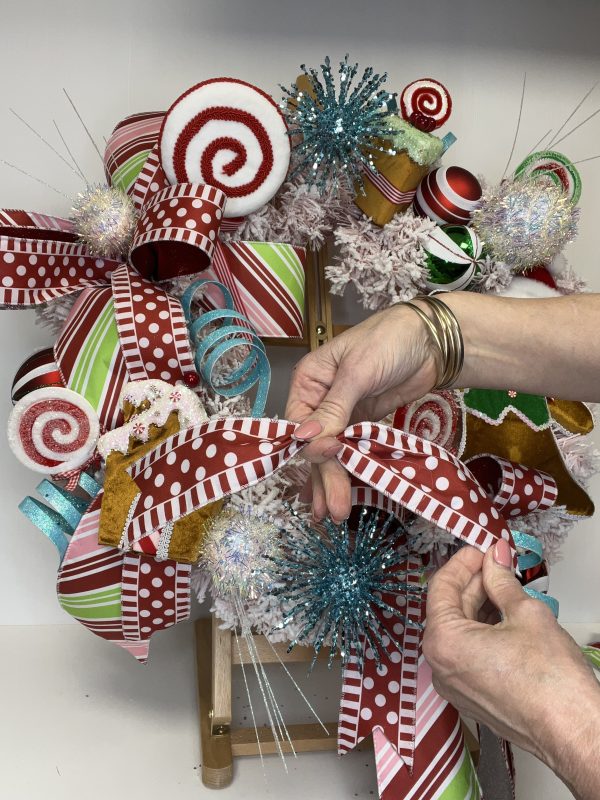
And finally, more ribbon tails too. Don’t forget to add pieces to the very sides and almost coming around to the back/underside of the wreath to really give it incredible impact from every angle.

And that’s how you make and create the Sweetest Gingerbread Christmas Wreath that you ever did see! Be sure to hang it pride of place for all of your guests to enjoy.
We hope that you enjoyed seeing how we made the Sweet Gingerbread Christmas Wreath. Head to our Christmas Craft blog for many more amazing Christmas Craft ideas.
You can also check out our Inspiration Gallery for more Sweet Gingerbread Christmas decorating ideas and inspiration.
We absolutely love seeing how other people get crafty at Christmas time, so make sure you follow us on our Facebook and Instagram pages and be sure to share your Christmas craft adventures with us too.