


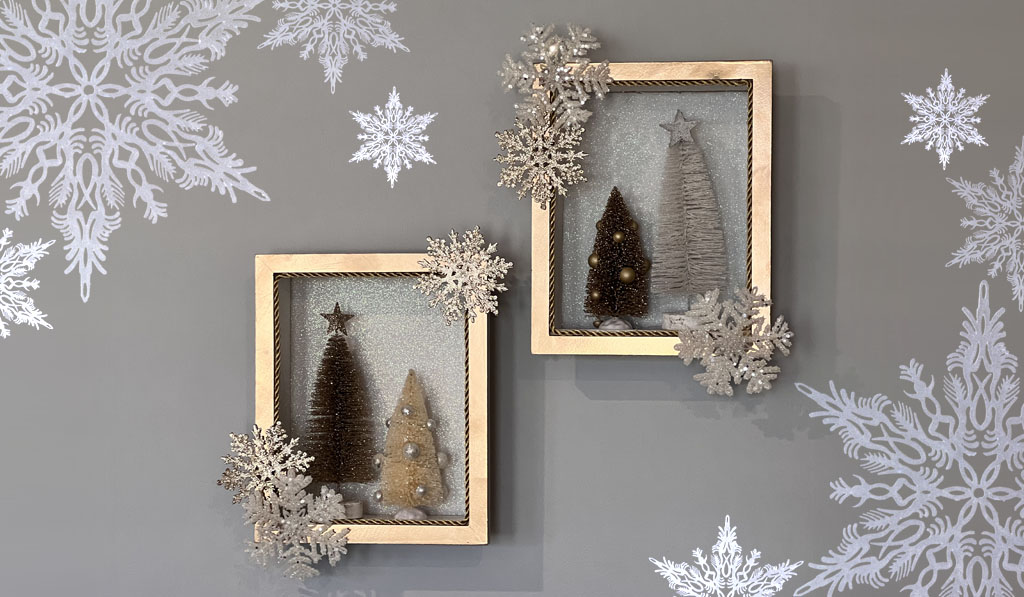
This Pink Christmas Dreams Shadow Box craft project is the perfect way to add a little glamour and sparkle to an empty wall.
It’s probably not new information to most of you that Kmart is a treasure trove of possibilities for crafty hacks and DIY décor pieces, and we’re excited to share our latest project with you.
With a lick of paint and some glittery embellishments, you can easily transform a plain white shadow box into an elegant and unique Pink Christmas Dreams décor feature.
So let’s get started as we show you everything that you need, and what to do, to create your very own Pink Christmas Dreams Shadow Box.
Gather Your Supplies and Decorations
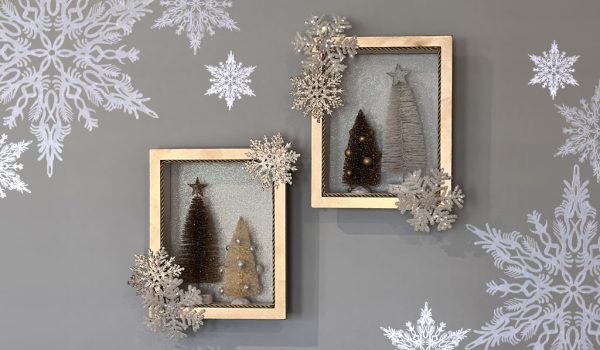
To create a truly impactful feature, we have chosen to create and decorate 2 Pink Christmas Dreams shadow boxes to sit side-by-side.
We’ll give you the supplies list here that you need to make one, and then if you want to make 2 (or more!) you can increase/multiply the required quantities for each item.
Standard Craft Supplies
From your crafty kit of goodies you’ll need (or you might need to add to/top up your crafty kit!):
- Screwdriver
- Scissors
- Ruler
- Pen
- Craft knife
- Spray adhesive
- Gold spray paint
- Hot glue gun
- Velcro strips or hook to hang
Special Pieces for this Project
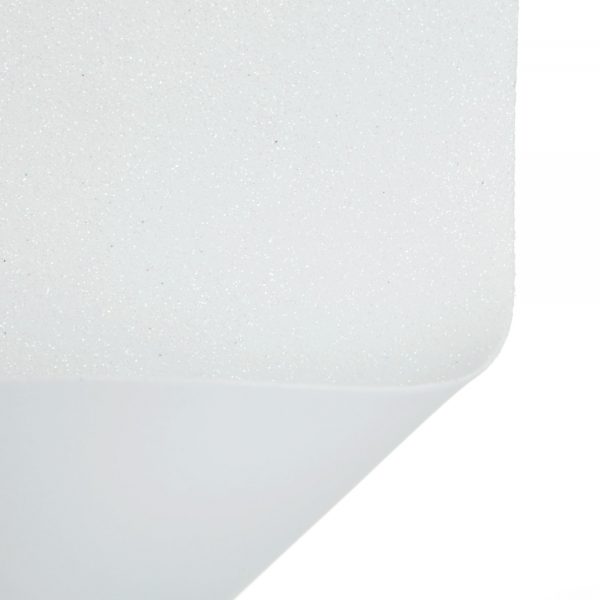
- White glitter EVA craft foam sheets
- Keepsake shadow box (we used the one from Kmart, but you could easily use any similar shadow box)
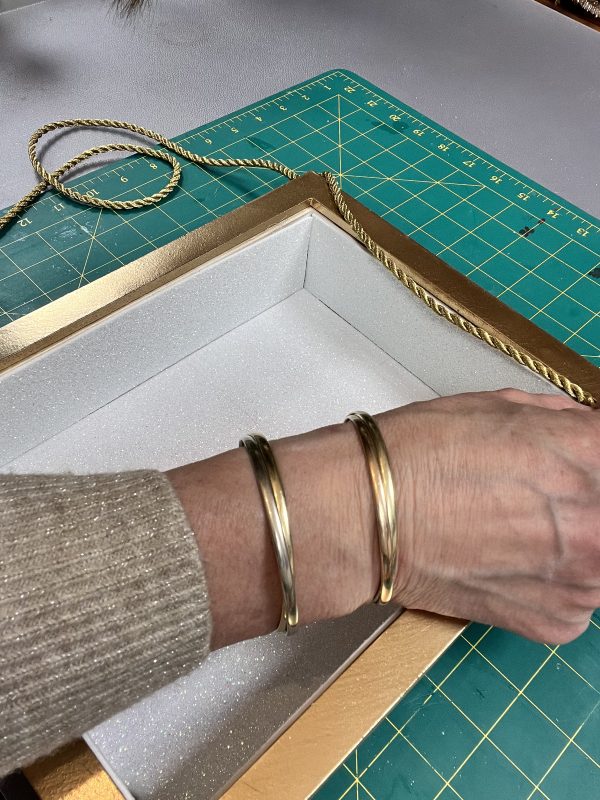
- Gold braid – enough to go around the inside border of the frame
- 2 x Table top Christmas trees (or other ornaments of your choice to display in your shadow box)
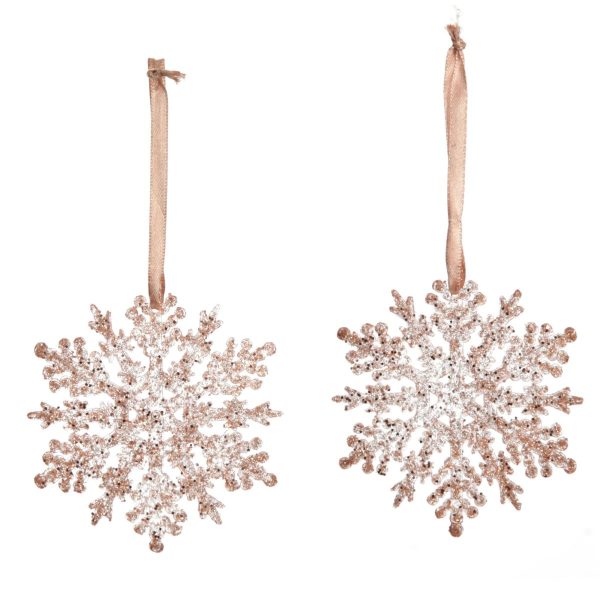
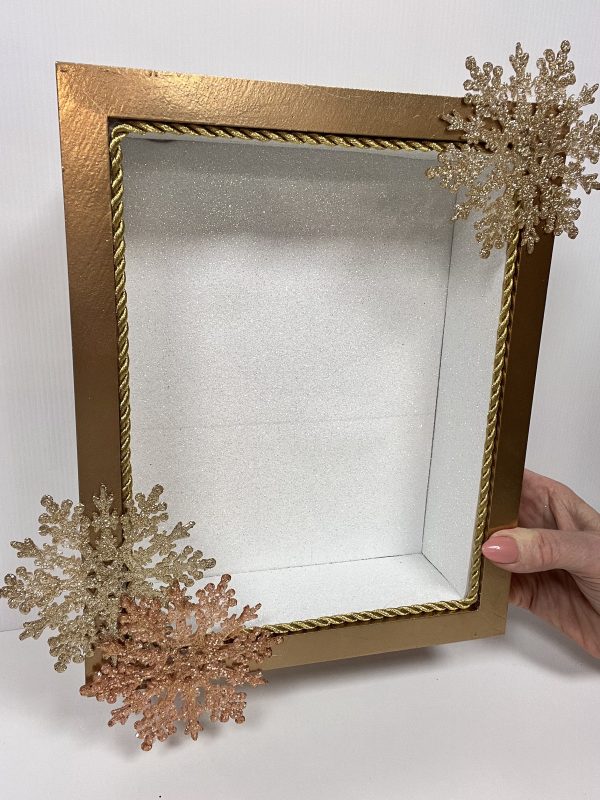
- Decoration/s for the outside of the frame – we used rose gold and champagne glitter snowflake tree decorations and removed the tie.
You could use other tree decorations that are relatively flat (anything too bulky will likely be hard to secure) or deconstruct/remove pieces from a spray or pick.

Ok. Now that you’ve got everything ready, let’s get busy making and creating a beautiful Pink Christmas Dreams Shadow Box.
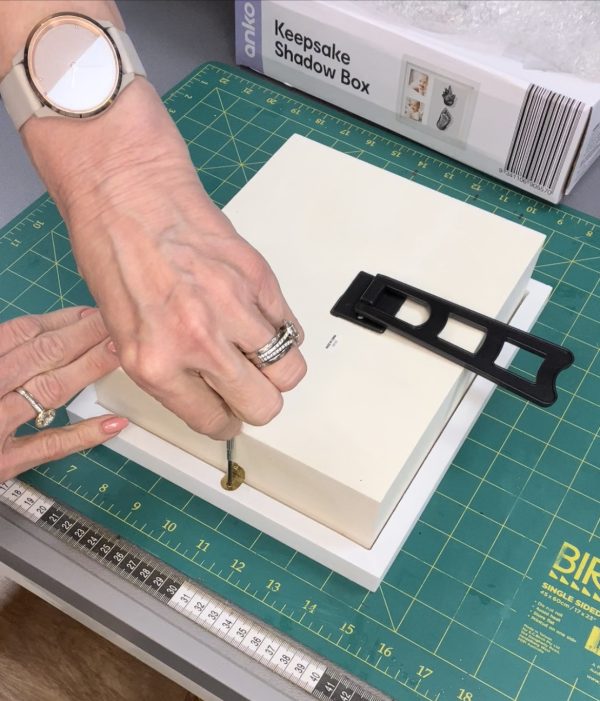
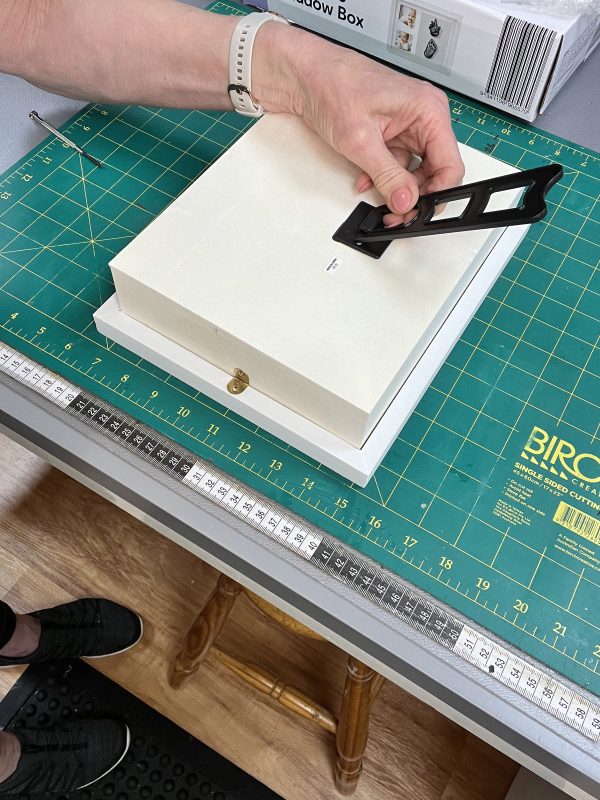
Step 1 – Dismantle the Shadow Box
The aim here is to carefully separate the shadow box into individual components for ease of painting and decorating. Then, we will put it all back together later on.
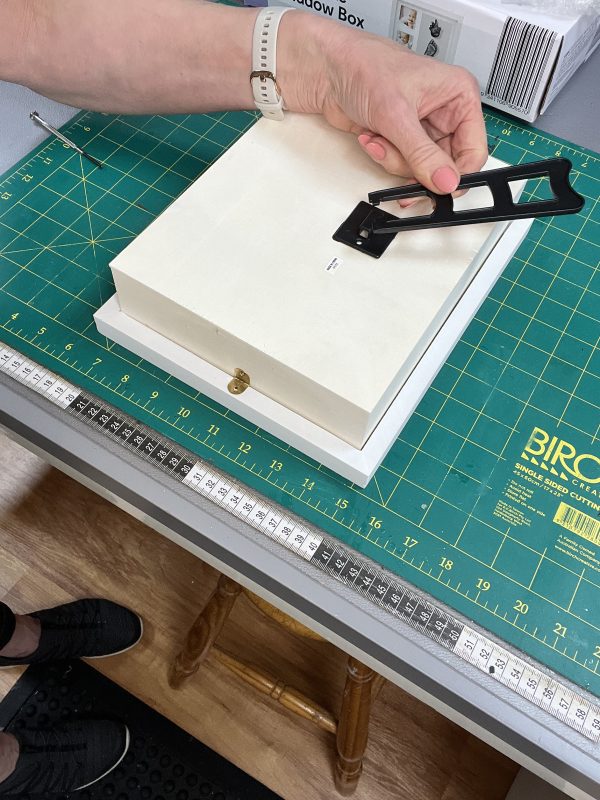
If you are using the Kmart shadow box like we did, use a screwdriver to detach the frame from the box.
You’ll then need to remove the white card insert and the clear plastic screen.
Note: You won’t use either of these items for this project, so you can either discard them or add to your collection of bits and pieces to use in another project.
If your shadow box has a stand affixed to the back, you should carefully remove that too (assuming that you are going to wall mount your shadow box once it is complete).
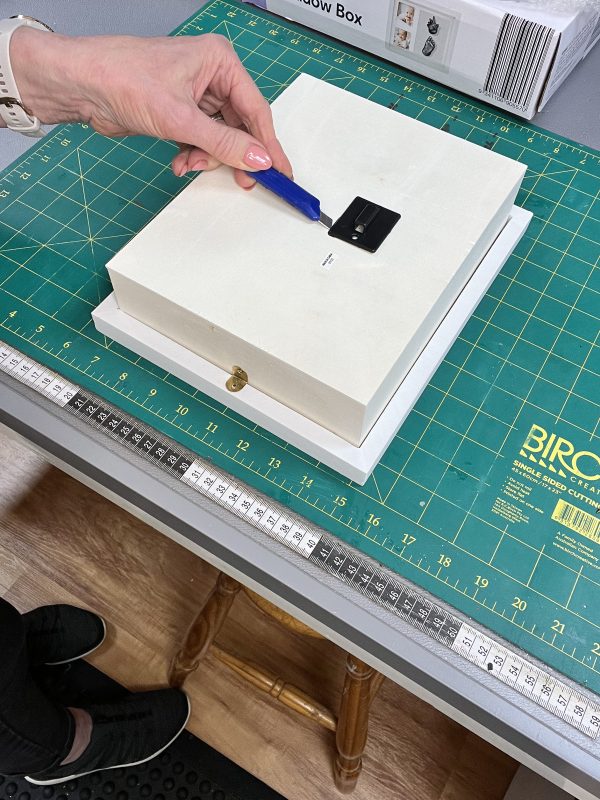
Detach the moveable leg/stand piece first and then use a sharp tool, such as a craft knife, to carefully lift and remove the base plate that the stand was attached to.
Of course, if you are going to stand your shadow box on a mantle or side table you should leave the stand intact.
Step 2 – Paint the Frame and Box
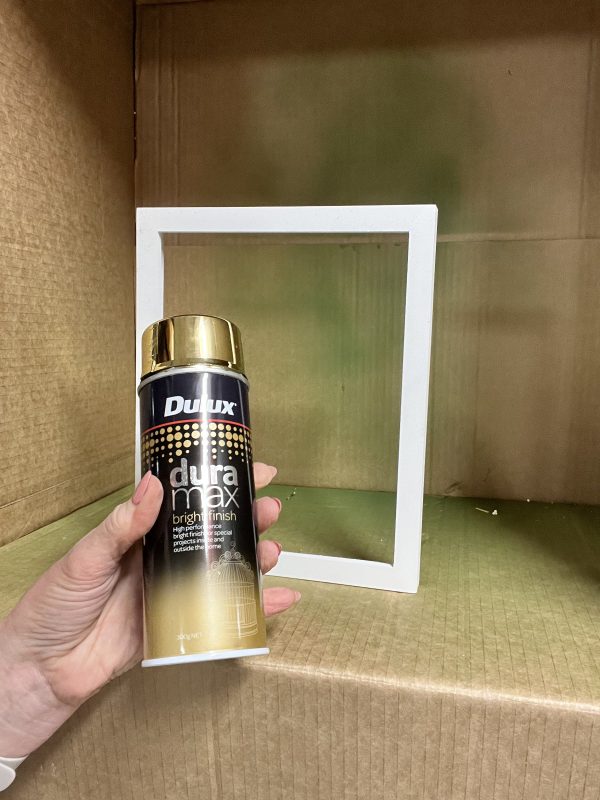
First, you’ll spray paint the front and outer-side edges of the frame.
We like to stand it up inside a box to work with it. It helps to keep all the overspray contained.
Start by spraying all 4 front sections of the frame, the two side edges and the top edge. Leave that to dry. Once it’s dry, rotate the frame and paint the 4th outer edge. Leave that to completely dry.

You’ll now repeat a similar process with the box. For the box, we will only spray the 4 outer edges.
So, place the box inside your cardboard box paint studio (!), spray the 3 outer edges (two side edges and the top edge). Leave that to dry and then once dry, rotate the box and paint the 4th (bottom) edge. Leave the painted box to completely dry.
Step 3 – Prepare and Place Glitter Foam
Next, we’ll use the white glitter craft foam to line the inside of your painted box.
You’ll need to cut 5 pieces in total – 1 x large piece for the back of the box, 2 x longer strips for the sides and 2 x shorter pieces for the top and bottom edges.

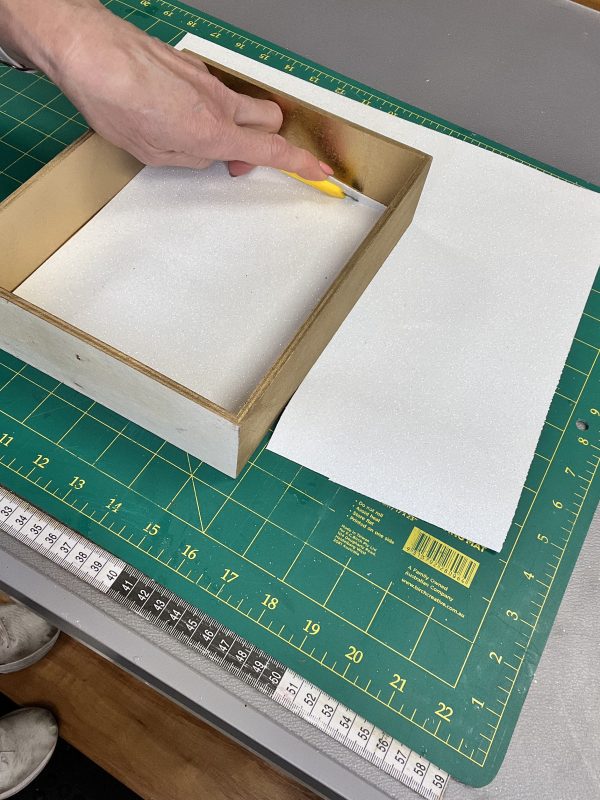
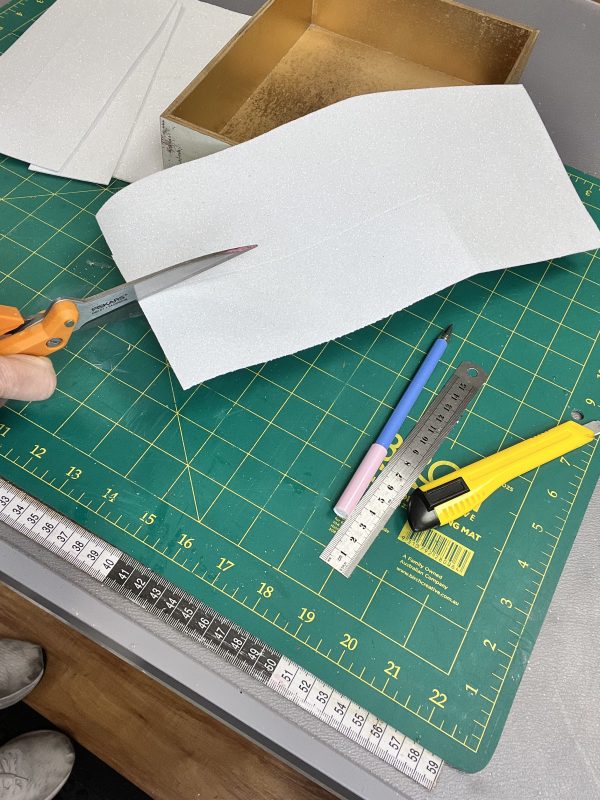
You might choose to trace the outside of the box and then trim as required to get it to the right size, or measure the dimensions inside the box and transfer/draw that on to the glitter foam sheet, or however you prefer to do that.
Once you have all the required pieces cut to size, use spray adhesive to fix them into place. We recommend placing the back piece first and then working with each of the sides.
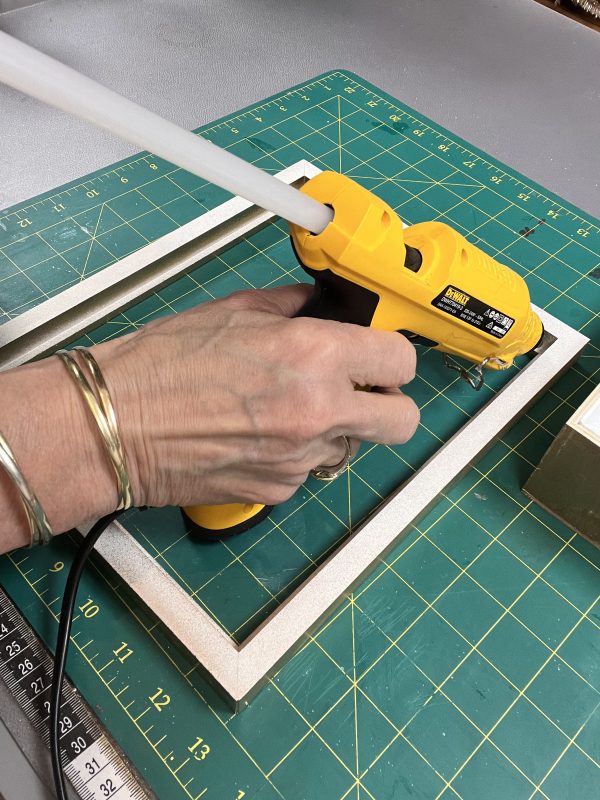
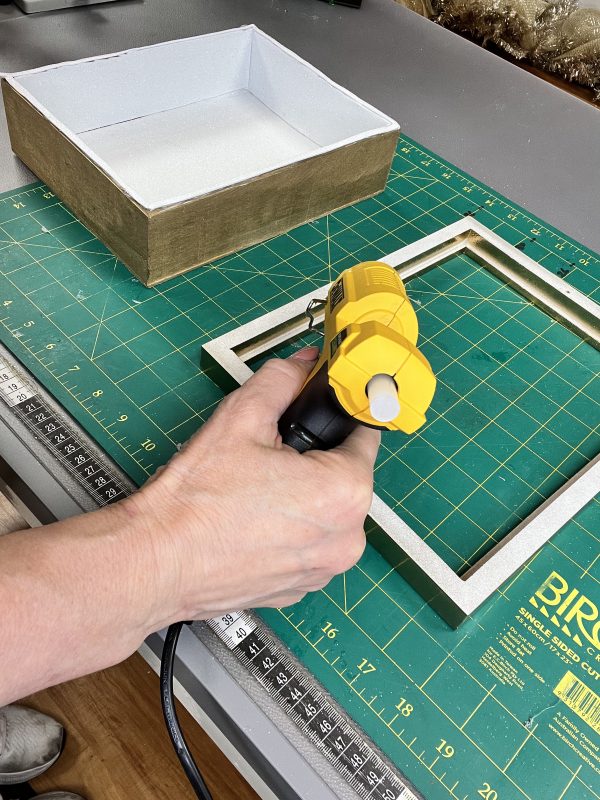
Step 4 – Reattach Frame to Box and Add Trim
Now we’ll start to put it all back together (and then make it look even prettier!)
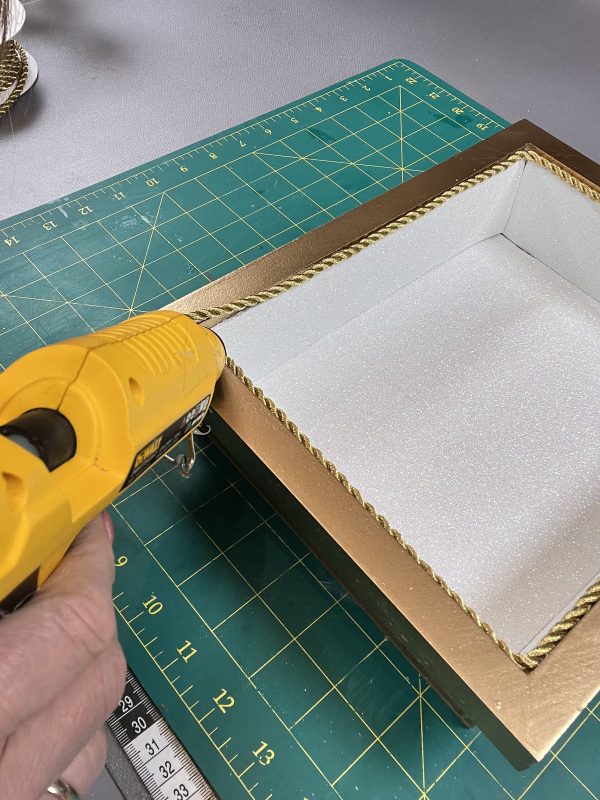
With the dry, painted frame face down, apply hot glue around the inside lip of the frame.
Carefully flip the frame over and position it over the edges of the box. Press down firmly to secure the two pieces together.
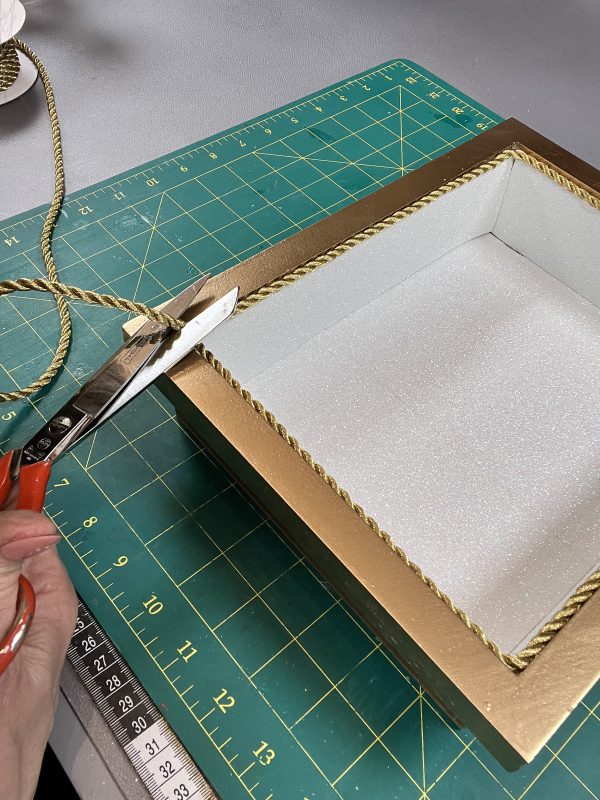
Starting in one corner, glue the gold braid around the inside perimeter of the frame where the box and the frame join. Trim any excess braid once you have trimmed the whole frame.
Step 5 – Attach Hardware/Materials to Hang (optional)
Now is a good point to think about, and add, whatever hardware or materials you need to hang your completed shadow box. We find that it is easier to work on the back side of the box before the decorations and embellishments are added to the front.
We prefer to use self-adhesive velcro strips applied to the top and bottom edges on the back of the box as this will ensure that the shadow box hangs completely flat against the wall. But you might like to use a picture/frame hook or some other method.
Just make sure that the glue is dry from the previous steps before you flip it over to work on the back.
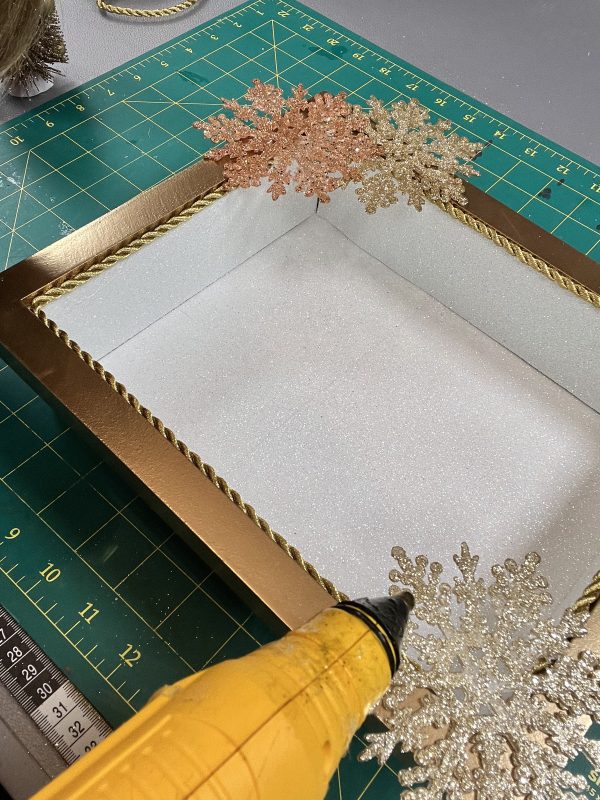
Step 6 – Decorate the Frame with Finishing Touches
Use your trusty hot glue gun to secure your chosen decorations to the outside of the frame and allow it to dry.
Step 7 – Paint the Base of Table Top Trees (optional)
If you will be using tabletop trees to display inside your Pink Christmas Dreams shadow box, you might like to paint the bases white to help them “disappear” or look a little tidier against the white glitter foam background.
Step 8 – Hang and Decorate your Pink Christmas Dreams Shadow Box
Once your shadow box is decorated and dry, hang it up and add your feature table top trees or other ornaments.
That’s it! Step back and enjoy your handy work and invite family and friends around to enjoy it too!
This versatile craft project can easily be customised to suit any Christmas decorating colour theme or style. Or any non-Christmas decorating theme too for that matter.
We hope that you enjoyed making and creating your own Pink Christmas Dreams Shadow Box. Head to our Christmas Craft blog for many more amazing Christmas Craft ideas.
You can also check out our Inspiration Gallery for more Pink Christmas Dreams decorating ideas and inspiration.
We absolutely love seeing how other people get crafty at Christmas time, so make sure you follow us on our Facebook and Instagram pages and be sure to share your Christmas craft adventures with us too.