


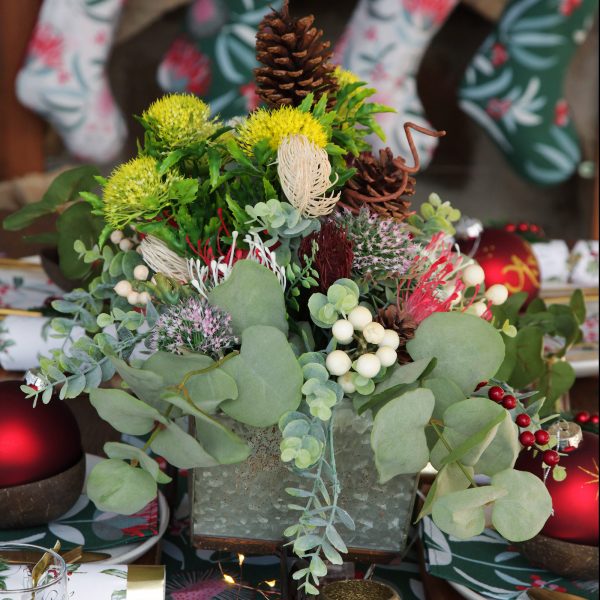
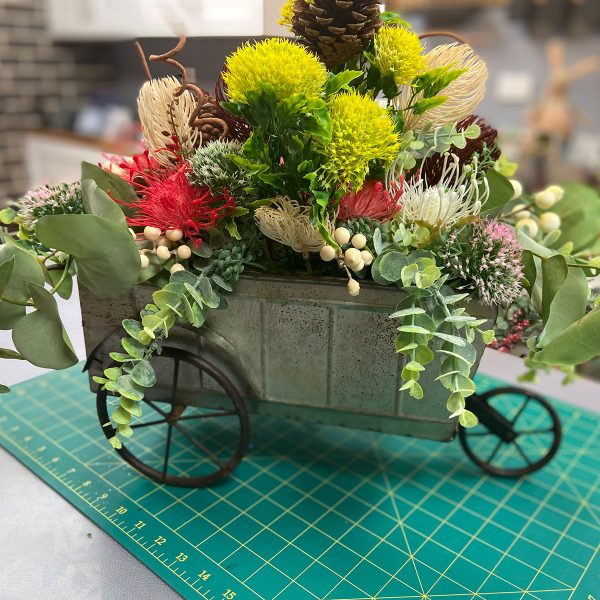
Bring the colour and beauty of the great Australian outdoors to your Christmas table with a stunning Bush Christmas Wheelbarrow Centrepiece.
Created using a decorative metal wheelbarrow and a selection of gorgeous native Australian flowers and other flora, this DIY Christmas Craft project is a fun, simple and economical way to bring maximum impact to your Bush Christmas table.

A timeless and versatile piece, the Bush Christmas Wheelbarrow Centrepiece is not strictly just for the table. Create a striking vignette on any table or shelf area – entry table, side table, mantle or any other shelves that need a little festive Australian decorating.
We’ve used faux greenery and flowers to ensure that the display is low maintenance and continues to look amazing for a long time to come. You can even enjoy it all year ‘round by changing out the flowers to suit the season. While we love the diversity and complexity of the native Australian flowers, you don’t have to always use those. Experiment throughout the year with other gorgeous faux flowers to suit any décor style or theme.
Supplies List for Bush Christmas Wheelbarrow Centrepiece
To create your Bush Christmas Wheelbarrow Centrepiece, you’ll need some craft/florist supplies and tools as well as a selection of florals and greenery to decorate and style your piece.
- Floral oasis/foam brick
- Wire cutters
- Artificial moss/moss mat
- Decorative metal wheelbarrow
- A selection of faux greenery sprays
- A selection of faux native Australian flowers
- Hot glue gun (optional)
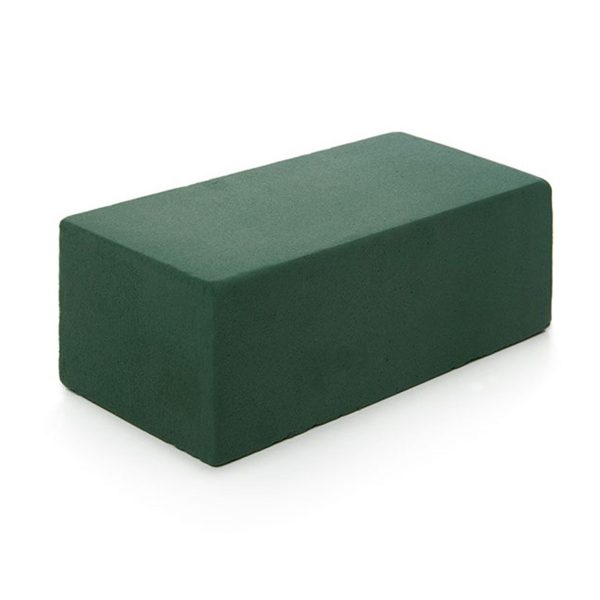

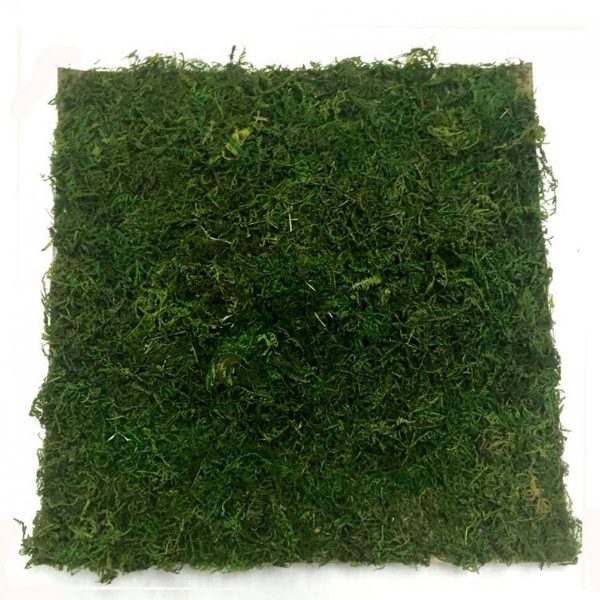
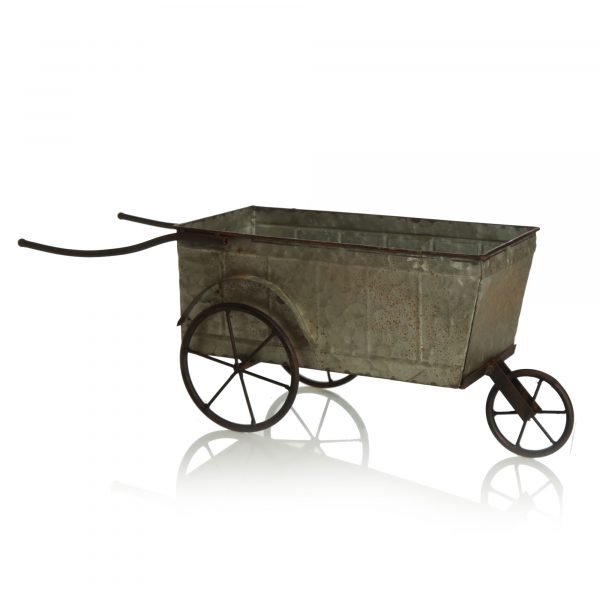
Image source: www.koch.com.au, www.sparkfun.com, www.nicholsonimports.com.au, The Christmas Cart
A quick Google should point you in the right direction for your local or online suppliers if you need to add oasis, wire cutters or artificial moss to your kit. The wheelbarrow and all of the gorgeous florals and greenery are available from your favourite Christmas supplier, The Christmas Cart.
To create the centrepiece exactly as we have done, you’ll need the following items. But of course feel free to swap and change out to suit your individual taste and style. Be inspired and shop The Christmas Cart range of Sprays and Picks and Flowers.
- 1 x Native Eucalyptus Leaf Spray
- 1 x Eucalyptus Bush Spray
- 1 x Pinecone Trio Pick


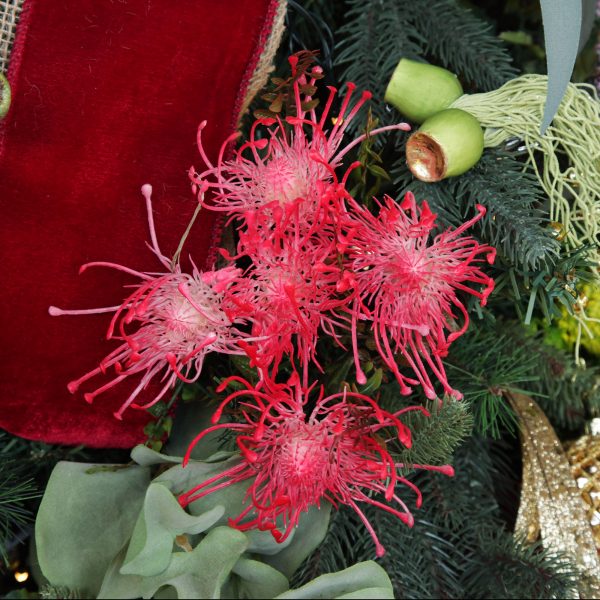
- 2 x Native Pincushion Protea Flower Spray – 1 x pink and 1 x cream
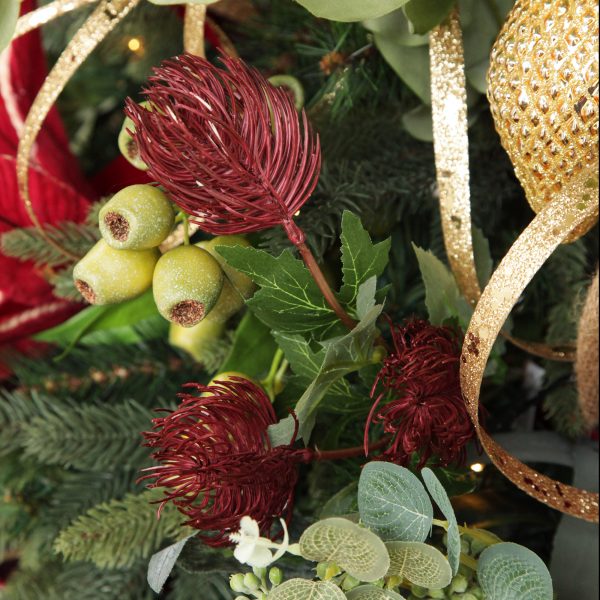
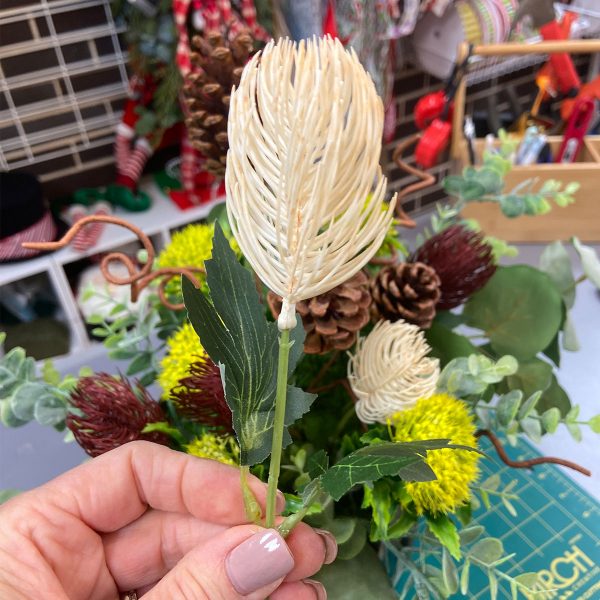
- 2 x Triple Head Banksia Spray – 1 x each of red and cream
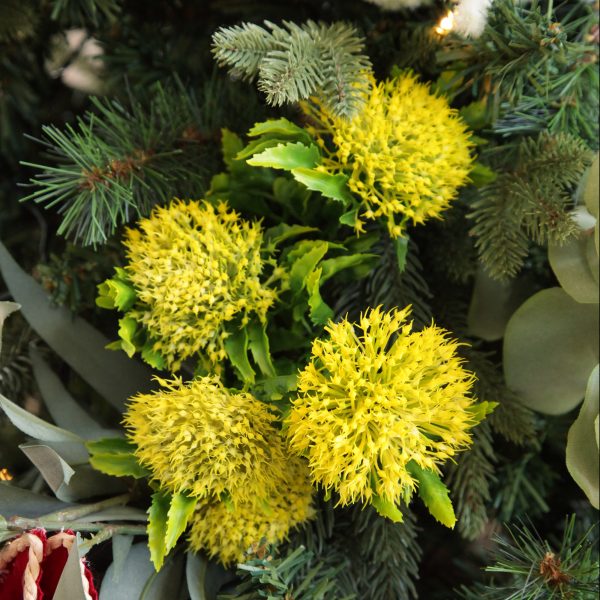
- 3 x Gumnut Flower Christmas Bush Spray – 1 x each of yellow, pink and cream
- Red Berries and White Berries – you can purchase a Set of 2 – Red Berry Picks or use pieces from the Red or White Berry and Pine Cone Mix Décor Sets
Steps to Create a Bush Christmas Wheelbarrow Centrepiece
Step 1
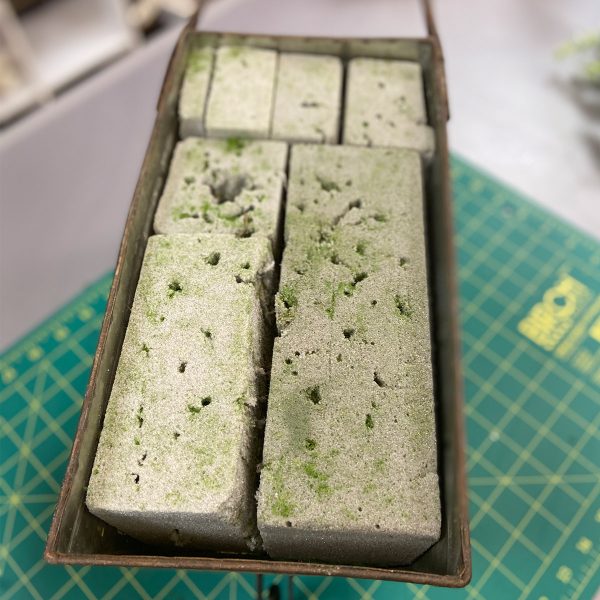
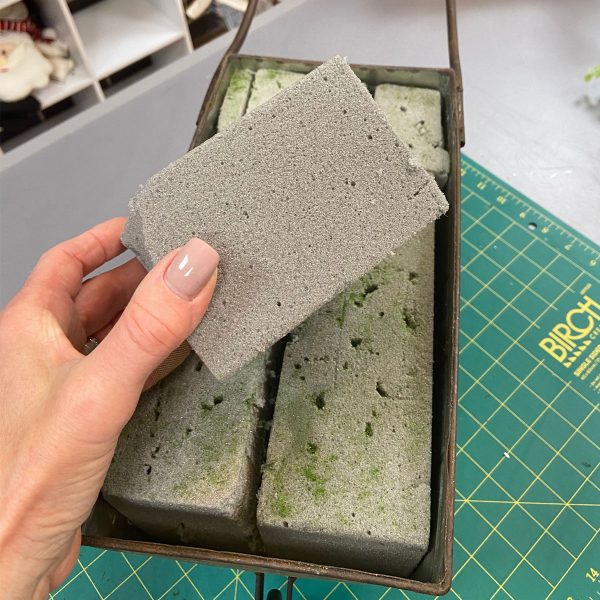
First, we’re going to add the oasis/floral foam, to fill as much of the space as possible, inside the wheelbarrow.
Depending on the shape of foam that you have, or if you are reusing pieces that you have left over from previous projects (which is completely fine), you might find that you need to cut your pieces to fit in order to get the best coverage of the space. It’s not important that the pieces look symmetric or impeccable and they don’t have to be perfect or brand new as you will be completely covering it up. It’s most important that the foam completely fills the space so that you have a full and solid base to work with.
Next, cut your artificial moss mat to exactly the same size as the internal dimensions of the wheelbarrow and place it over the oasis.
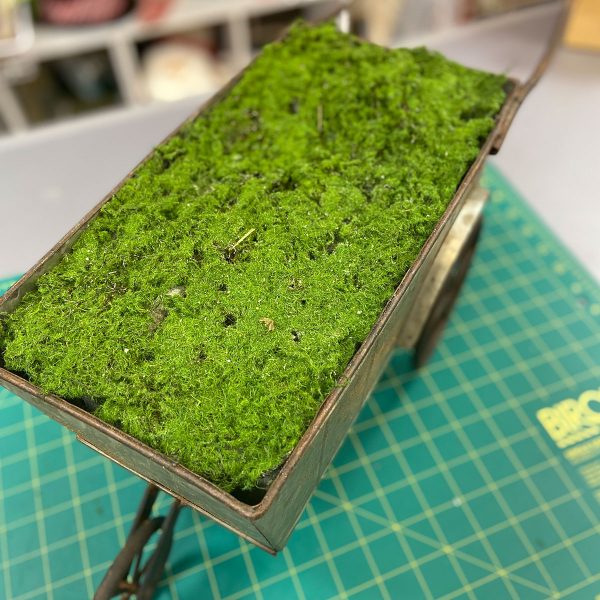
If you want to create a sturdy and solid structure, you might like to use a hot glue gun to secure the pieces of oasis into the wheelbarrow. Similarly, you could also glue the moss to the top of the oasis. If you choose to do this, just be careful not to put too much glue on the bottom of the moss, rather just small pieces around the edge, as you’ll need to be able to penetrate the moss to insert your flowers and greenery. If you’ve used too much glue, you won’t be able to get those pieces in very easily.
We’ve opted to simply place the items without gluing so that we can re-use the pieces, move them around and refresh the display at a later time.
Step 2
Now that we’ve got our base ready, it’s time to start placing the greenery.
We started with the Native Eucalyptus Leaf Spray. Deconstruct the spray using your wire cutters to remove the branches from the stem and create 4 individual pieces. Add one piece to each of the 4 corners of the wheelbarrow.
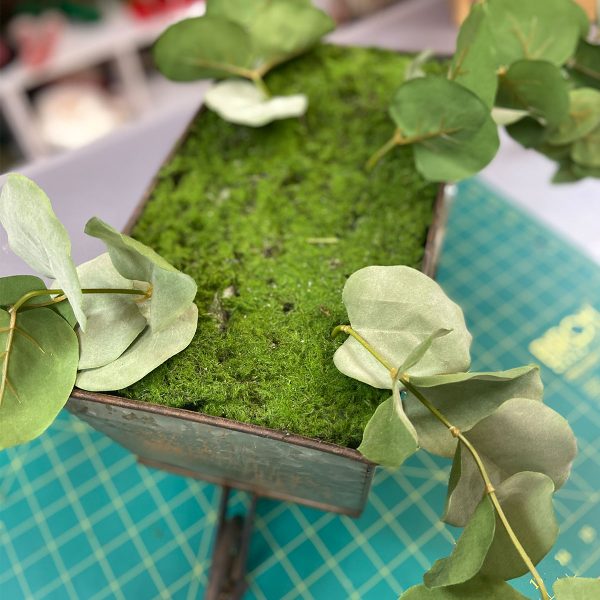
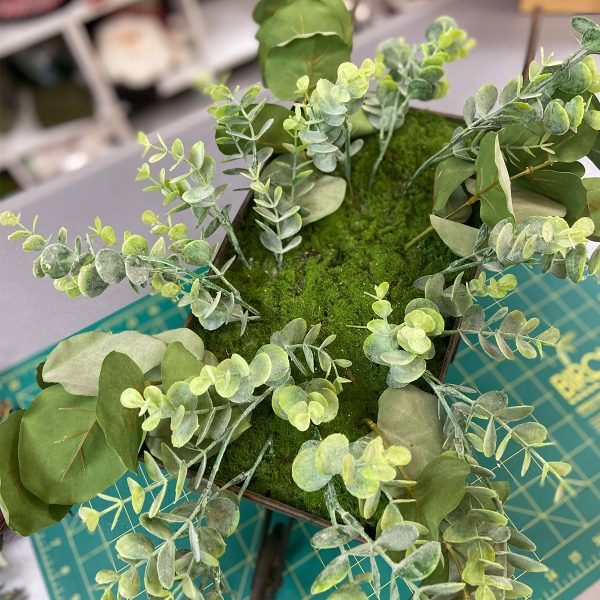
Next, do the same process to deconstruct the Eucalyptus Bush Spray. Use the wire cutters to create a number of smaller/shorter pieces of Eucalyptus branches and position them in the wheelbarrow between the pieces of Native Eucalyptus Leaf Spray that are already there.
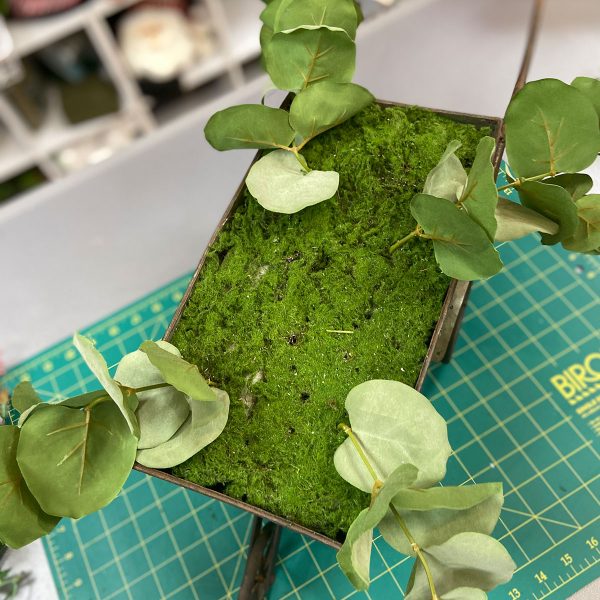
Focus on positioning these pieces towards the outside/edge of the wheelbarrow so that they spill out over the sides and create some coverage and interest in the underside of the display. At the same time, remember that we are creating a natural looking display and so you should give some depth and dimension to these pieces by having some closer to the edge and others a little further in towards the centre. Remember to not overcrowd the middle section though, as we want plenty of room to feature the gorgeous flowers.
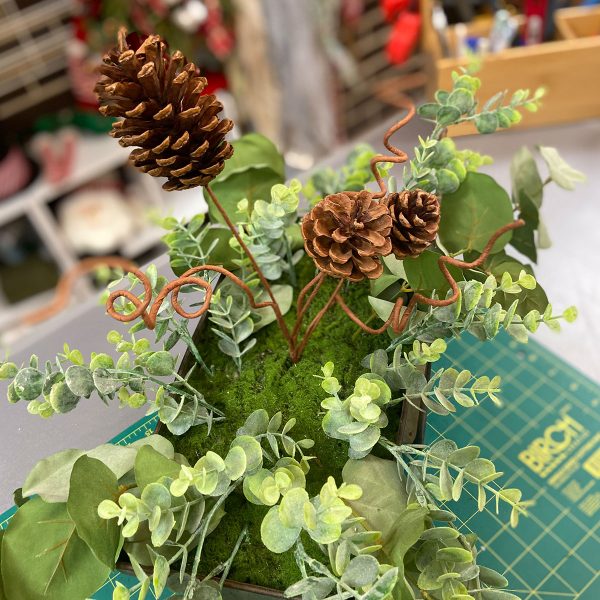
Step 3
It’s time to get busy adding all the beautiful flowers and sprays.
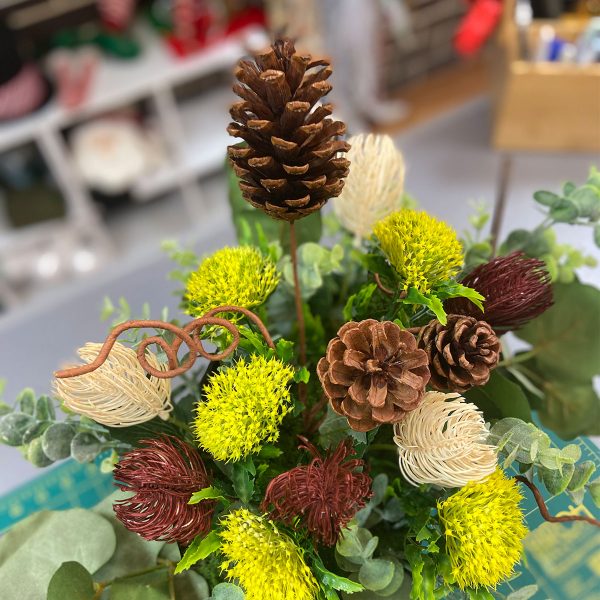
For the first piece of our focal point we’ve used a Pinecone Trio Pick. No need to deconstruct this one. You might like to trim a little from the length of the stem to get the right height and then separate the individual pieces to spread them out.

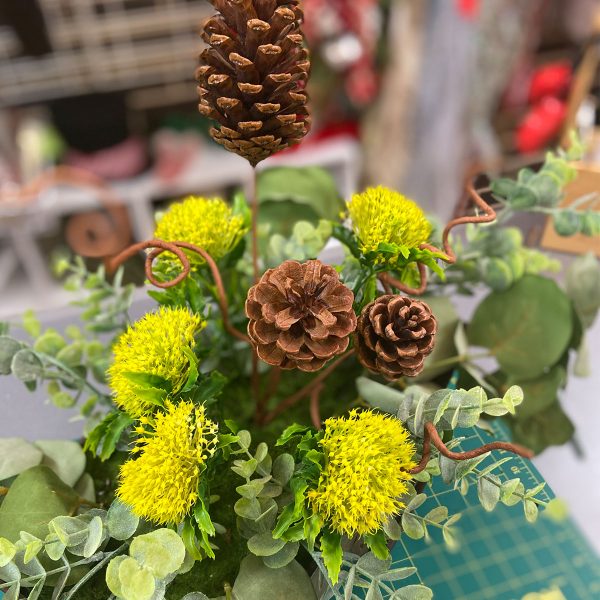
The second piece of the focal point is a Yellow Gumnut Flower Christmas Bush Spray. Deconstruct the spray using your wire cutters to create5 individual flower pieces. Position them at various points around the Pinecone Trio Pick.
Step 4
With the focal pieces in place, move on to repeat the same process with each of the other flowers.
For each flower spray, deconstruct it using wire cutters to create individual flower pieces to work with. Keep any additional greenery or leaves attached to the flower pieces where possible. This will help to add even more beautiful texture, volume and fuller coverage to the display.
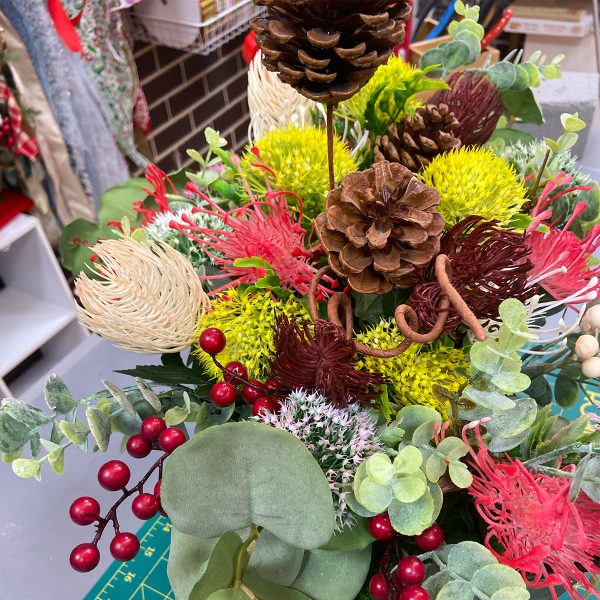
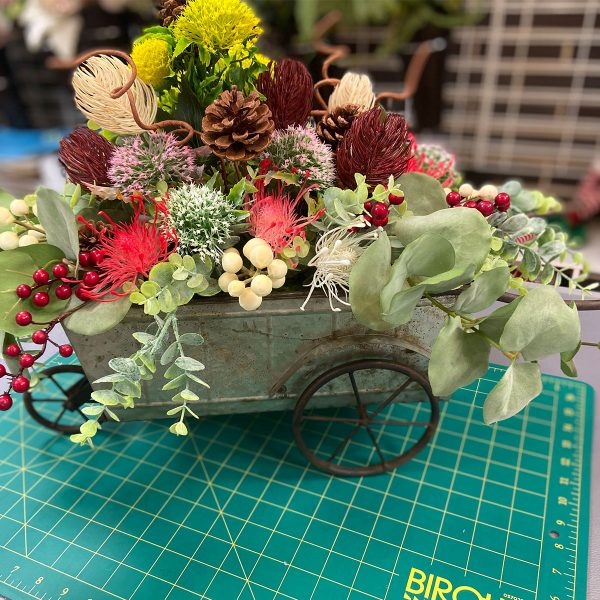
We’ve used the Triple Head Red Banksia Spray next, followed by the Triple Head Cream Banksia Spray.
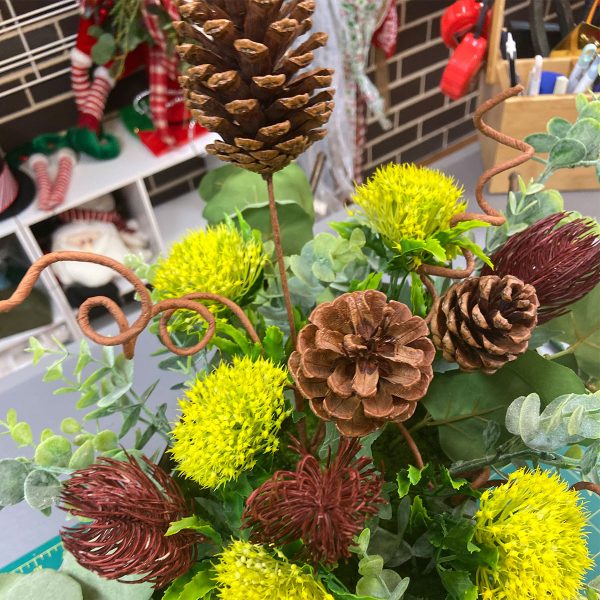
We recommend placing all the pieces of one flower type and colour at a time so that you can concentrate on distributing the colours and textures evenly throughout the arrangement. So you’ll have the Native Pink Pincushion Protea Flower Spray, Native Cream Pincushion Protea Flower Spray, Pink Gumnut Flower Christmas Bush Spray and Cream Gumnut Flower Christmas Bush Spray to work with next.
As you place and arrange each of the pieces, make sure to include a variety of heights and directions, such as also coming over the side of the wheelbarrow too, in order to give plenty of dimension and interest to the piece.
Step 5
Finally, add a sprinkling of red and white berries for a subtle festive touch.
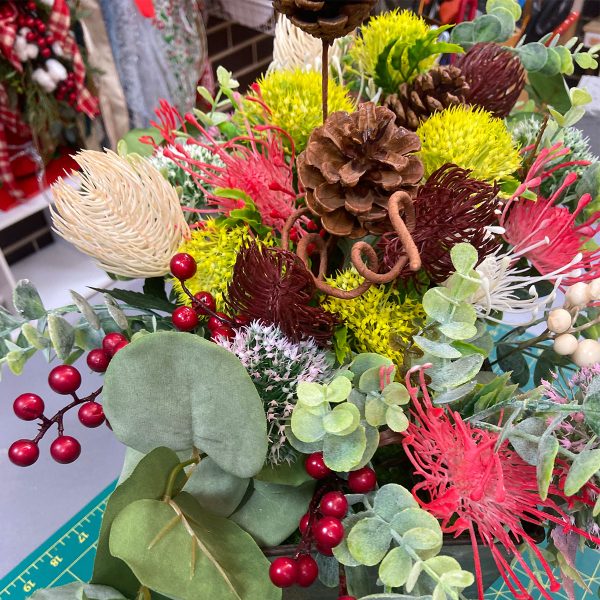

Step back and enjoy your beautiful creation for a few moments and then place it pride of place on your table, or anywhere else you and your guest can enjoy the beautiful, colourful display.
Decorating in a festive Bush Christmas style brings a lovely feeling of rustic, homely and relaxed Australian beauty into your home. For plenty of ideas and inspiration to fill your home with more of this stunning collection, be sure to visit the Bush Christmas page in our Inspiration Gallery and watch the Bush Christmas video.