


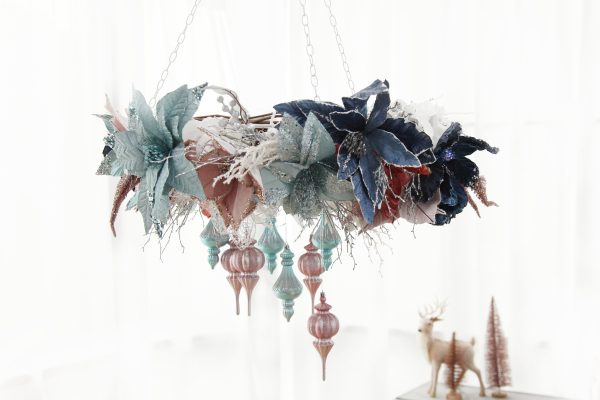
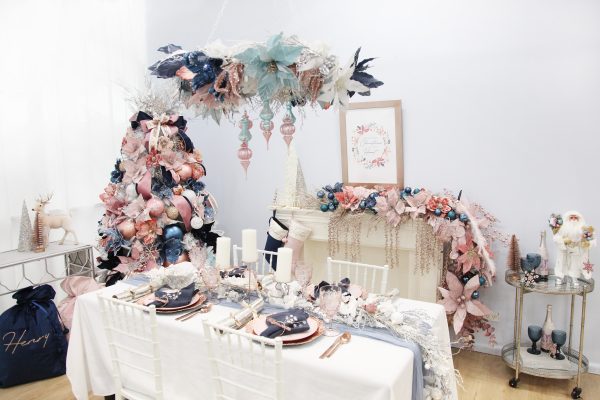
Elevate your Christmas decorating (literally!) with this stunning Blush & Blue Christmas DIY Floral Wreath Chandelier. It looks so amazing above our Blush & Blue Christmas table and you’ll be surprised just how simple it was to make.
Materials You’ll Need to Create the Blush & Blue Christmas DIY Floral Wreath Chandelier
- White metal chandelier base
- Floral wreath base
- Floral garlands
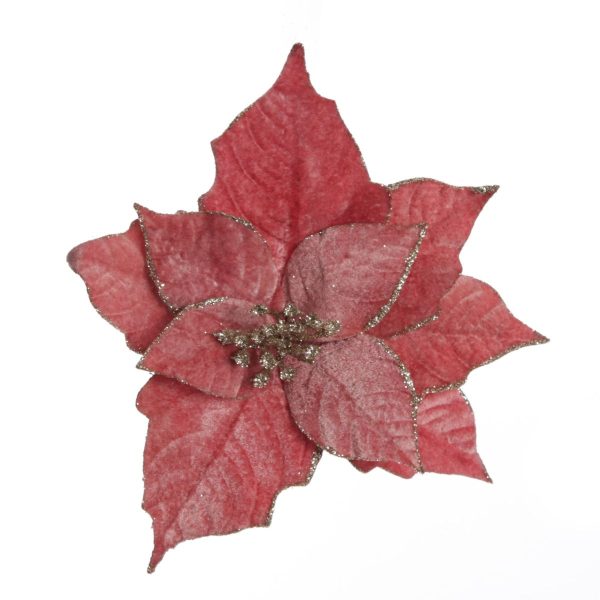
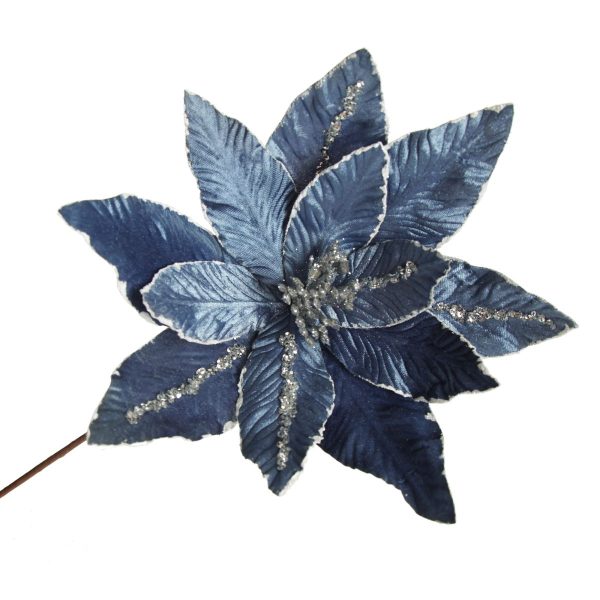
- Flowers
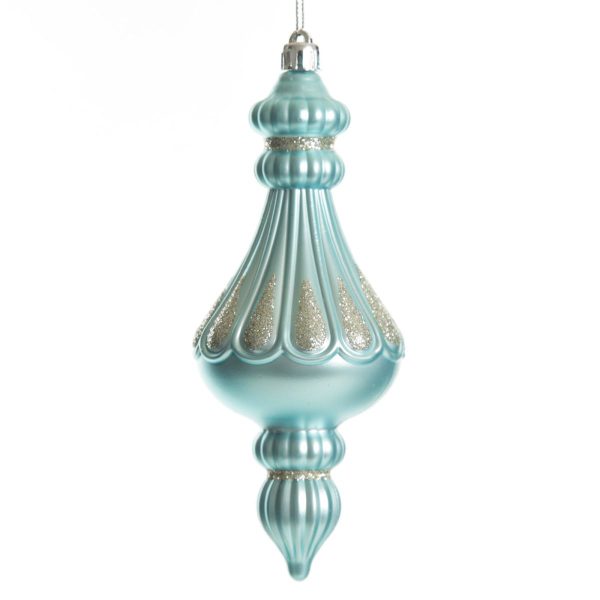
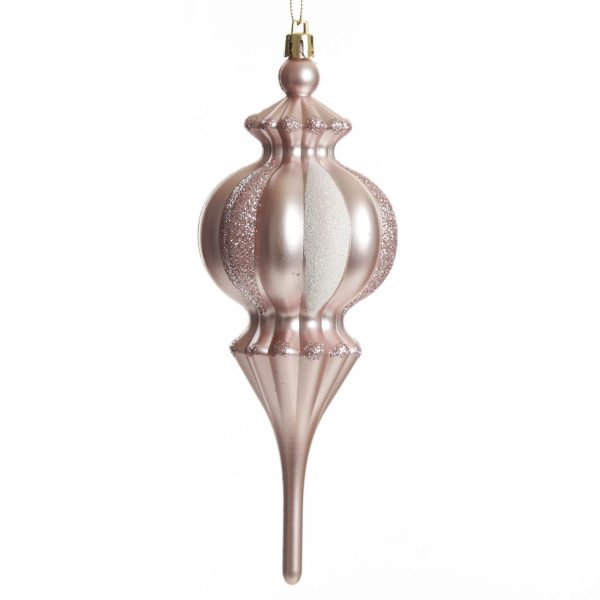
- Finials
- Sprays
- Cable ties
- Pipe cleaners
- Fishing line
- Disco/mirror ball motor
Make It Likes Ours, Or Make Your Own
One of the many great things about this craft project is that is so adaptable and versatile! We have provided the supplies list and steps that we used, but you can easily change and adjust things to suit what you have and create something truly unique to suit your home and your Christmas decorating style.
For example, for our floral wreath chandelier we have chosen to attach the wreath to an existing chandelier base. We got ours from a floral supplier. This enabled us to create a fuller arrangement with lots of lovely flowers and sprays and also makes it super simple to hang. You could just as easily use the wreath on its own and attach fishing line or similar to create another way to hang your creation.
With all that in mind, here’s how we made our Blush & Blue Christmas DIY Floral Wreath Chandelier.
Step 1: Gather Your Supplies
Step one is always to gather your supplies!
Take some time to think about the colours and textures that you want to feature in your chandelier and how many of each item you might need to achieve that look.
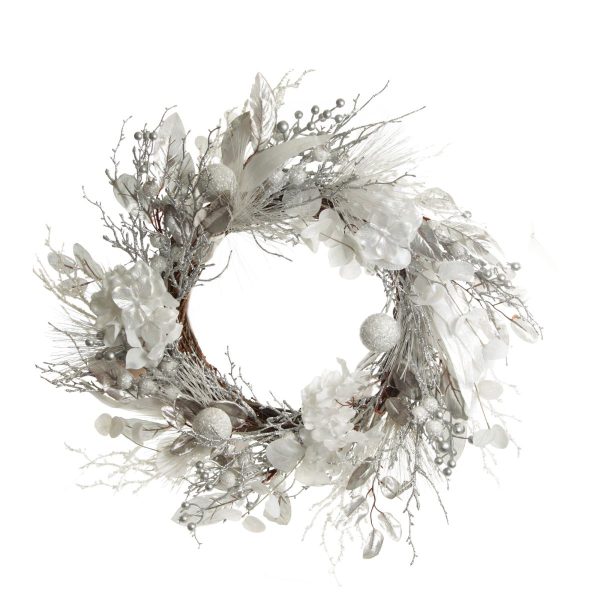
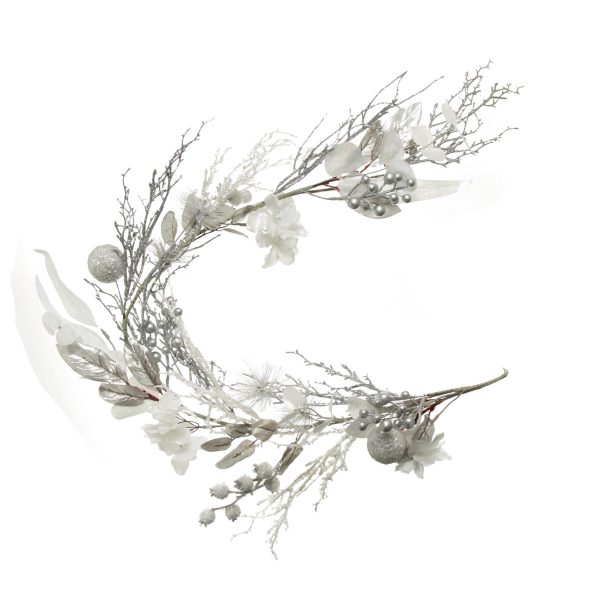
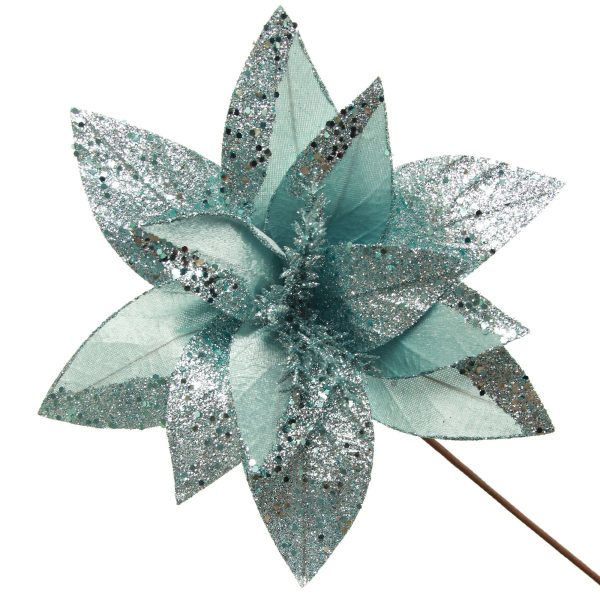
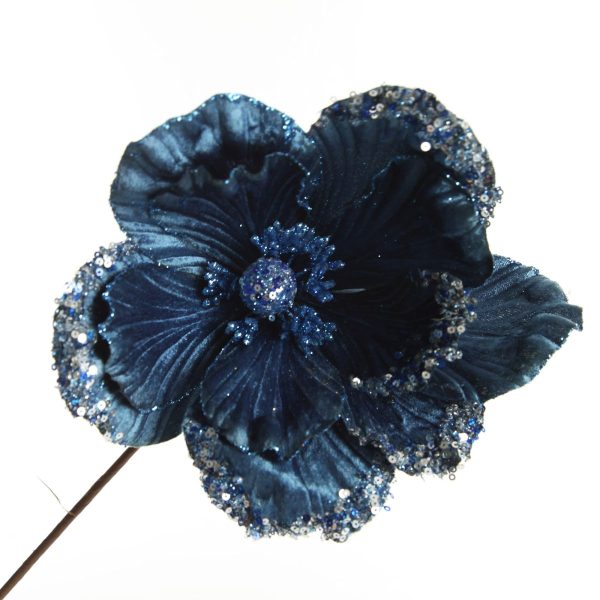
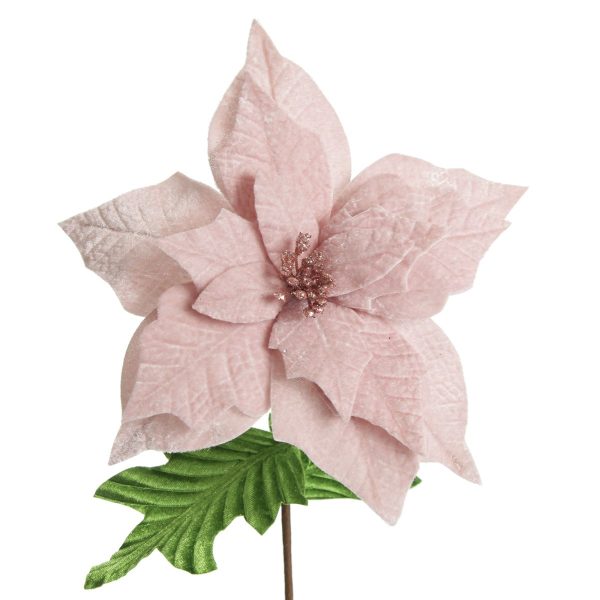
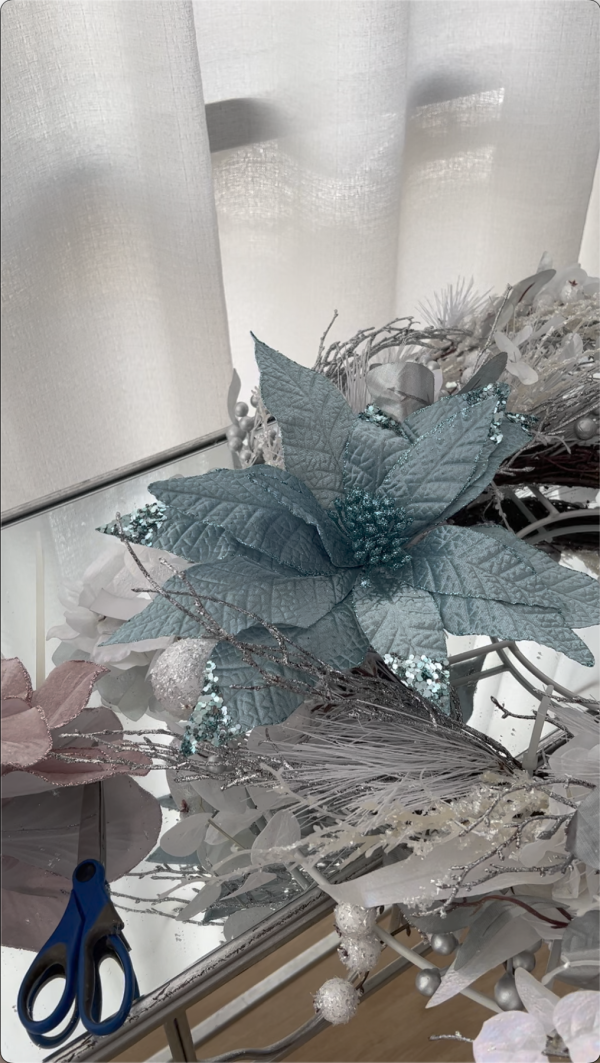
To keep consistent with the white and silver floral bases that we have used in the rest of our Blush & Blue Christmas collection, we used our Silver and White Frost Christmas Wreath and Silver and White Frost Christmas Garland. And used flowers in a selection of pinks, blues and whites to match the tree and mantle décor.
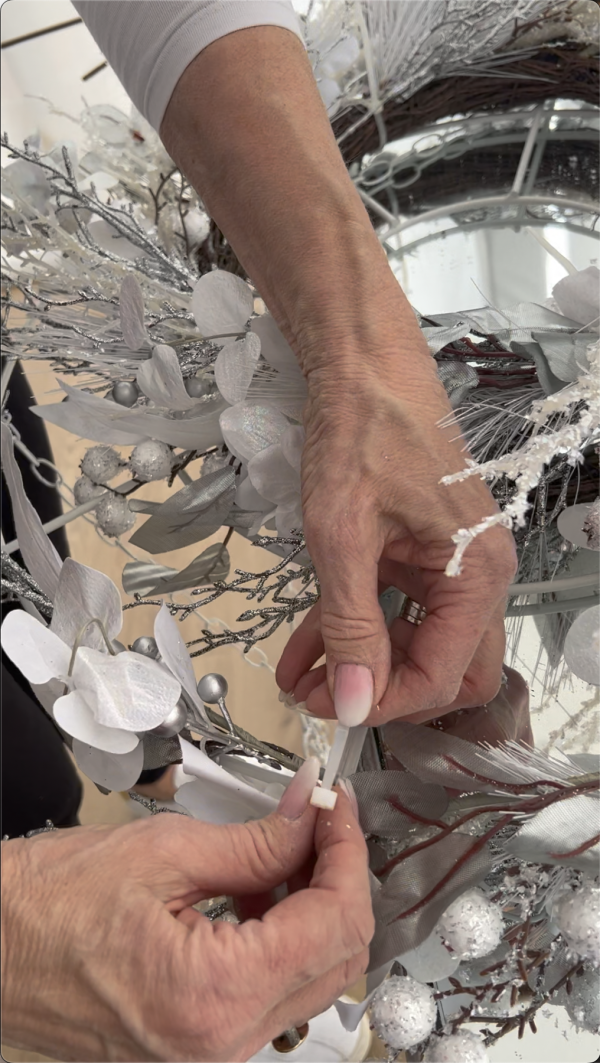
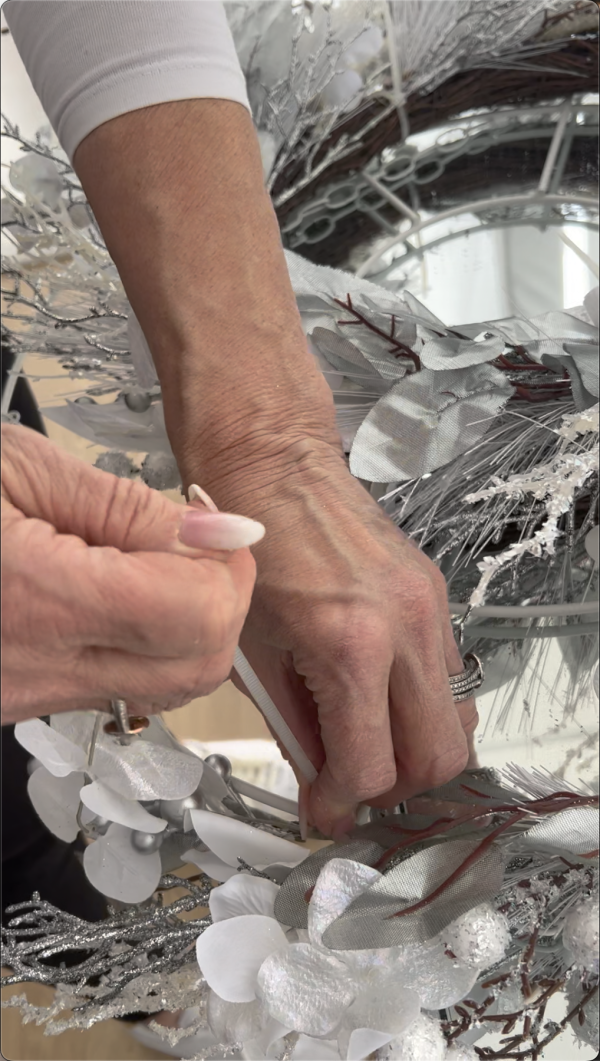
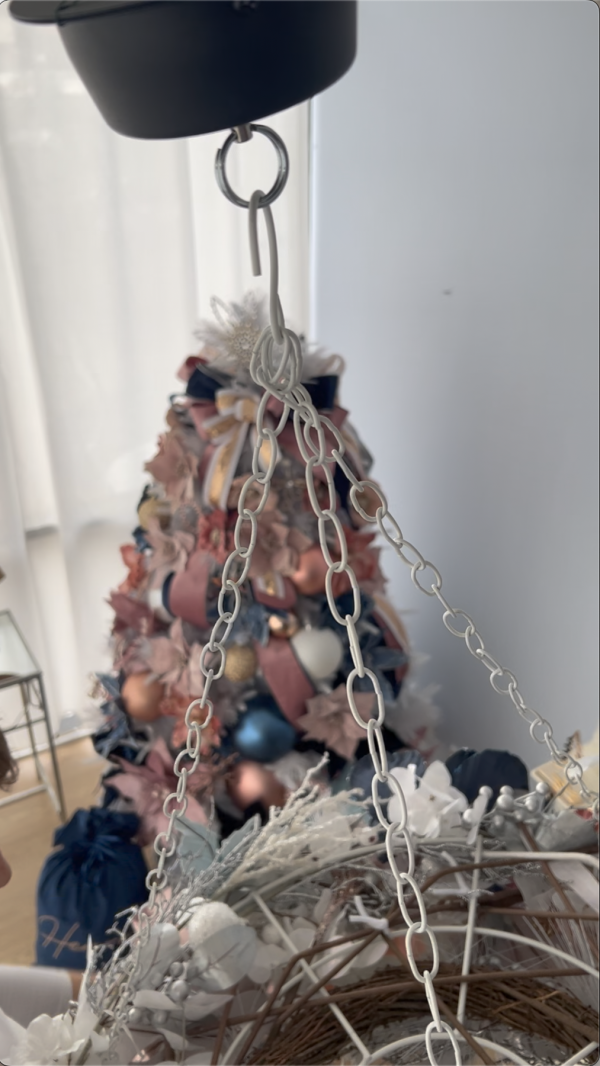
Step 2: Attach Wreath to Chandelier Base
Working on the underside edge of the chandelier base, position and attach the wreath using cable ties. Use as many as you think you need to firmly secure your pieces together.
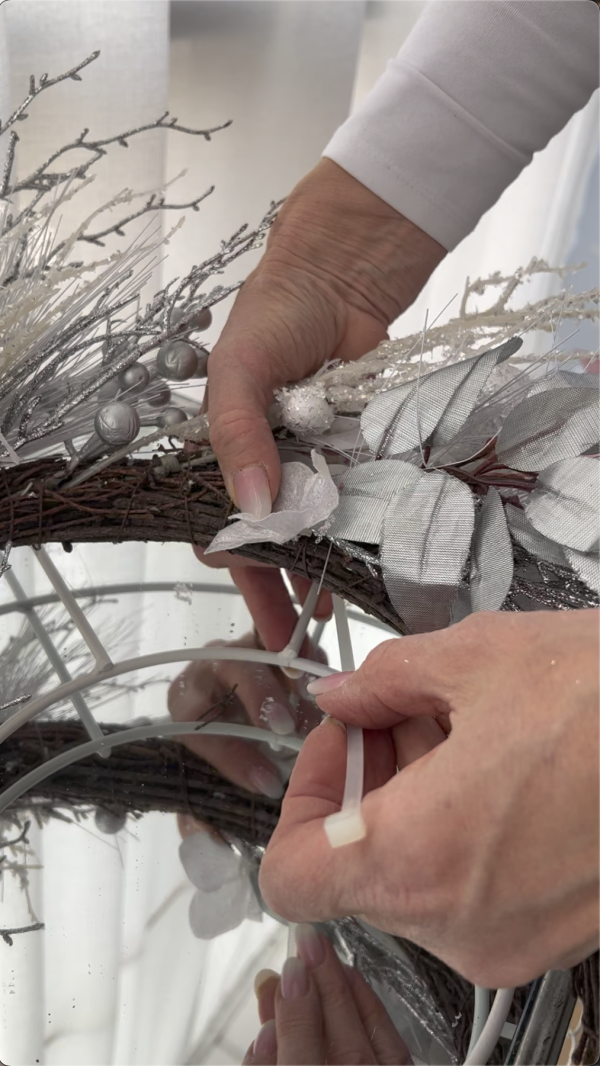
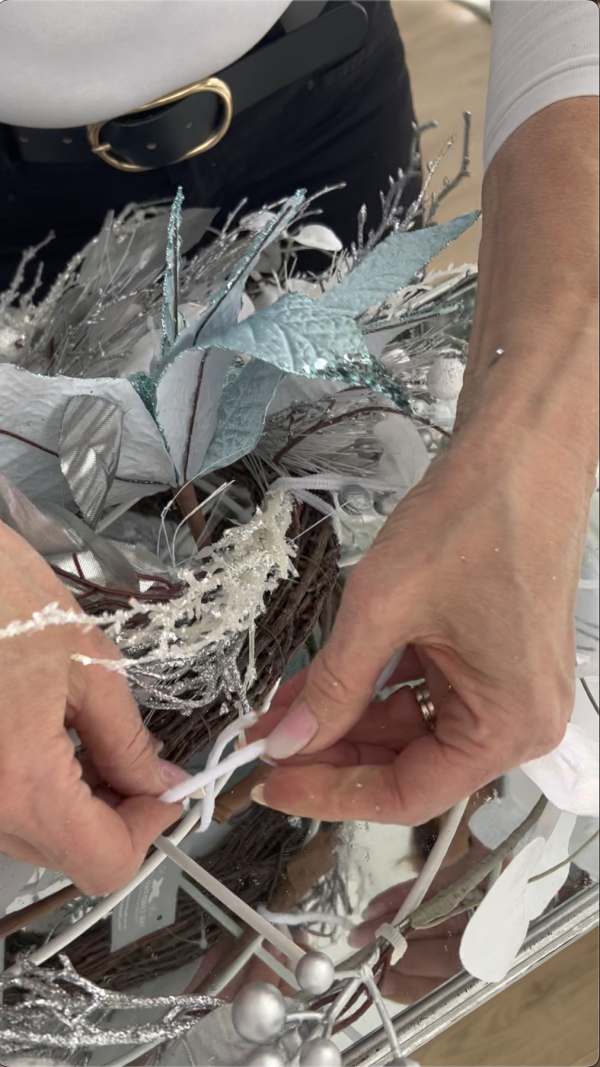
Step 3: Attach Garlands to Outside of Chandelier Base
If your chandelier base and wreath have similar proportions to ours, you’ll notice that there’s some extra room on the outside of the chandelier base.
To get started filling that space, we then attached 2 x complementing garlands around the outer edge. Again using trusty cable ties to secure in place. We used our Silver and White Frost Christmas Garland to co-ordinate well with the wreath.
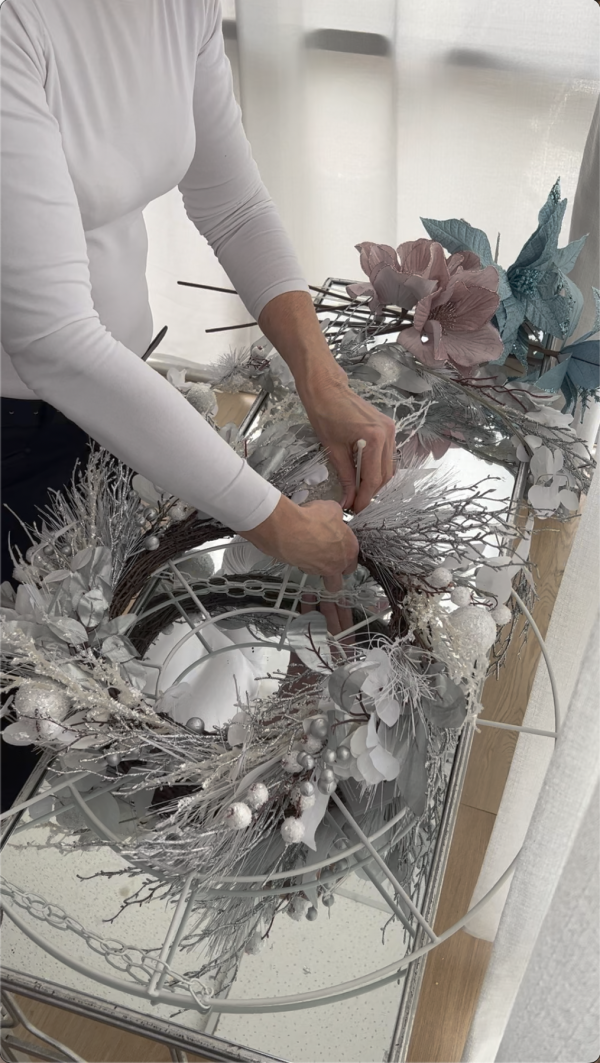
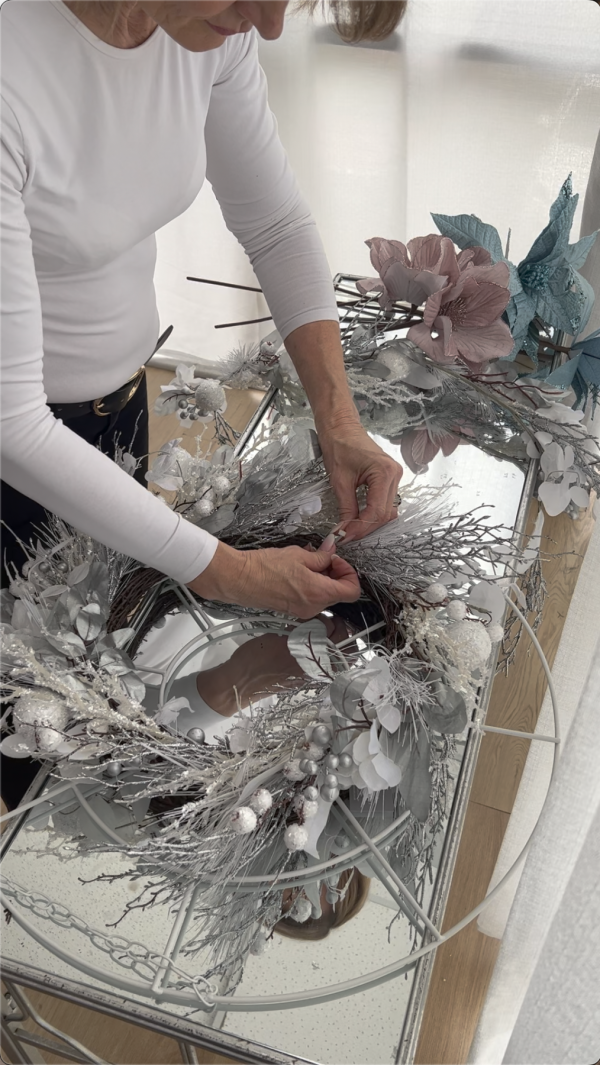
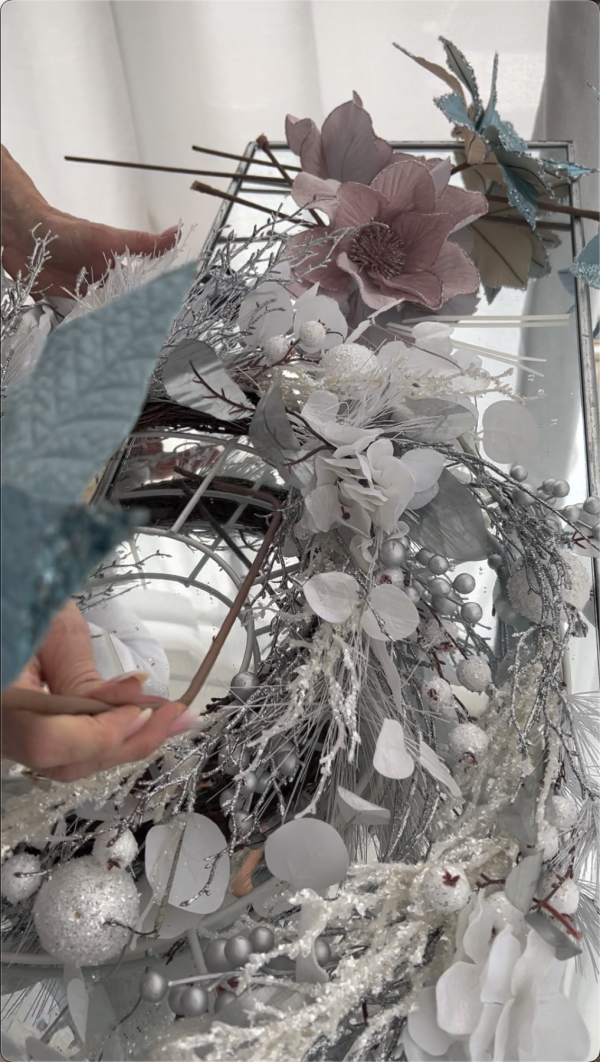
Step 4: Position and Attach the Flowers
Next, it’s time to position and attach the flowers around the chandelier.
Trim the stems if required, then push the stem of each flower through the wreath and secure in place with a pipe cleaner.
Fill as little or as much of the space as you can/like. The number required will vary depending on the size of your wreath and the look that you are going for. We love the full and luscious look, so placed lots of flowers quite close together.
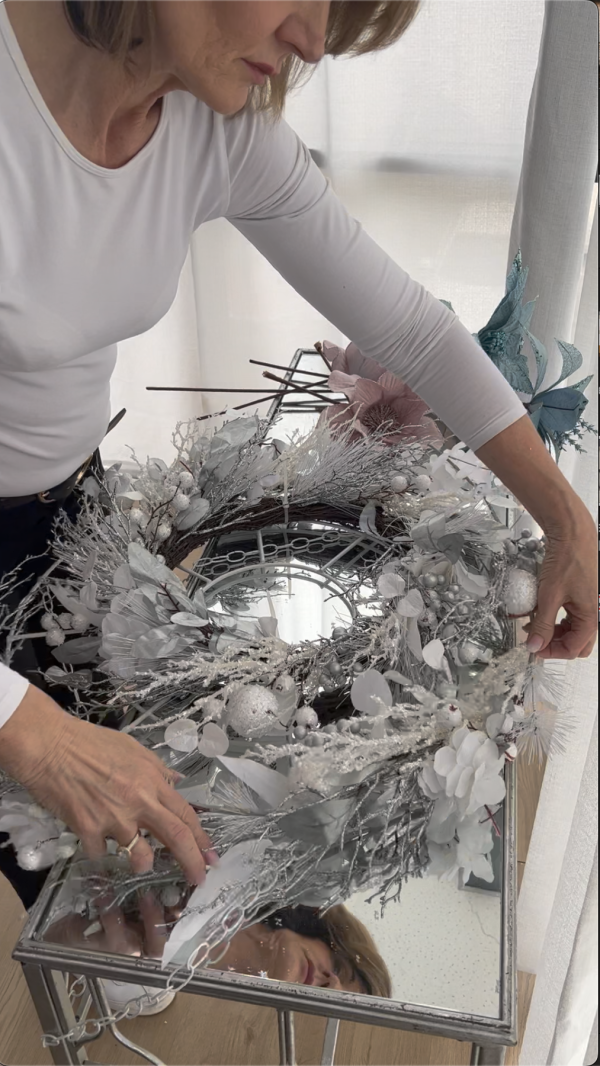
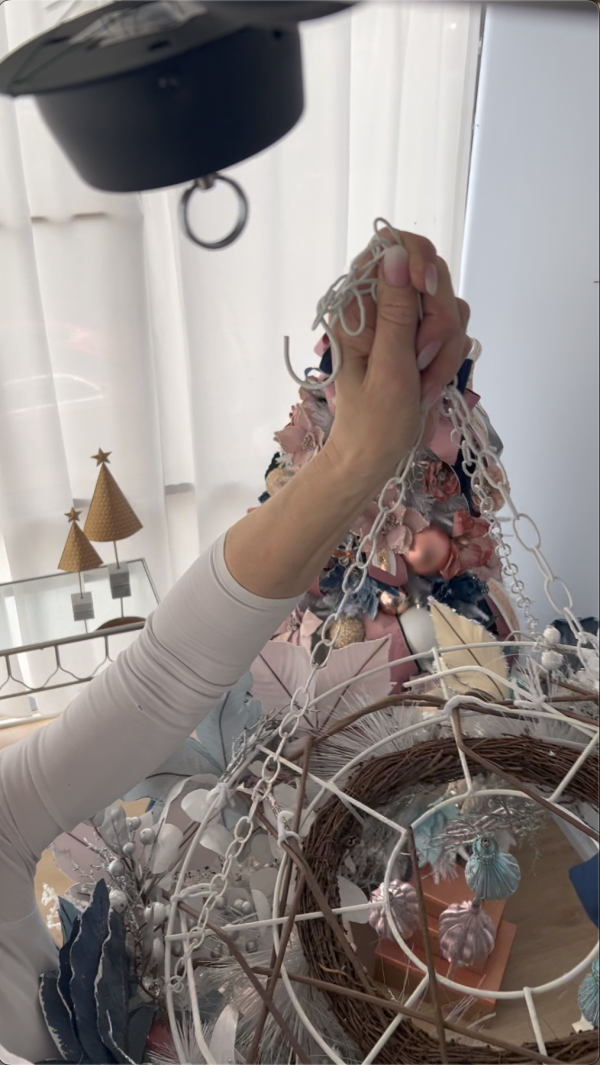
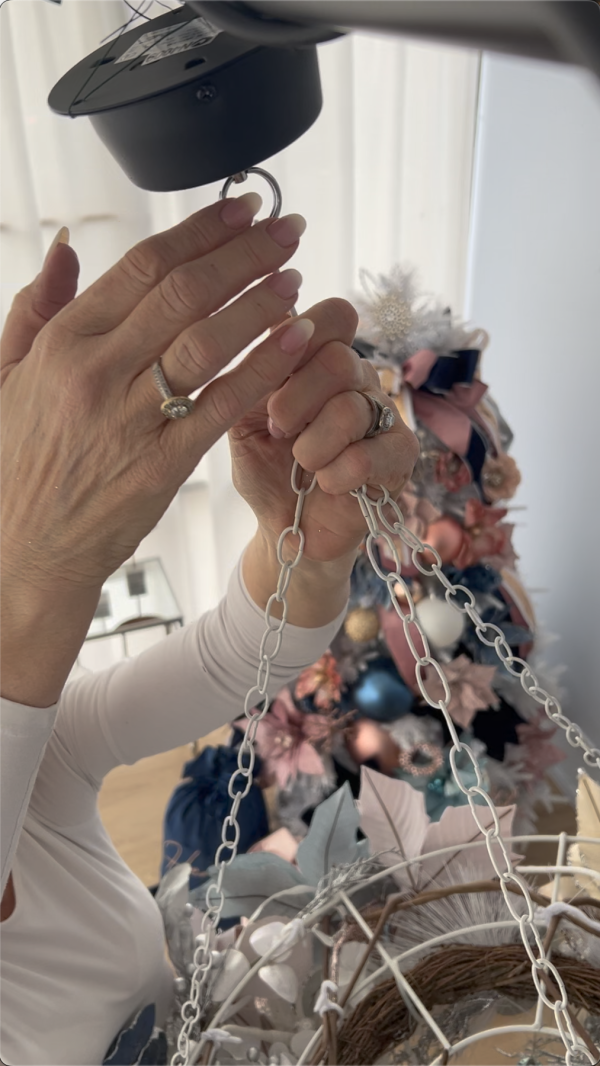
Step 5: Hang the Chandelier
Now it’s time to hang the chandelier in place. We’re not done yet, but hanging it now will make it easier to attach and style your finials and add any other finishing touches.
If you are planning to hang it over a table and think that it might be a little tricky to reach it to keep working, you might like to find an alternative appropriate place to hang it while you add the finishing touches.
If you are not using a chandelier base, you’ll need to add your materials that you will use to hang the wreath.
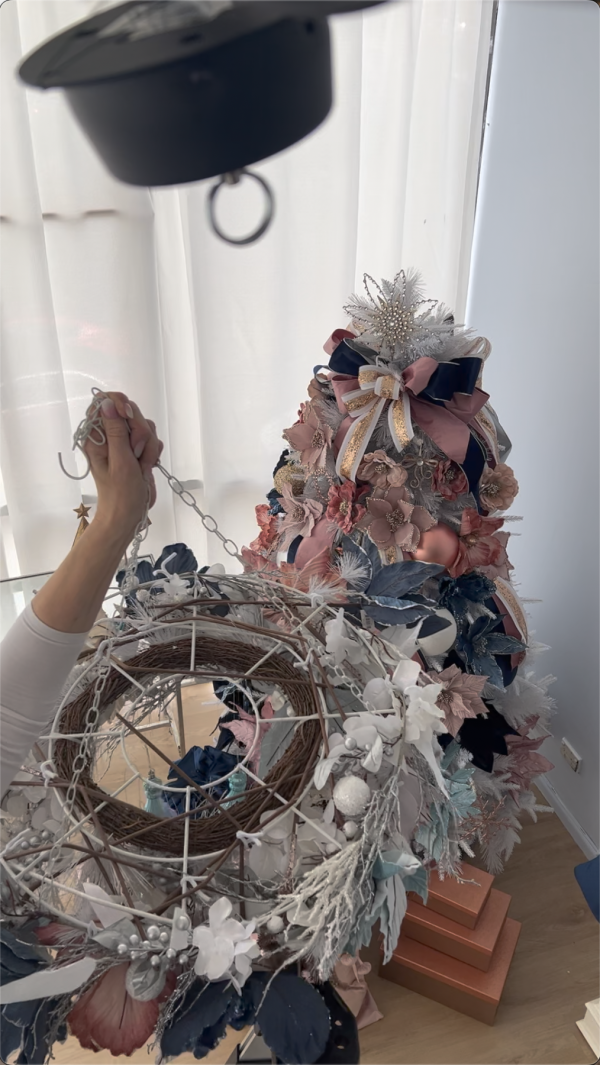
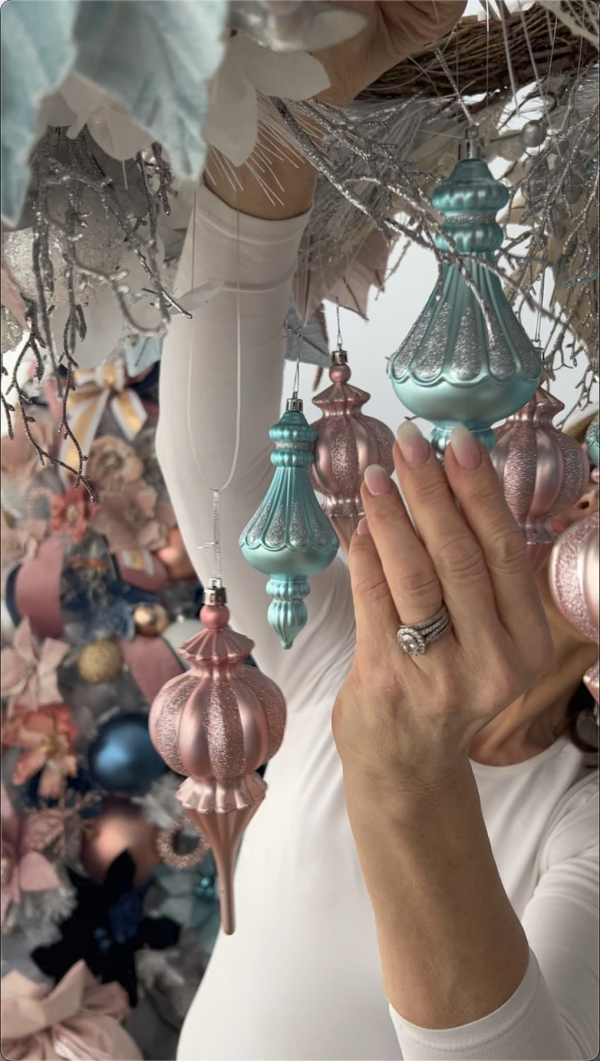
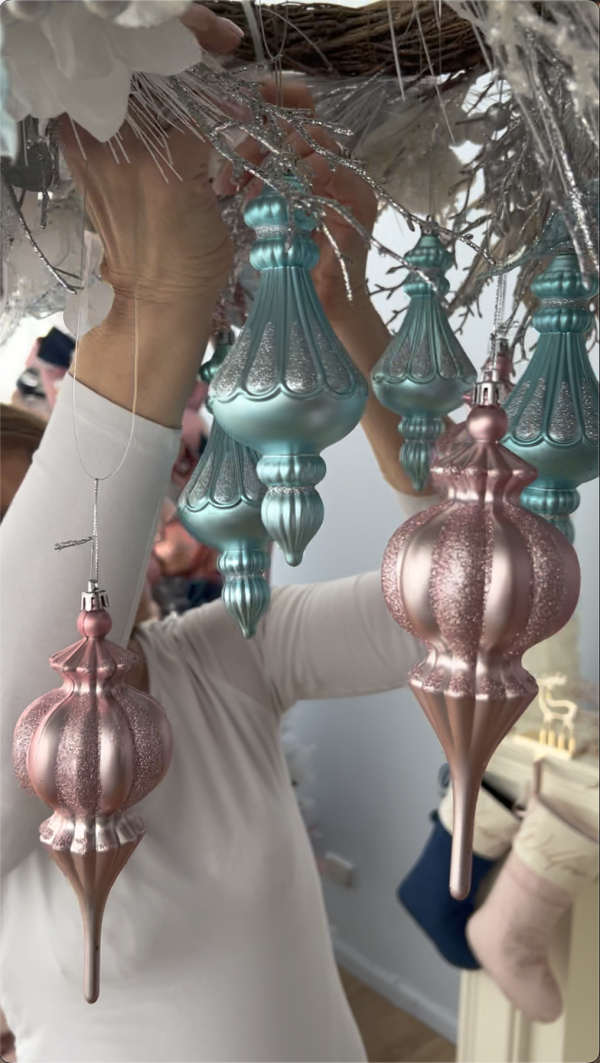
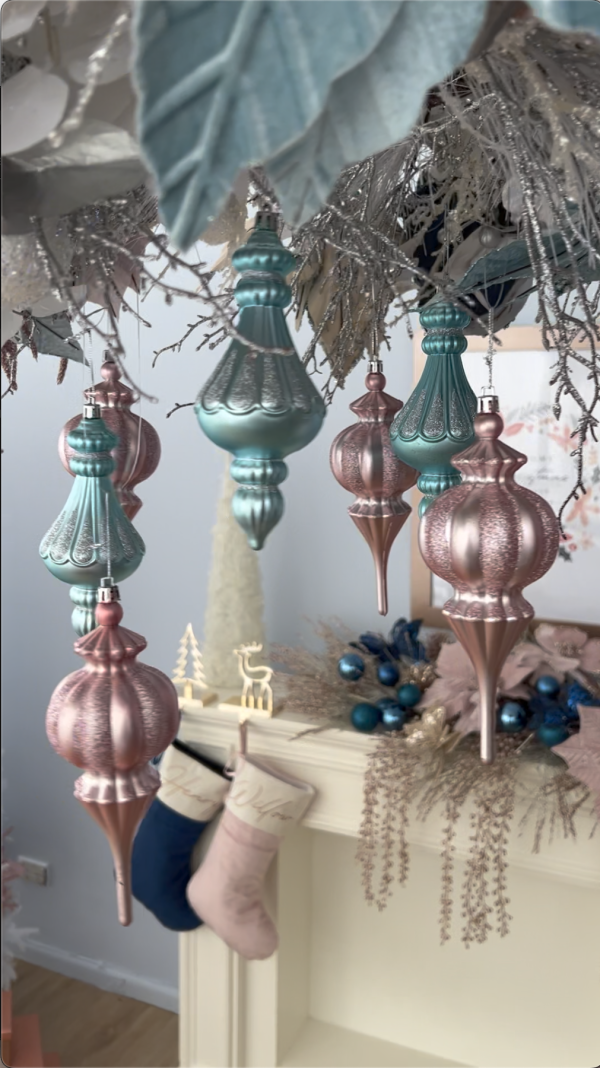
Step 6: Add Finials at Different Lengths
Attach finials at various positions and lengths to suit your display. We simply threaded some fishing line through the string loop that is already on the finial and then tied to the branches of the wreath.
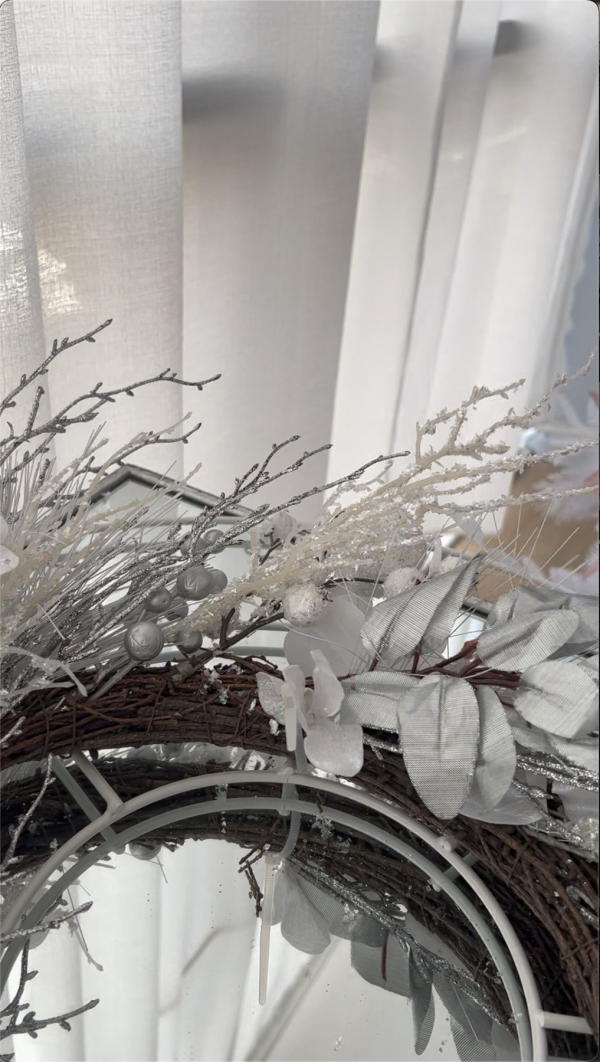
Step 7: Finishing Touches
Take stock and decide what, if any, finishing touches you might like to add to complete your wreath.
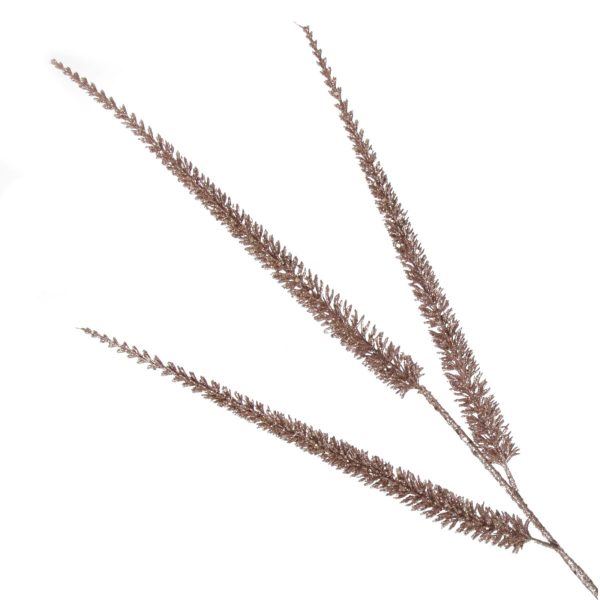
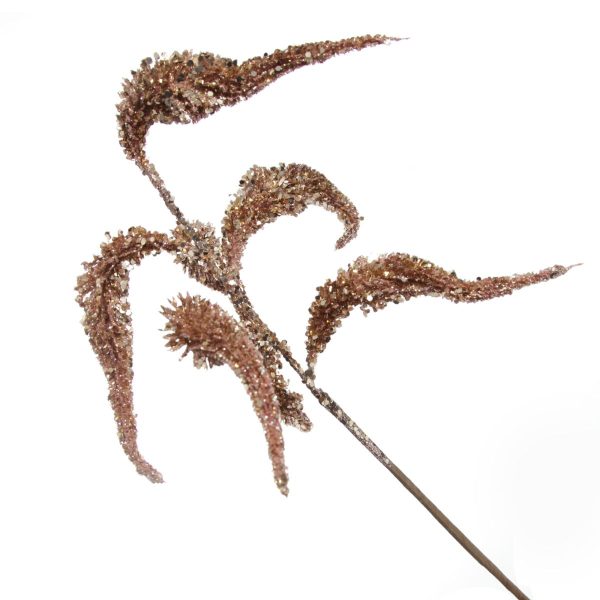
We added some rose gold and silver glittered sprays to add texture and fill out any empty space. You might also choose to add some battery powered seed lights for a little extra shimmer and sparkle.
And there you have it! A simply stunning Blush & Blue Christmas DIY Floral Wreath Chandelier that is sure to wow your guests and compliment your Christmas decorating.
Head to our Inspiration Gallery to explore our entire Blush & Blue Christmas Collection. There’s plenty of decorating ideas, inspiration and more.
And if you love all things Christmas craft, not just DIY wreaths, make sure to check out our Christmas Craft blog for lots more Christmas Craft ideas.
Get Social – Celebrate & Decorate with Us!
Be sure to connect with us via social media on our Facebook or Instagram pages, and of course keep an eye on our website too, to make sure you don’t miss out on all the fun Christmas things we get up to as we create, decorate and celebrate this most wonderful time of the year.
If you love Christmas decorating and crafting, we are sure that you will love our Celebration Central Community on Facebook. It’s a great place with very supportive and friendly members who share loads of celebrating and decorating ideas for all occasions, including Christmas of course! We host weekly Lives as well as give-aways and exclusive member only specials on our two online stores, thechristmascart.com.au and giftsandkeepsakes.com.au. We’d love to get to know you over there.