


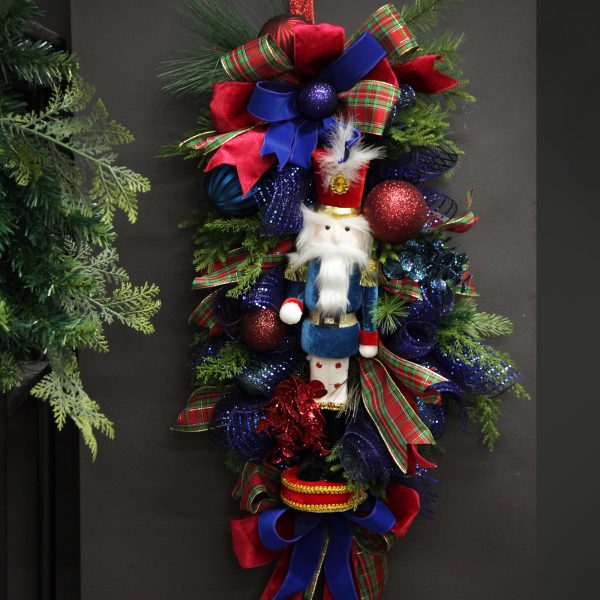
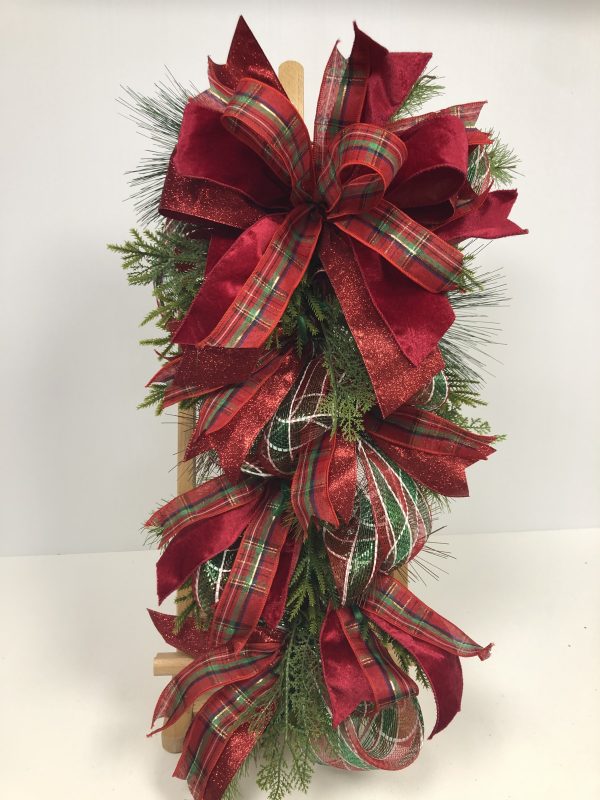
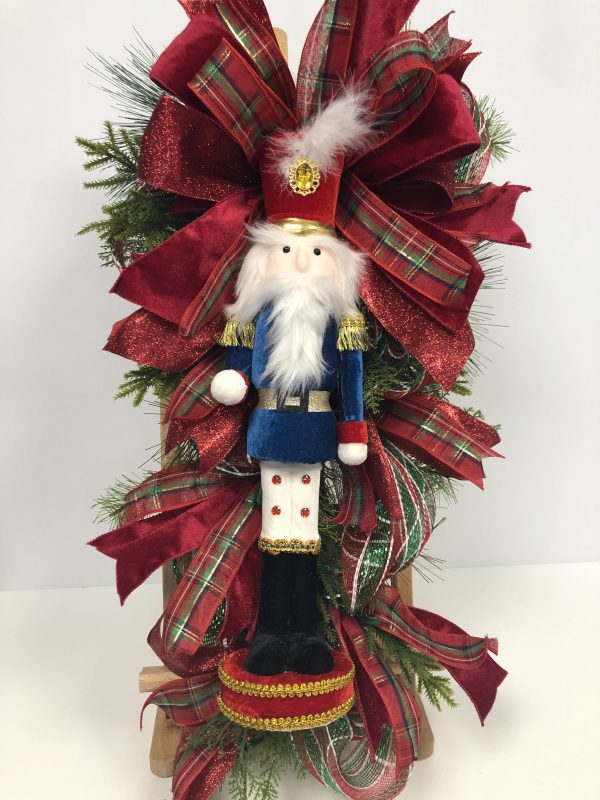
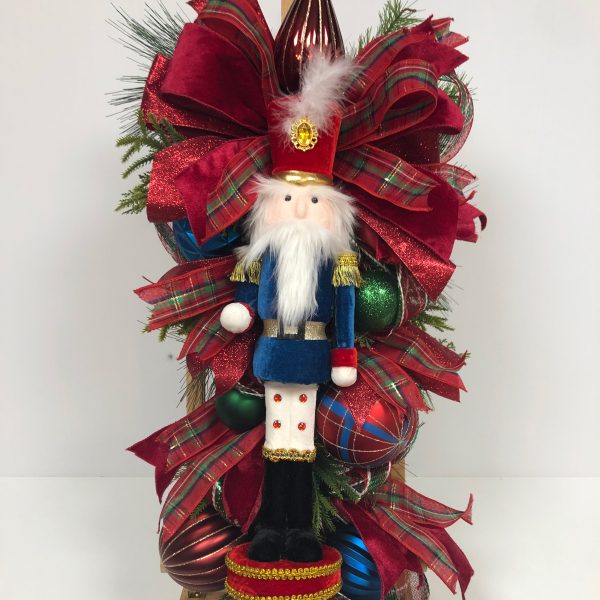
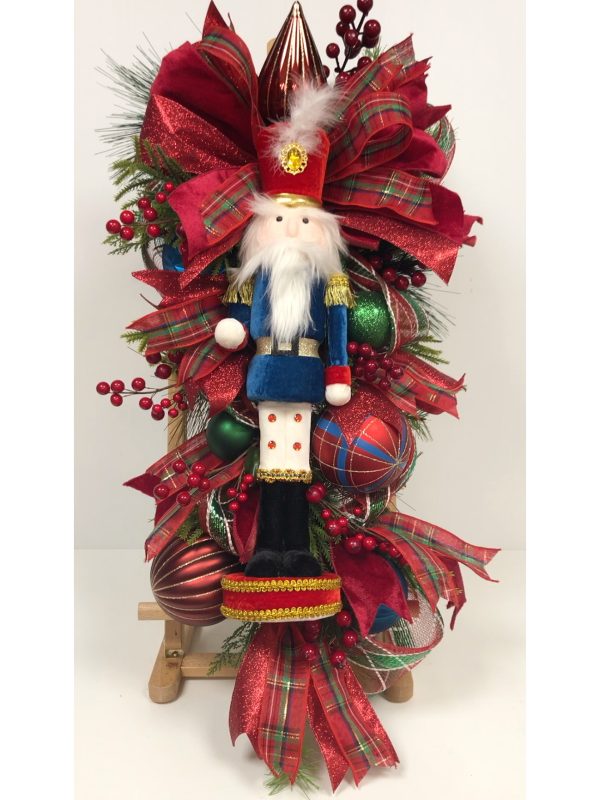
For our latest Make and Create Christmas craft project we’ve created this stunning Nutcracker Christmas Teardrop Swag.
While popular choices, wreaths and signs are not the only way to add colour and festive cheer to the walls in your home. Swags are a versatile floral item that can be used to decorate mantles, shelves, vignettes and while you may not have considered it, yes, they are a great way to create something unique and interesting for your walls too.
It’s really simple and lots of fun. We’re excited to show you how we did it, so that you can do it too! So, without further ado, let’s get into it.
Get ready for some Nutcracker Christmas crafting!
What You’ll Need to Make a Nutcracker Christmas Teardrop Swag
Of course, first you’ll need to gather your goodies.
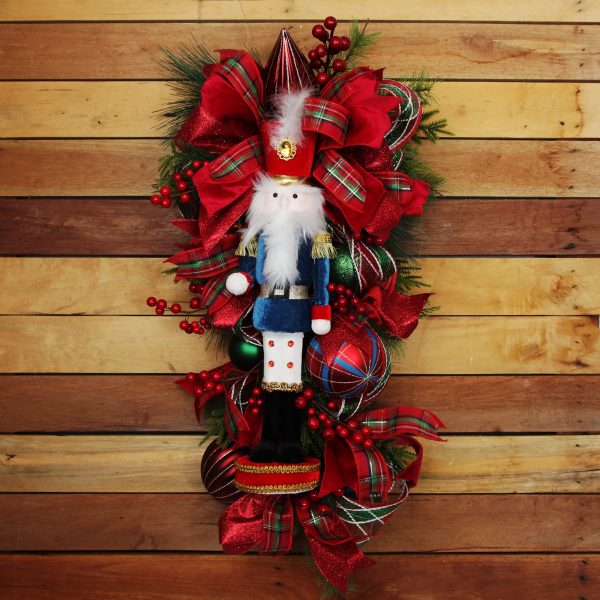
We’ll walk you through the steps and outline what we used to make the image on the right above, but feel free to change up the colours and individual pieces to suit your decorating theme or your creative flair. Regardless of which colours you choose, the steps and the overall process remain the same.
Here’s what you’ll need to create a Nutcracker Christmas Teardrop Swag.
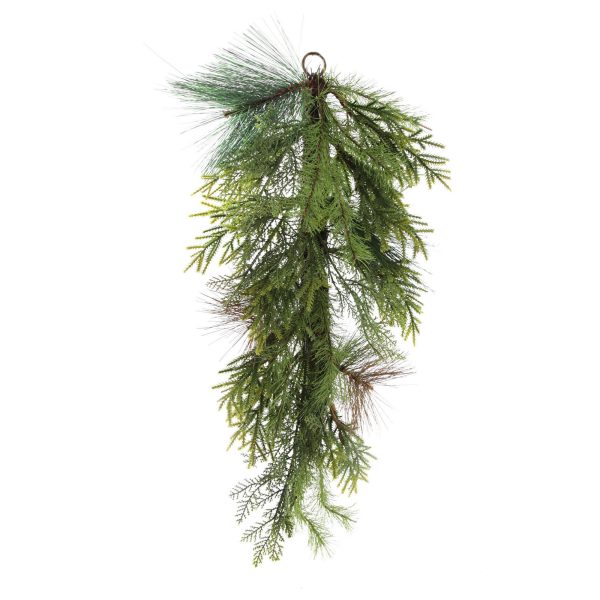
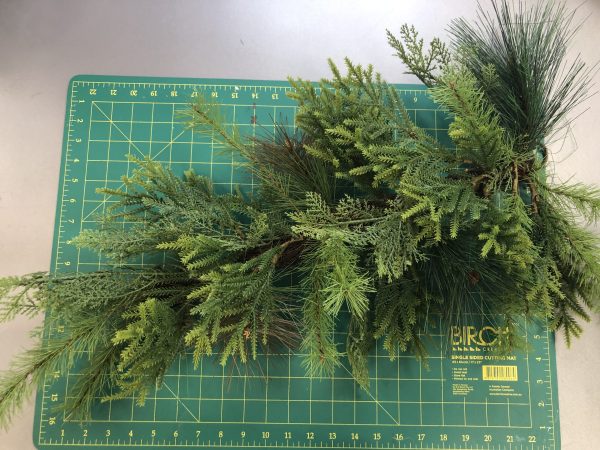
- Luscious, green teardrop swag – we’ve used a Green Mixed Leaf Teardrop Swag
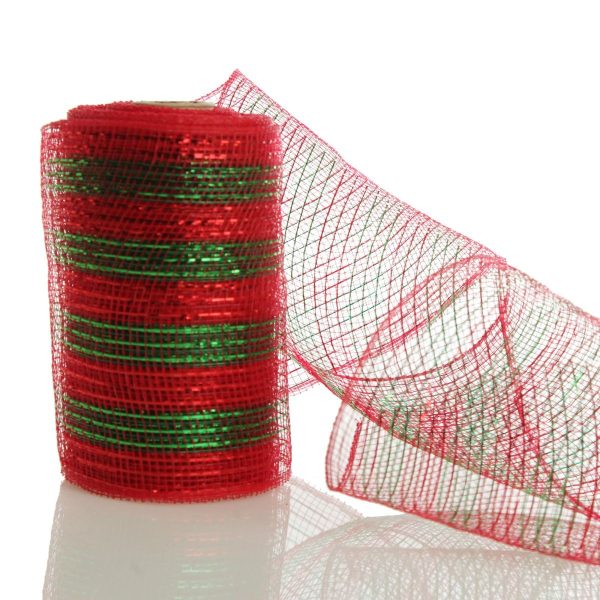
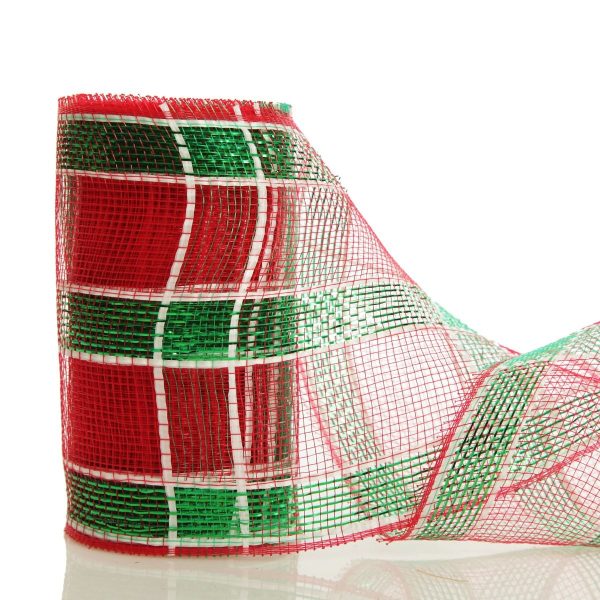
- DecoMesh – we’ve used red and green check, but you could use red and green stripe or blue, or any other colour you’d like!
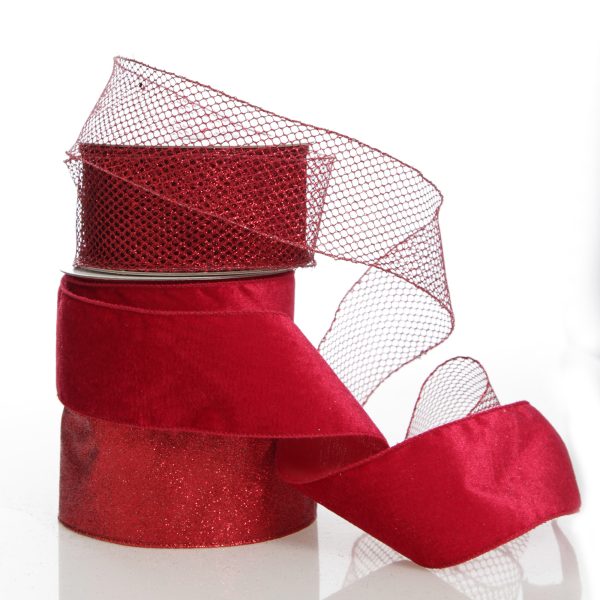
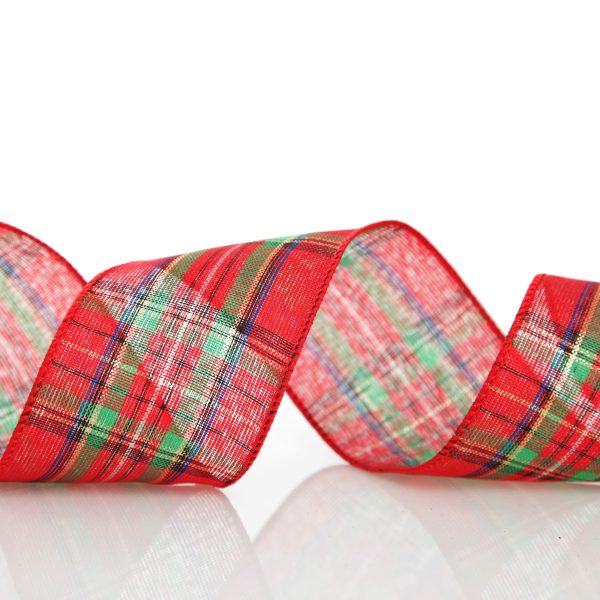
- 3 x complimenting wired ribbons in a selection of colours/styles/textures
- 2 x 6.5cm width – you’ll need 140cm plus extra for bows of each 6.5cm ribbon
- 1 x 3.8cm width – you’ll need 280cm plus extra for bows
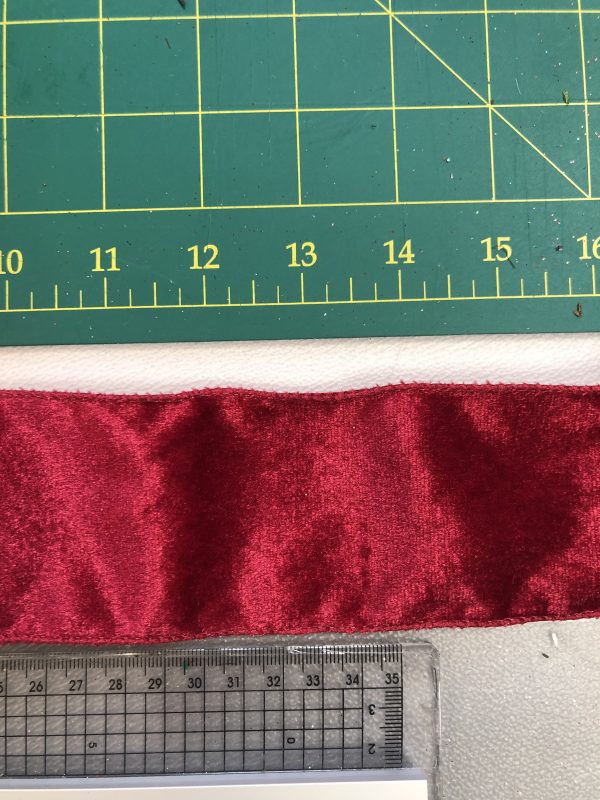
- We’ve chosen a red tartan (3.4cm), red velvet (6.8cm) and red glitter (6.8cm).
- See Tips for Choosing your Ribbons below for more info.
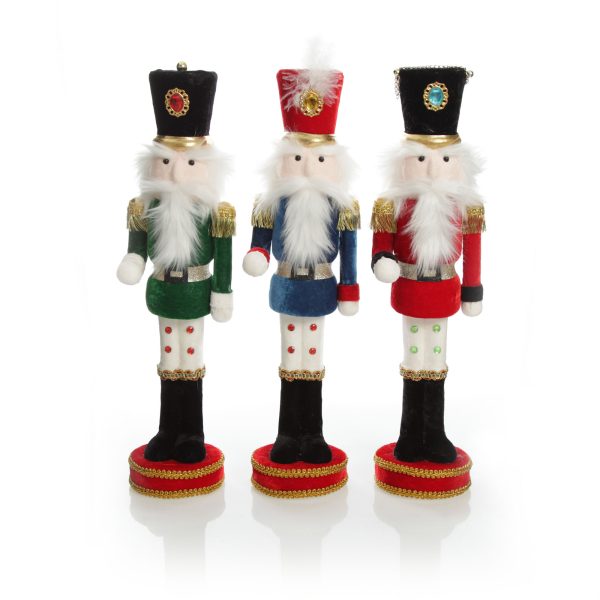
- 1 x Extra Large Foam Nutcracker in the colour of your choice. These guys are perfect for Nutcracker craft projects as they are super lightweight, unlike their wooden counterparts. We’ve used a nutcracker with a blue jacket for this one.
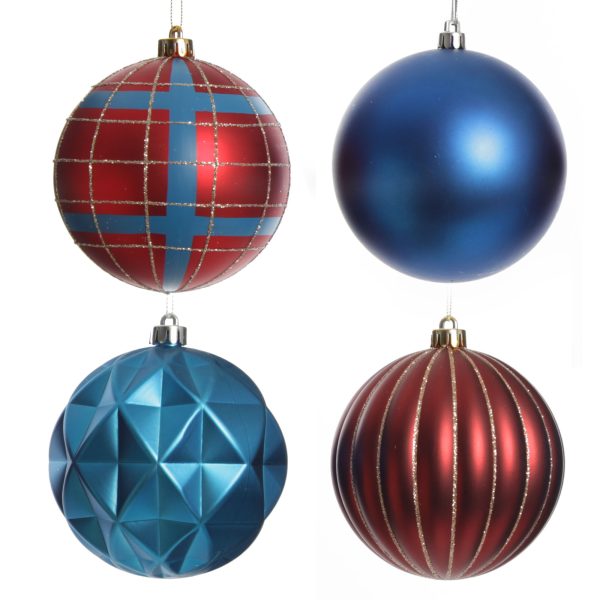
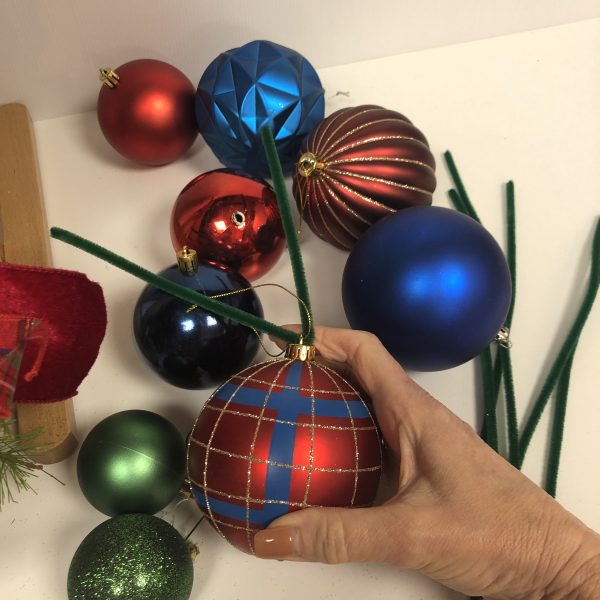
- A co-ordinated selection of decorative baubles in various colours, shapes, sizes and finishes. A bauble set of red and blue is a great place to start.
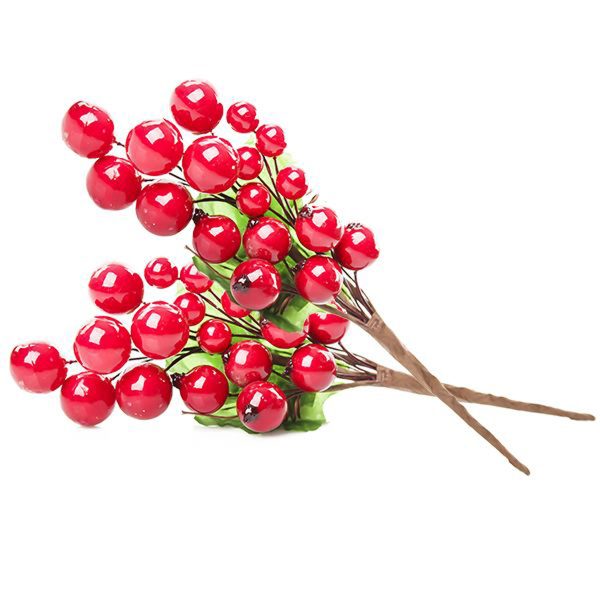
- Red berry picks or another pick of your choosing to add a little extra detail and texture. Glitter berry picks are a nice touch if they work with your styling.
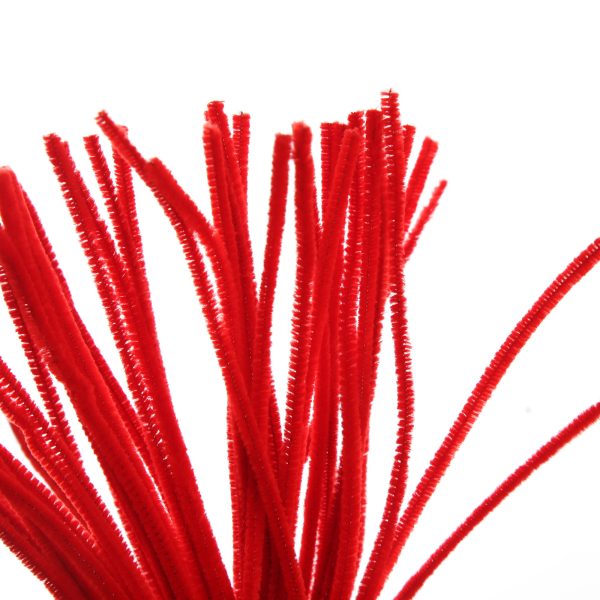
- Lots of pipe cleaners in colours to match your various decorative items and/or to blend with your foliage – red, green, white etc.
- Scissors
- Ruler
- Hot glue gun
Tips for Choosing your Ribbons
It is important to have the just the right visual and textural mix when choosing your ribbons. We suggest having a patterned ribbon for the 3.4cm ribbon and then sticking with solid colours but different finishes/textures for the 2 x 6.8cm.
Of course, feel free to experiment and follow your own creative inspiration, but we find this is the best combination to give plenty of volume and interest to your piece without making it too busy. Remember to consider that you will be placing the ribbon with DecoMesh, baubles and other pieces too so be sure to consider your choices as part of the bigger overall picture.
Now the real fun begins!
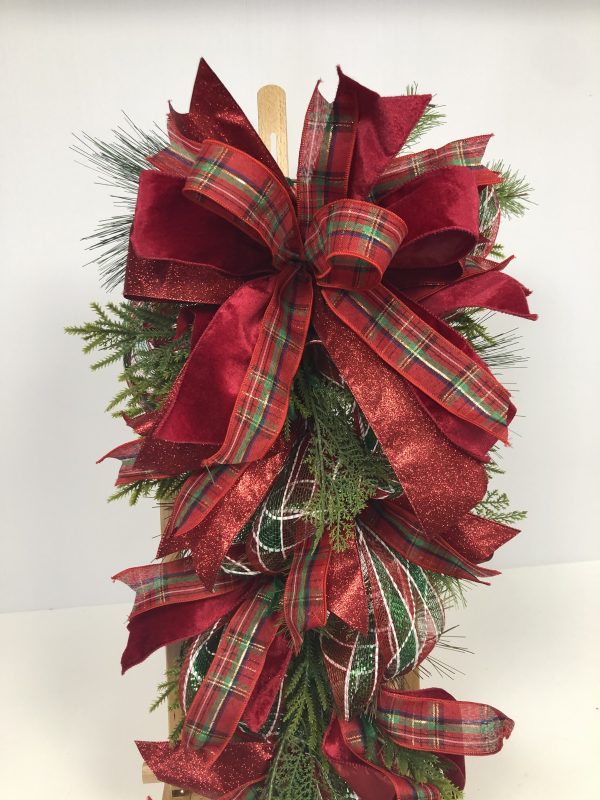
Step 1 – Zhoosh the Teardrop Swag
The very first step is to zhoosh or fluff the green teardrop swag base.
This means carefully separating, shaping and positioning each individual piece of foliage so it that looks full and lush. It is surprising what a difference this step makes.
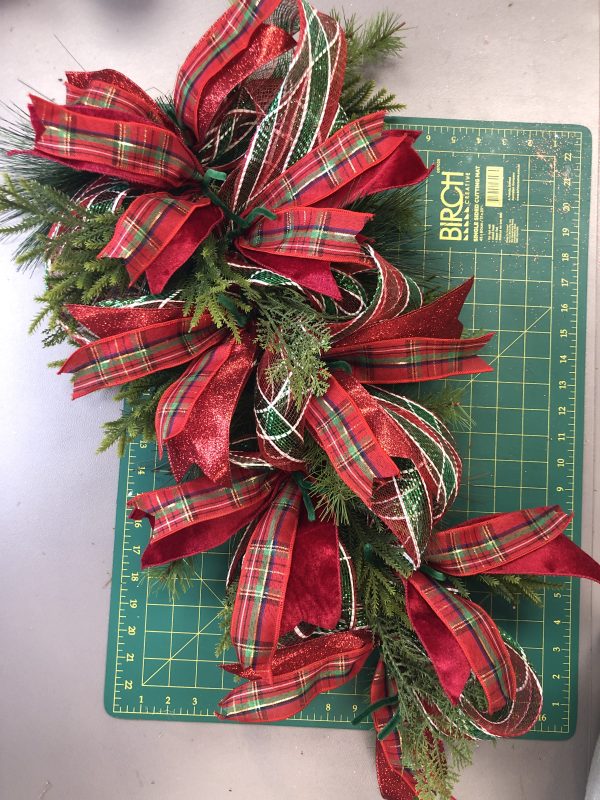
Step 2- Add the DecoMesh
It’s best to work with the full roll of DecoMesh and only cut it off once you are done working with it so that you don’t underestimate and leave yourself short.
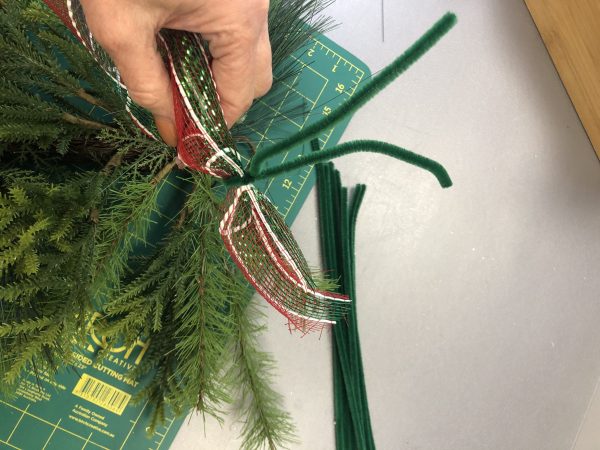
Wrap a pipe cleaner around the end of the DecoMesh, about 1 – 2inches from the raw edge. You can wrap it around a couple of times to make it secure or wrap once and then twist the 2 pieces of pipe cleaner around each other.
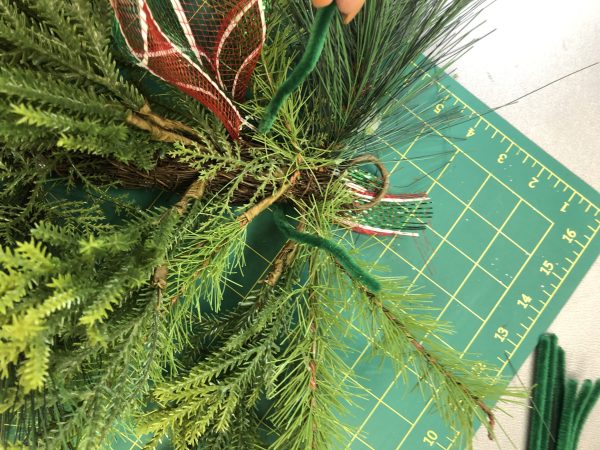
Holding the DecoMesh where you have secured the pipe cleaner, take it to the back side of the Teardrop Swag near the top (or fullest end). Bring the pipe cleaner around to the front of the Teardrop Swag and tie or twist to secure it around the trunk of the swag.
Move down the trunk of the Teardrop Swag about 15cm and wrap a pipe cleaner around the trunk bringing it to the front. Bring the DecoMesh down one side of the trunk and create a poof by measuring out a length or section longer than 15 cm and then securing it with the pipe cleaner you have just positioned. Repeat this process 2 more times until you reach the bottom of the swag each time securing into place with the pipe cleaners.
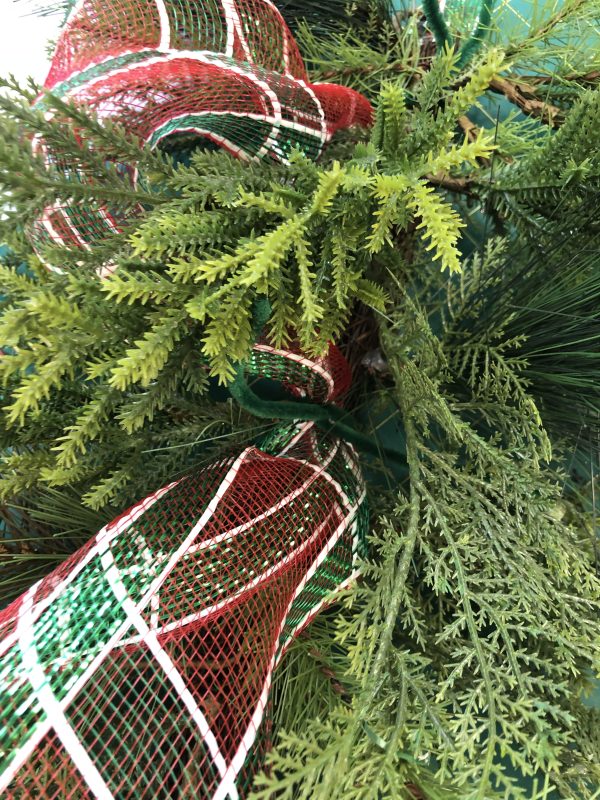

Once you’ve reached the bottom of the Teardrop Swag take the DecoMesh up the other side creating poofs every 15-20cm and staggering them between the poofs on the other side.
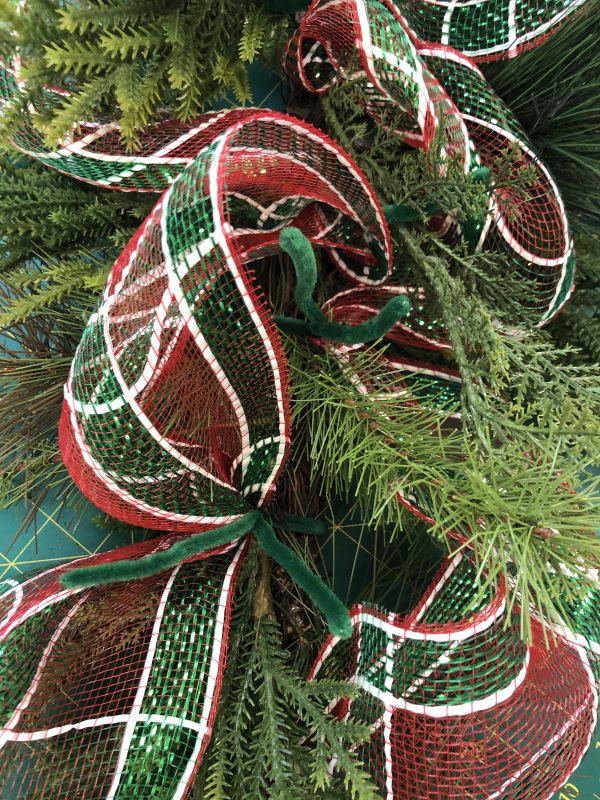

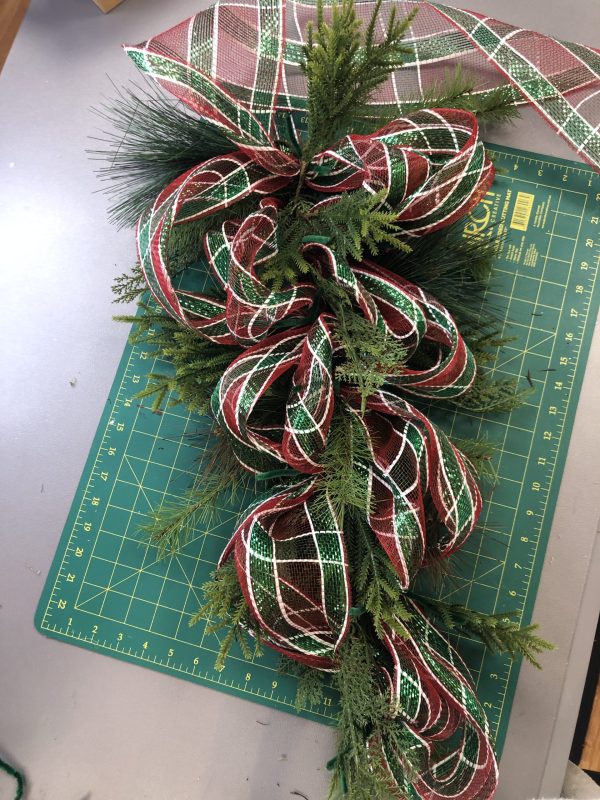
Repeat this process going down and up the Teardrop Swag again on each side. This time measure out a little more DecoMesh for each poof and bring it out a little wider from the trunk of the Teardrop Swag, making bigger poofs to give even more volume.
Once you reach back to the top for the second time, cut the end of the DecoMesh and secure to the trunk of the swag with the pipe cleaner (again leaving about 1-2 excess inches of DecoMesh on the other side of the pipe cleaner.)
Step 3 – Measure and Cut the Ribbon
Gather your 3 x wired ribbon choices. Each ribbon will be cut into 35cm lengths.
You’ll need 4 lengths of each of the 6.5cm ribbons and 8 lengths of the 3.8cm ribbon.
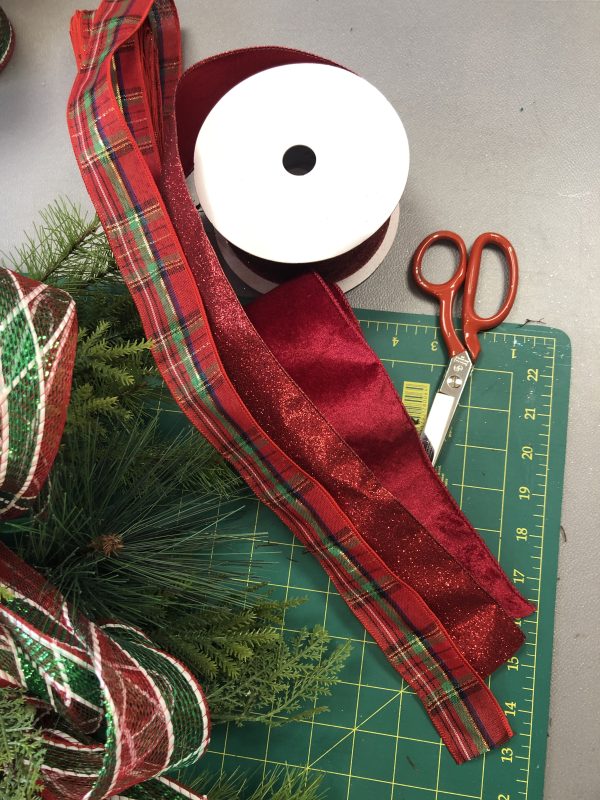
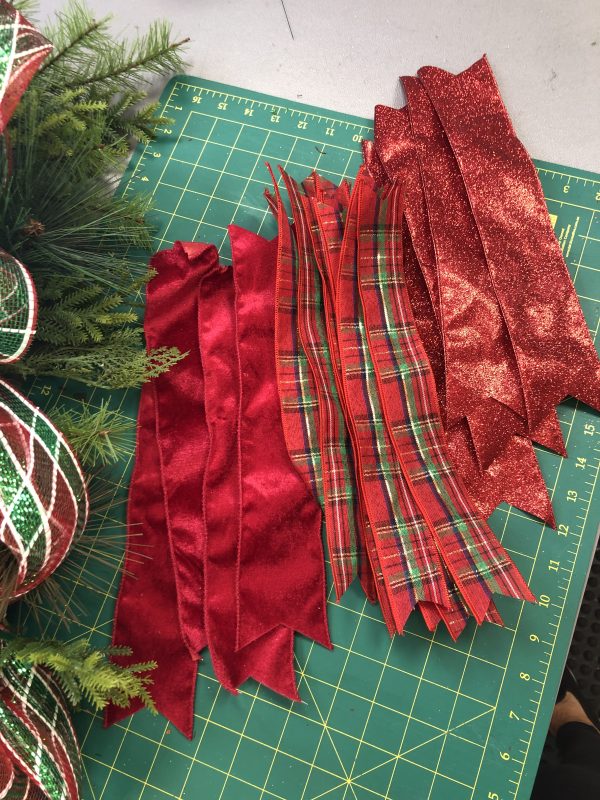
Once you have measured and cut your 16 x 35cm pieces, dovetail the ends of each length by folding the ribbon in half lengthwise and cutting a v shape from the centre to the outer edge.
Step 4 – Add the Ribbon to Your Nutcracker Christmas Teardrop Swag
The next step is to add your ribbon pieces to the swag.
Start by taking one piece of the 3.8cm ribbon, placing it on top of a piece of 6.5cm ribbon and then pinching the ribbons together in the middle.
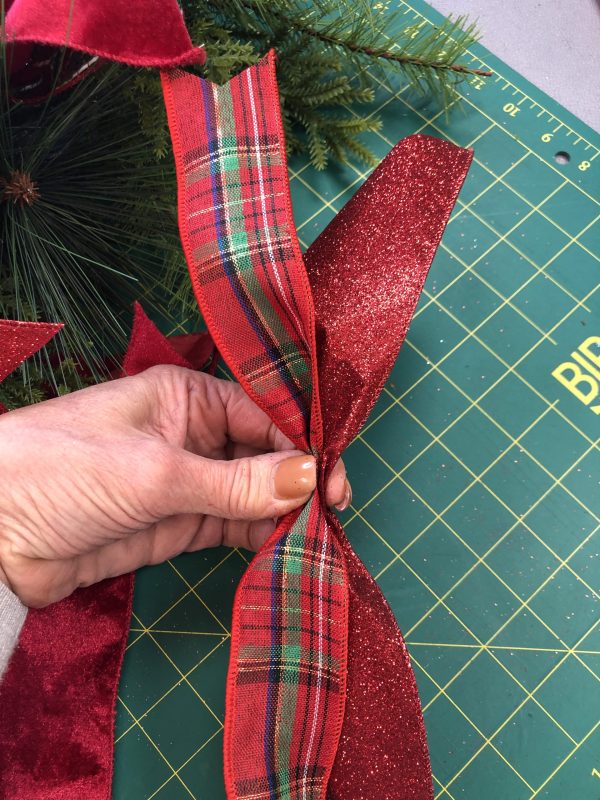
Starting at the top of the swag, attach the pinched ribbons using the pipe cleaners that are holding the DecoMesh poofs. Twist the pipe cleaners to secure the ribbons in the centre, at the point where you have pinched them.
Alternate the 6.5cm ribbon used each time as you move down the swag.
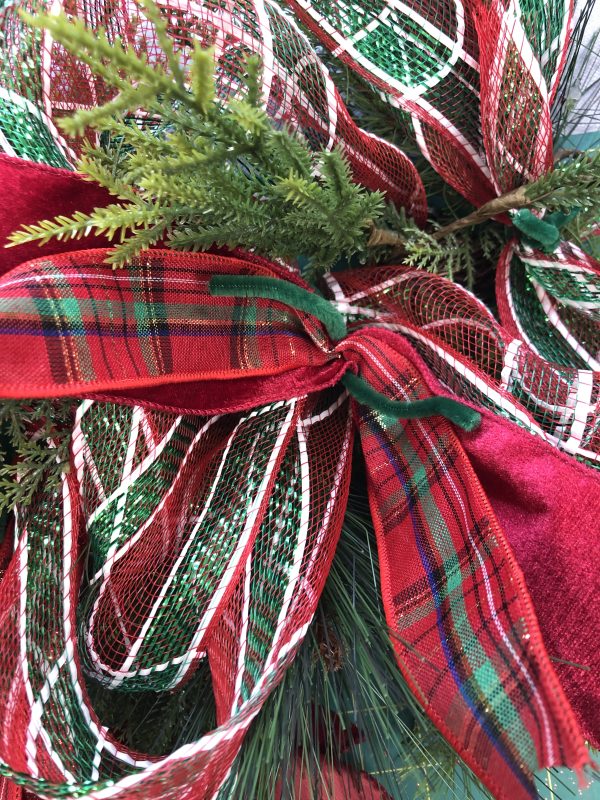
Step 5 – Add a Big, Beautiful Bow!
Using additional lengths of each of your 3 ribbons, fashion a big, beautiful bow and secure it to the top of your swag. Pipe cleaners are perfect for both creating and holding the shape of your bow as well as attaching it.
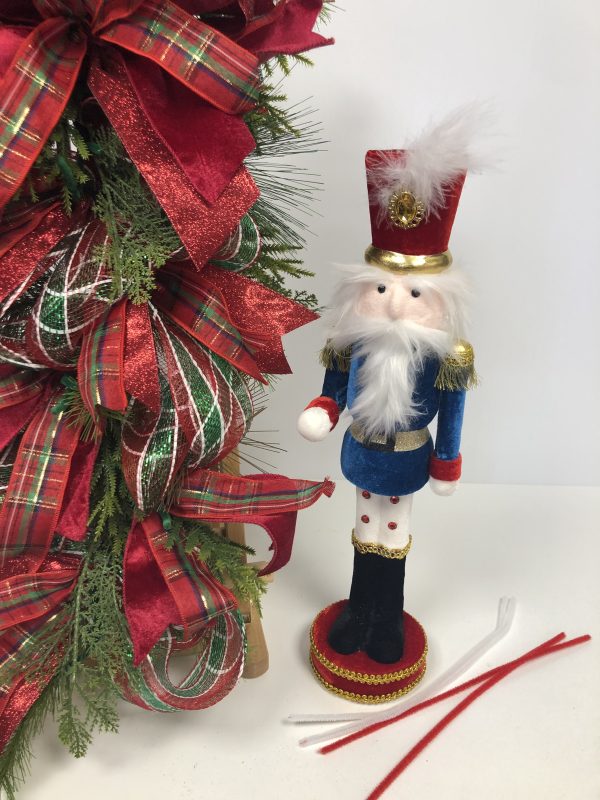
Step 6 – Add the Nutcracker Feature
It’s time to add the feature ornament. An extra large foam Nutcracker!
Gather your Nutcracker and 4 x pipe cleaners. We’ve used 2 x red as that coordinates with our Nutcrackers hat and 2 x white to blend in with the Nutcracker pants. These are the two points that we will use to affix the Nutcracker to the swag.
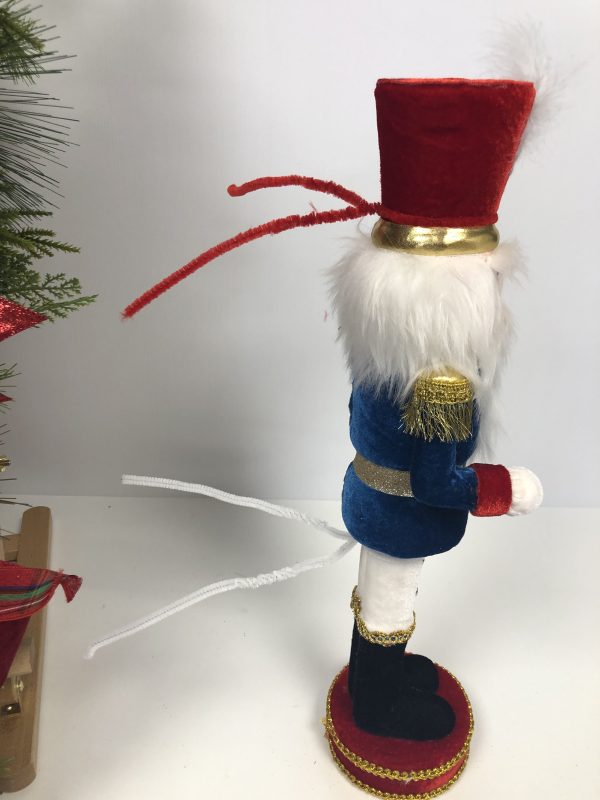
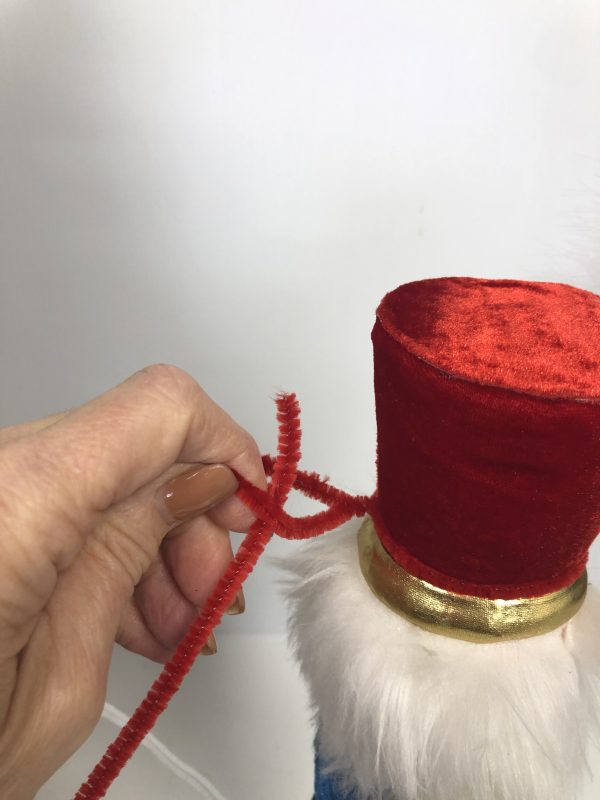
Wrap a coordinating pipe cleaner around the nutcracker at the rim of the hat and the top of the legs and make a twist in the back to tighten the pipe cleaner around the Nutcracker.
Join the ends of each pipe cleaner and twist them together to create a loop. Then thread the second matching pipe cleaner through the loop you have just made. This will give you some more length to then be able to secure the nutcracker to the swag. Because the swag is now quite full and lush, one pipe cleaner isn’t long enough to reach to the back of the swag.
Use the pipe cleaner to securely fasten the Nutcracker to the swag. You should position it so that the hat sits in the middle of the bow.
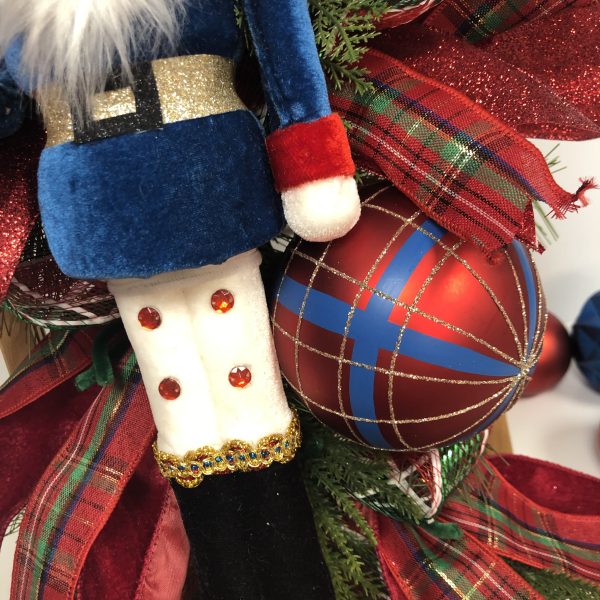
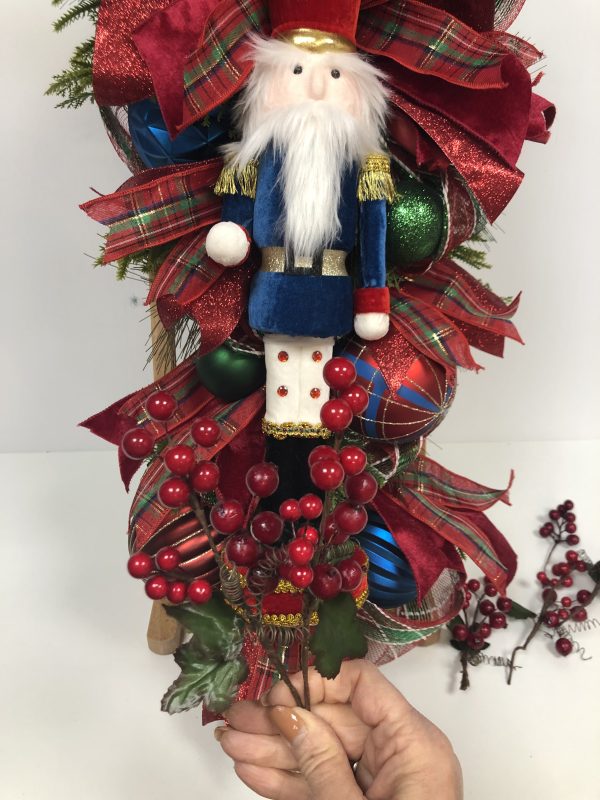
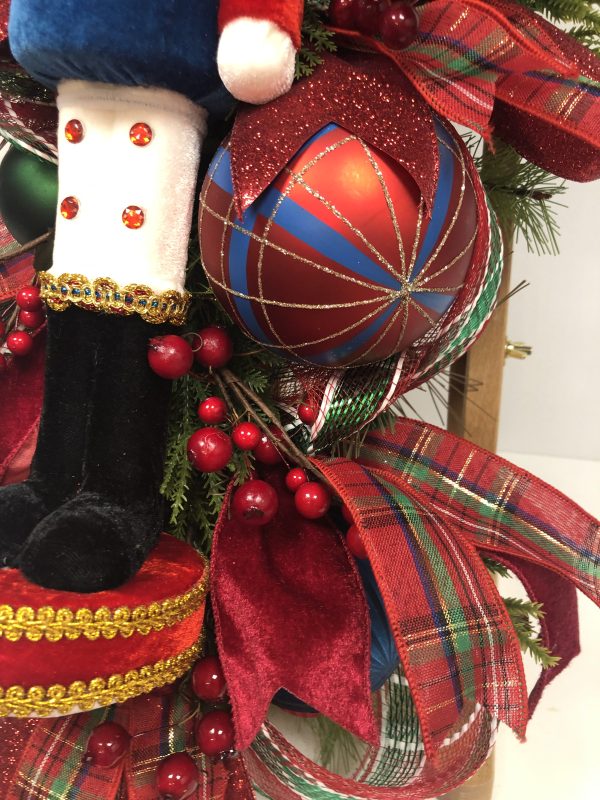
Step 7 – Finishing Touches: Add Baubles and Berries for More Decoration
We’re almost there. Next, we’ll add baubles and berries for festive flair and lots of texture.
Use green pipe cleaners to attach the baubles to the trunk of the swag. Thread the pipe cleaner through the ring that is used to hang the bauble and then twist it around the trunk to secure it in place.
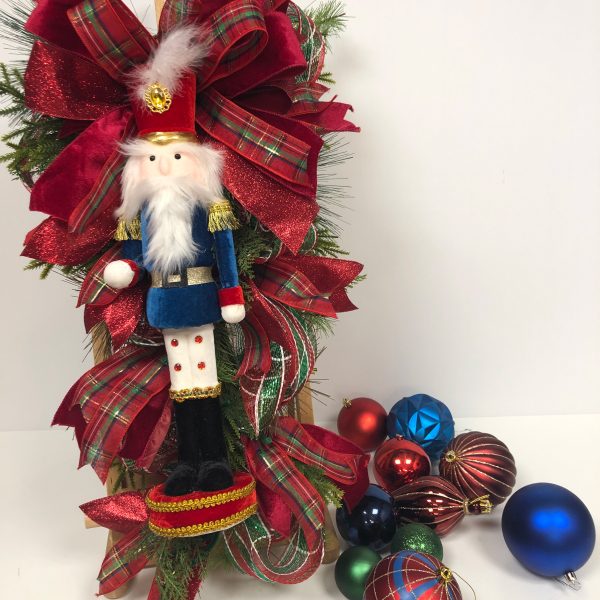
Spread the baubles around the swag at different positions and directions.
Finally, add a sprinkling of berries throughout your Nutcracker Teardrop Swag creation, using a hot glue gun to hold them in place.
Now that everything is in place, make any final adjustments to ribbons and the other decorations so that it is looking just right. You might like to use a drop of hot glue to secure any other parts of your swag that you feel might need a little extra help to stay put.
Your Nutcracker Christmas Teardrop Swag is Complete
And that’s it! You’ve got yourself a one-of-a-kind piece of Nutcracker Christmas wall décor that will no doubt attract all the attention that it deserves.
Display it proudly in your home. Our wreath hangers make great teardrop swag hangers too if you are looking for ideas on how to hang or display your masterpiece.
Check out our Inspiration Gallery for more Nutcracker Christmas decorating ideas. Head to our Christmas Craft blog if this has got your crafty juices flowing and your looking for more amazing Christmas Craft ideas.
We just love seeing how other people get crafty at Christmas time, so make sure you follow us on our Facebook and Instagram pages and be sure to share your Christmas craft adventures with us too.