


It’s no secret that we love a little bit (or a lot!) of Christmas Craft in all its glorious shapes and forms. But we understand that not everyone is the type to crazily dive-in headfirst and just “have a go”. If you’re not quite sure how to get started it can be a little daunting.
That’s where our DIY wreath kits come in. Not only for the beginner crafter, but certainly a great way to get a taste, DIY wreath kits are a complete package of everything you need to create your very own Christmas wreath. You don’t have to worry about hitting the shops with an extensive list of bits and pieces to buy or having to buy a whole packet or roll of various items just to get the few small pieces you need or worrying about whether what you’ve chosen will look good together. We’ve done all that hard work for you and it’s all right there in the pack, ready for you to put down the shopping list, stop worrying and get crafting.


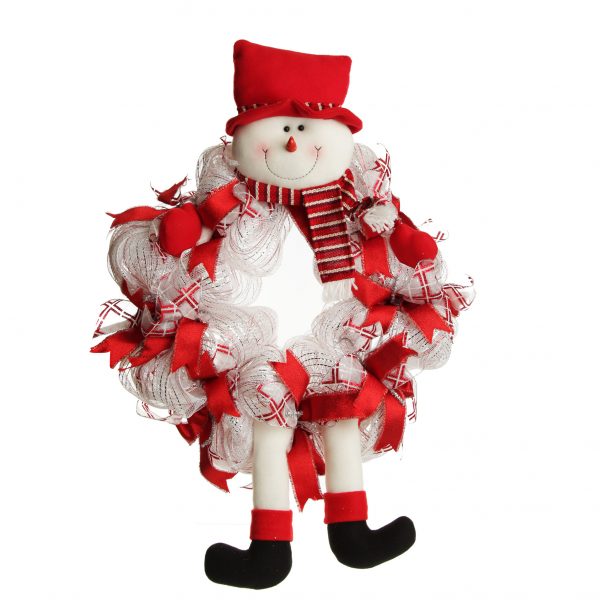
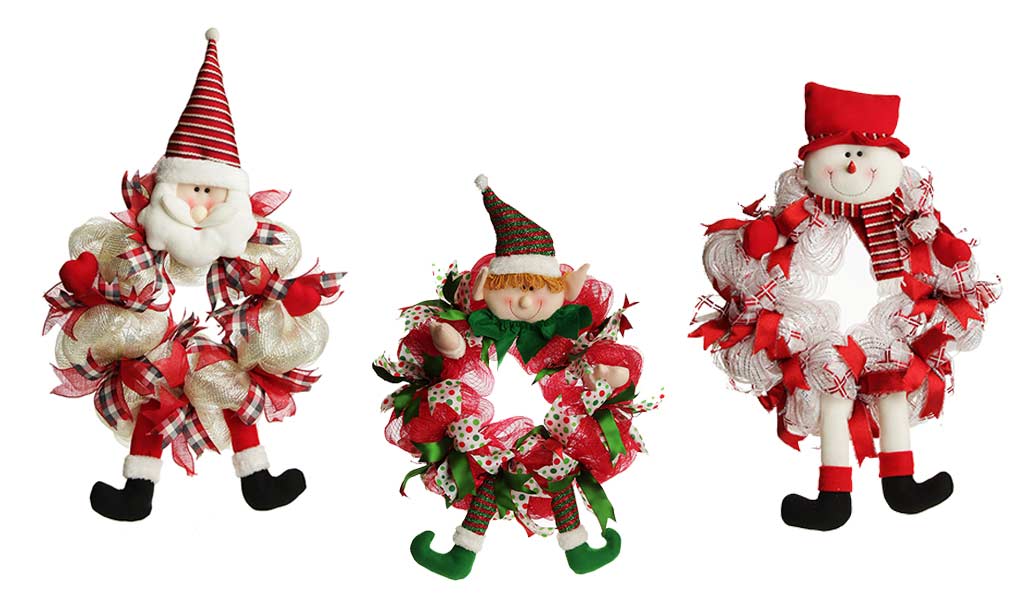
Our DIY wreath kits are available in 3 different designs – Santa, Elf or Snowman and as we mentioned before they come with everything you’ll need, all perfectly co-ordinated for outstanding result.
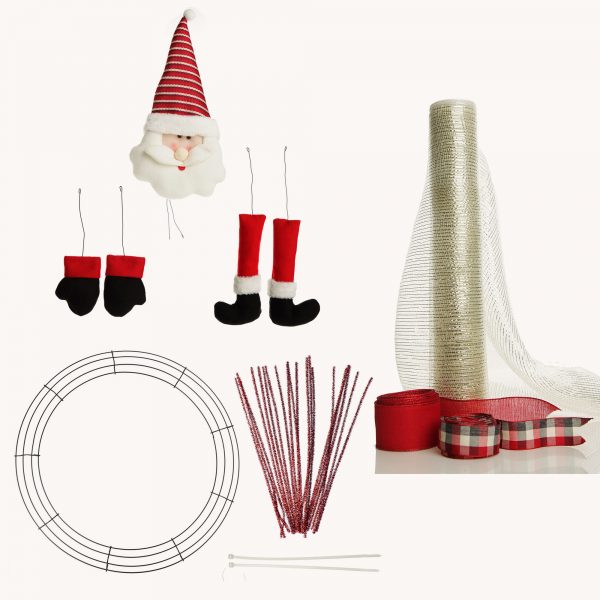
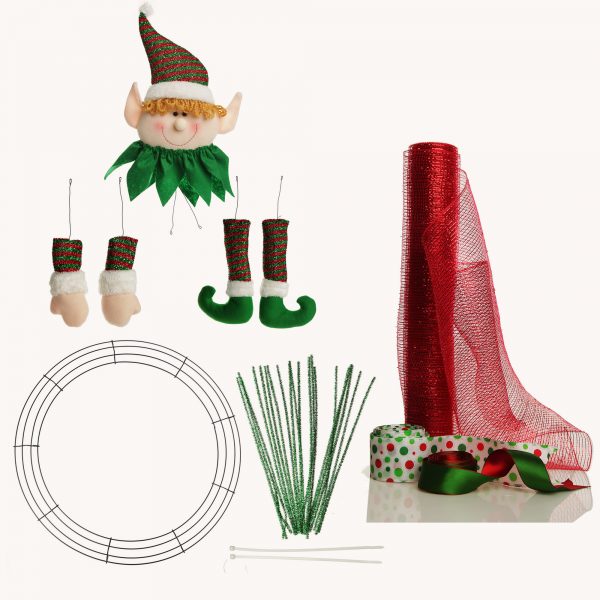
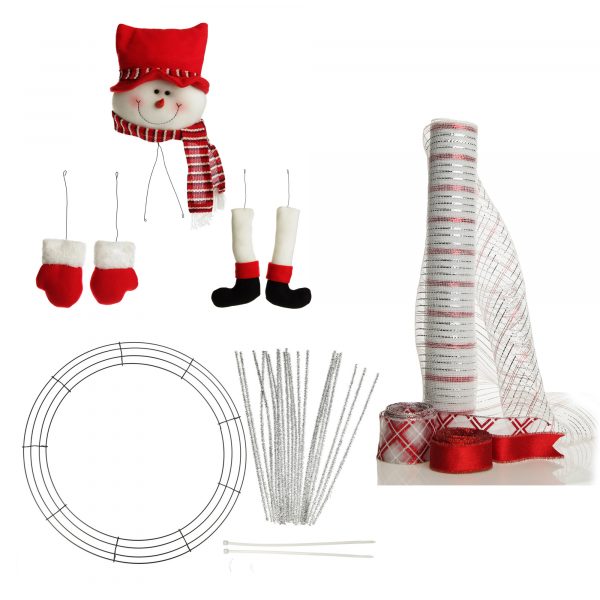
Each kit contains:
- 1 x character pick set – 1 x head, 2 x arms and 2 x legs
- 35.5cm (14 inches) Green Wire Wreath
- 1 x 9m (10 yards) roll of Decomesh
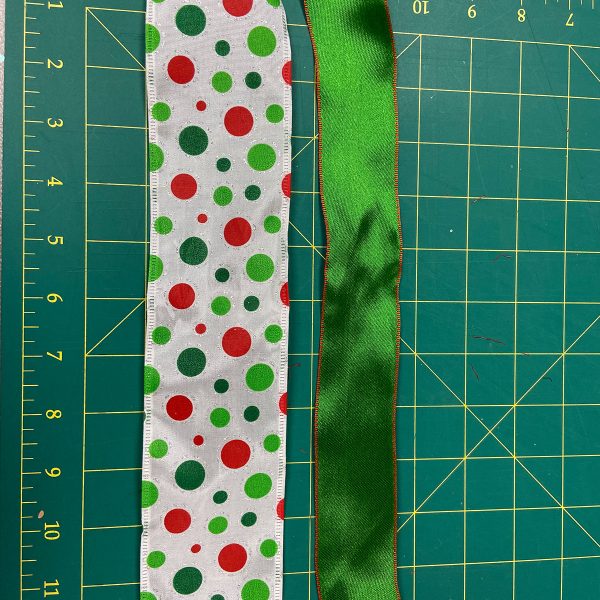
- 2 x 6m contrasting wired ribbon
- 14 x Glitter Pipe Cleaners
- 2 x Cable Ties
Ok, technically there’s one thing that you’ll need that doesn’t come in the pack – a pair of scissors. We’re sure you can manage to round up some of those!
So what are you waiting for, purchase your favourite DIY wreath kit, grab your scissors and then join us for some Christmas wreath-making fun!
We’re going to work with the Elf DIY Wreath Kit, but the steps and process are the same for each kit. It’s just the individual pieces and overall completed design that looks different.
Step 1
The first thing that you’ll need to do is to attach the pipe cleaners to the metal wreath base.
Place the wreath with the flat side down on your workbench. You’ll be working on the top side for this part.
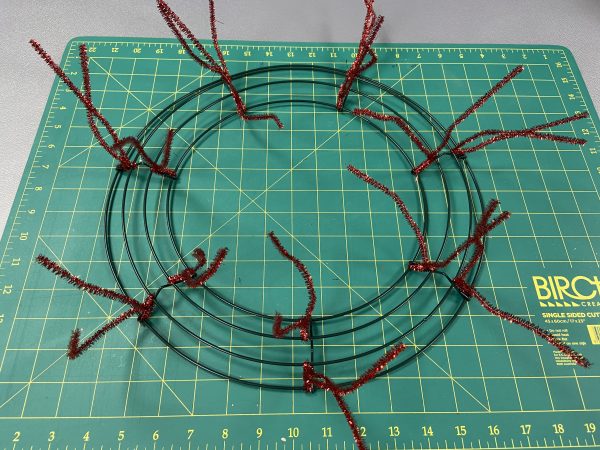
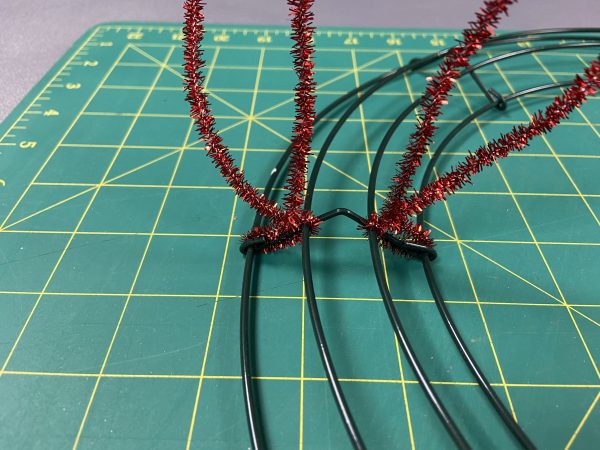
Using the bars that adjoin each of the rings on the wreath base as a guide for your spacing/placement, secure two pipe cleaners to, or near, each bar – one between ring #1 and ring #2 and one between ring #3 and ring #4.
Handy tip: we’ll refer to the various rings of the wreath base throughout these instructions, with #1 being the outermost ring and #4 being the innermost.
Loop the pipe cleaner around the 2 rings and adjust so that you have equal lengths of pipe cleaner on each side and then twist the pieces of pipe cleaner around each other a few times, working close to the wreath base, so that they are tightly secured in place.
Step 2
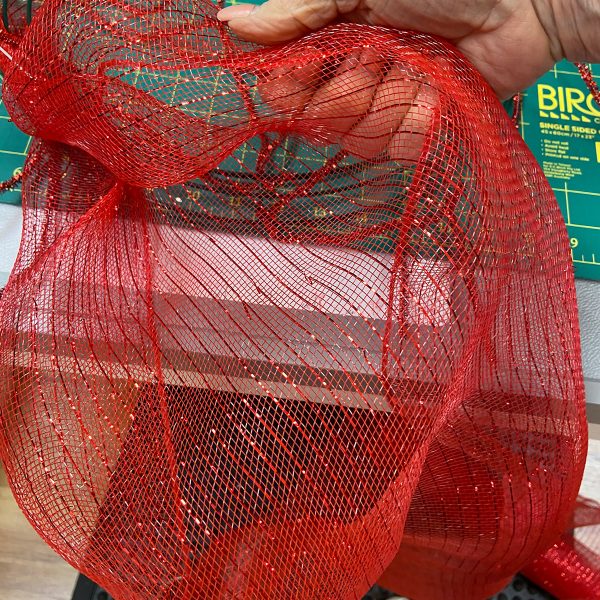
Next you’ll work with the Decomesh to create the lovely, full poufs to fill out your wreath base.

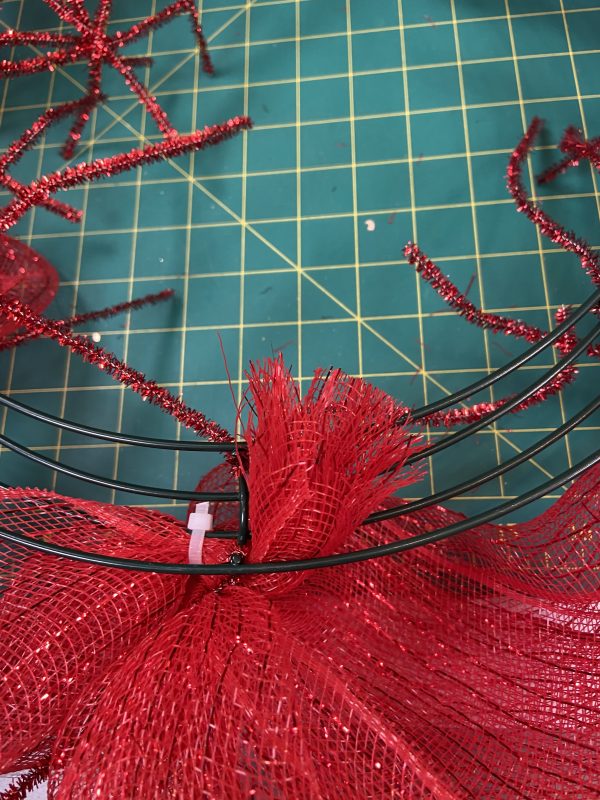
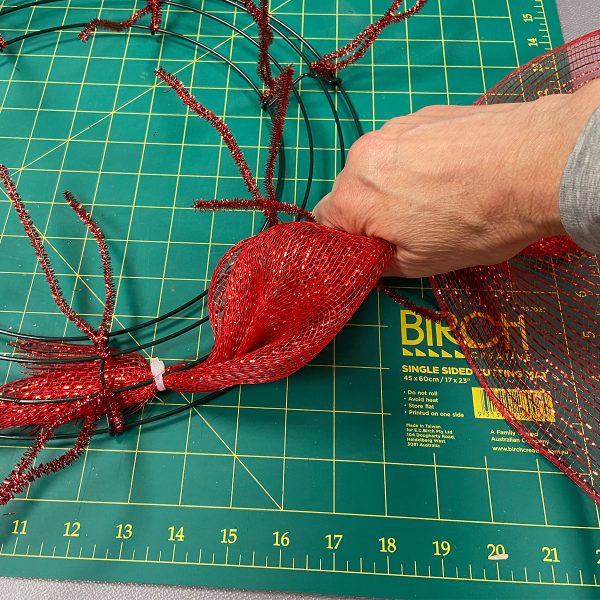
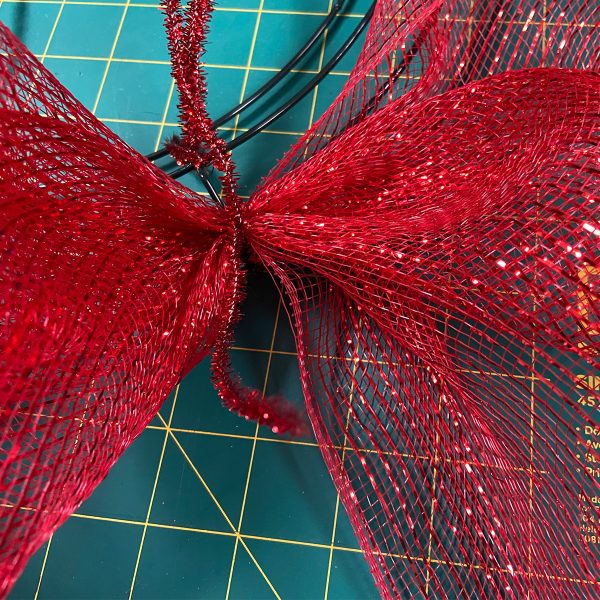
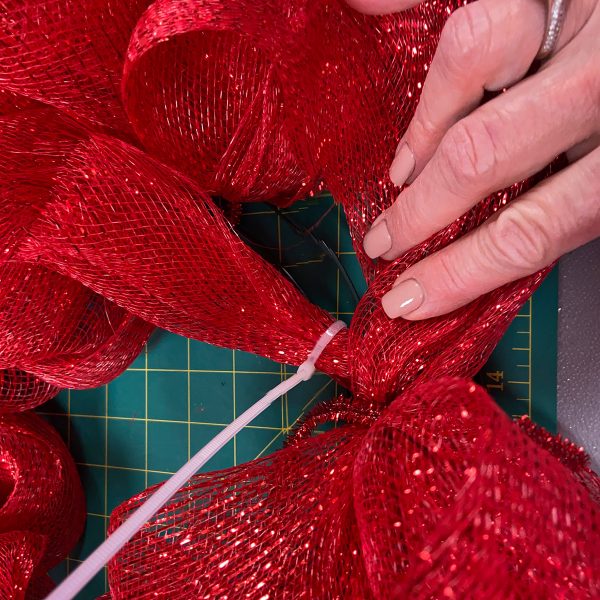
Leaving 2 – 3 inches (approx. 5 – 8 cm) from the end of the piece, use a cable tie to secure the Decomesh to ring #2, next to one of the bars, on the wreath base.
Once tightly secured, trim the excess length off the cable tie and twist the cable tie and end of the Decomesh around the ring so that they are now positioned towards the back of the wreath (or you could always flip the wreath base over and secure from the back in the first instance).
Then it’s time to create the poufs.
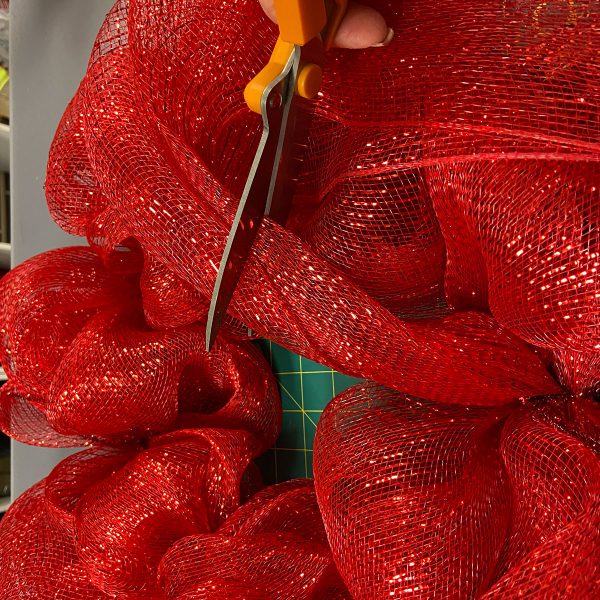
First, straighten out the piece of Decomesh that you are about to work with so that it is not all twisted around itself. You’ll likely need to keep an eye on this and repeat as need as you move around the wreath. Then measure the required length of Decomesh to create the first pouf.
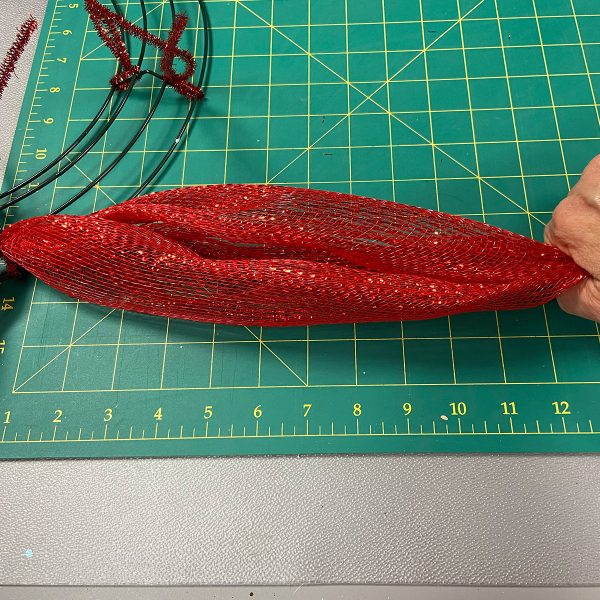
Each pouf requires approximately 10 – 12 inches (25 – 30 cm) of Decomesh to give it a lovely, full look. As an easy guide, we like to use double the distance between the bars on the wreath base.
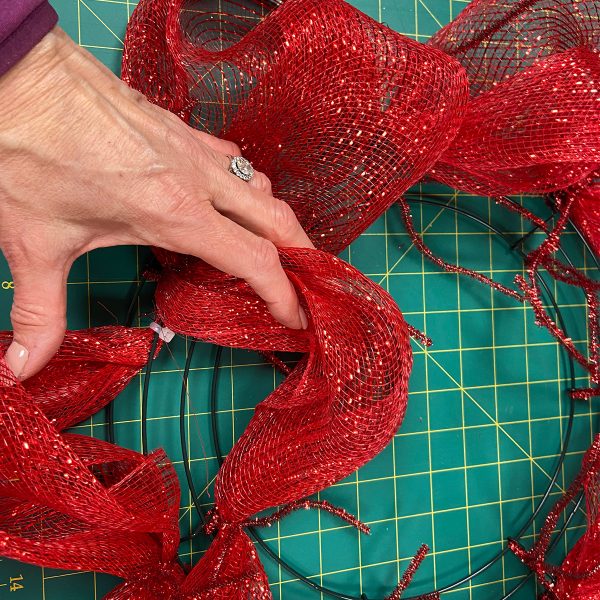
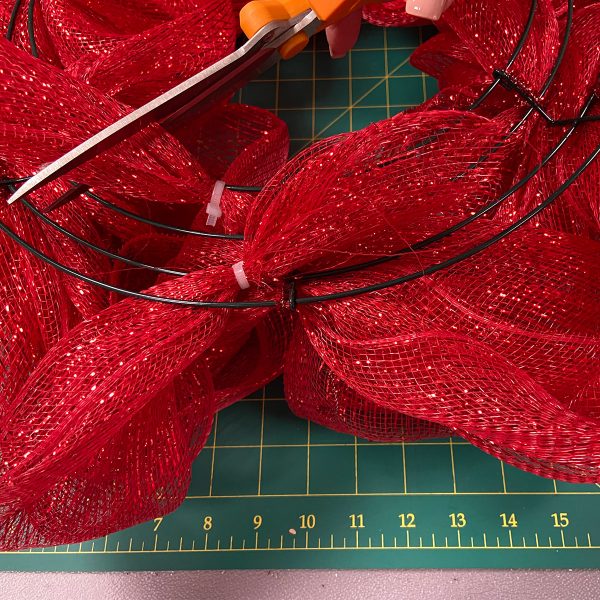
After you’ve measured out your mesh, keep it pinched together and position it at the next bar around the wreath base (keeping to the outside edge of the wreath, between ring #1 and ring #2). Use the pipe cleaners to secure it in place by having one pipe cleaner on each side of the Decomesh and twisting them tightly around each other a few times to secure the Decomesh tightly to the wreath base.
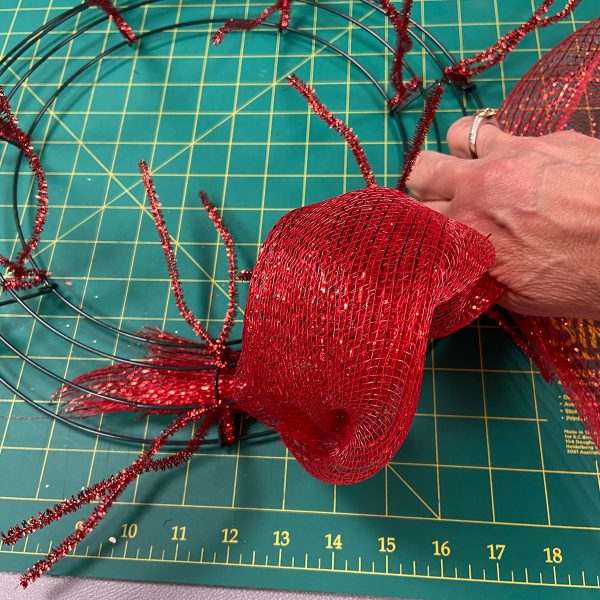

Use your fingers to fan or spread out the Decomesh in the pouf and get it looking as full as possible. You should aim to have the selvedges (edges) of the Decomesh positioned towards the underside of the pouf so that all we see on the top is volumes of billowing fabric. Straighten the next piece of Decomesh and continue the process until you have created poufs all around the outside edge of the wreath base.
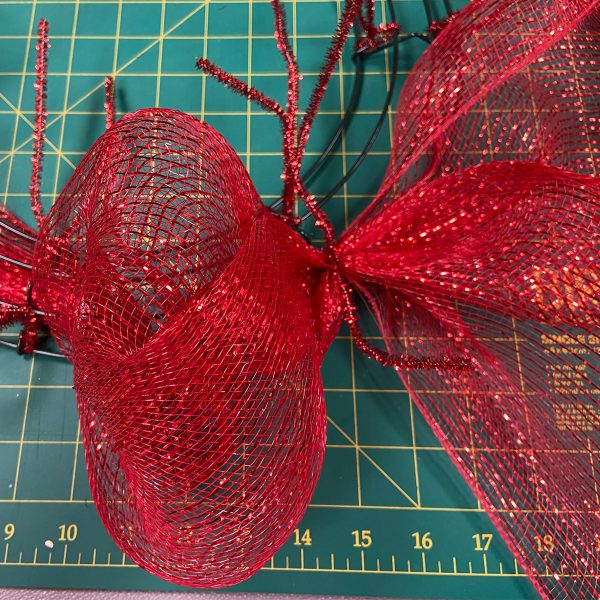
Once you have worked your way around the outside ring of the wreath base, secure the final outside pouf using the pipe cleaner near the cable tie. Then measure your next length of Decomesh and jump across to secure it at the next bar on the inside set of rings (#3 and #4). Repeat the same process until you have then filled the inside rings with poufs in the same way.
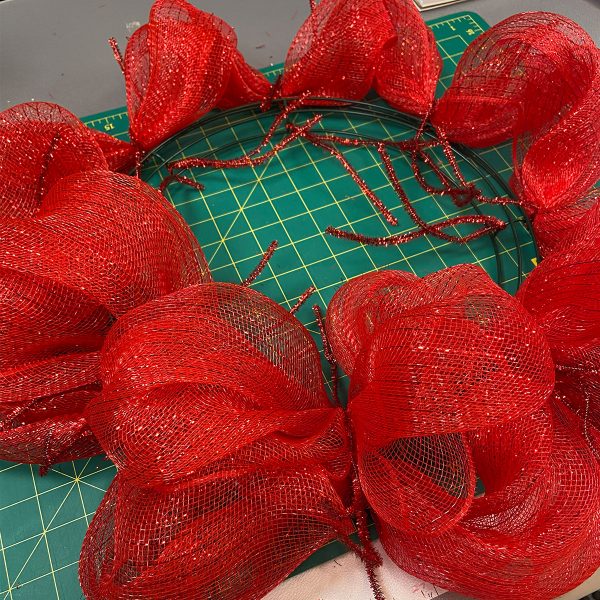

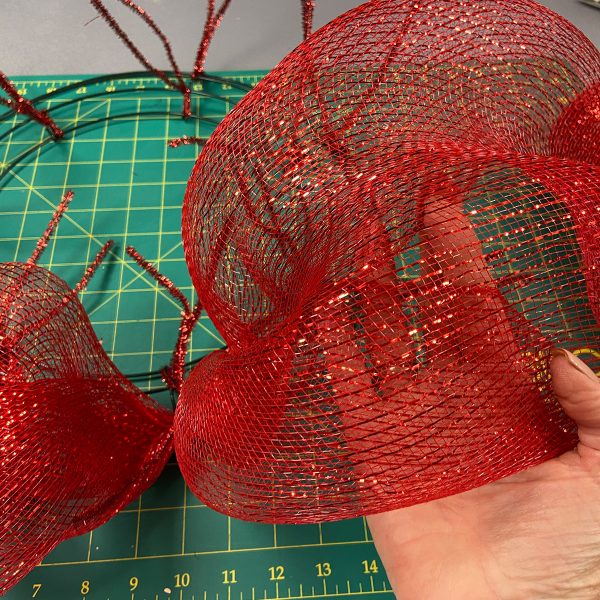
Finally, complete a third ring of poufs to sit between the 2 rings that you have already created.
Use the pipe cleaners that are already in place to secure your poufs at each point. You’ll have 2 pipe cleaners from the outer ring and 2 from the inner ring. Cross them over across the wreath base before positioning your next pouf and use the 2 pipe cleaners on each side to twist around each other and secure. Repeat this at each point to complete the third ring of poufs. If you like, you can keep going around the wreath frame creating more poufs until you have used up all the Decomesh.
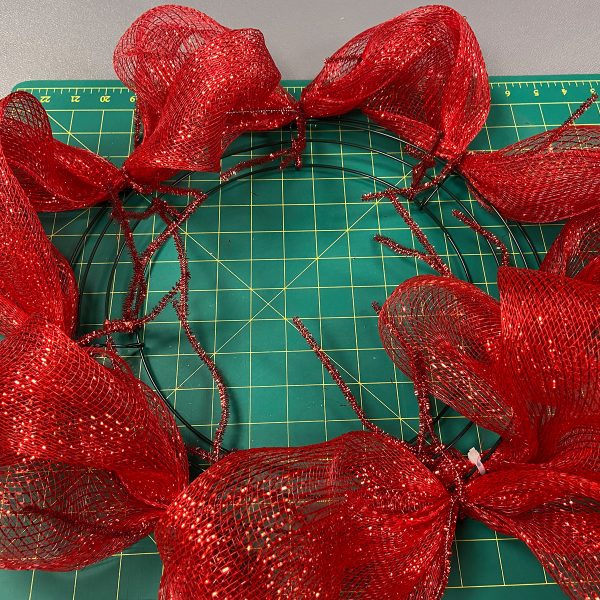
Once you have completed and secured the last pouf, trim the remaining Decomesh to leave a length of approximately 6 inches (15 cm) attached to the wreath base.
Cable tie the Decomesh to the inner edge of the metal wreath base. Trim the excess length off the cable tie and push the length of Decomesh through to the underside of the wreath base. Now trim the excess length from the Decomesh too to neaten it up. Leave 2 – 3 inches (approx. 5 – 8 cm) after the cable tie.
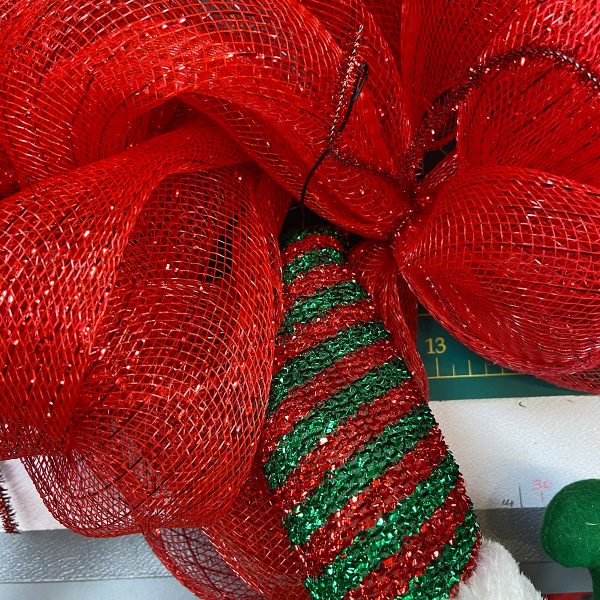
Be sure to give all the poufs a good fluff to get it all looking really full and luscious.
Step 3
Now it’s time to add the pick set to really give your wreath some character.
First, place the individual pieces of the pick set on top of your wreath base and decide where you’re going to position each one to achieve your desired look.
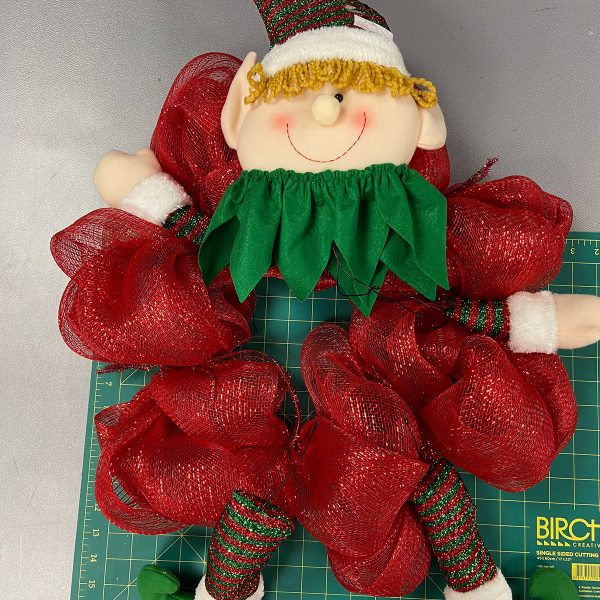
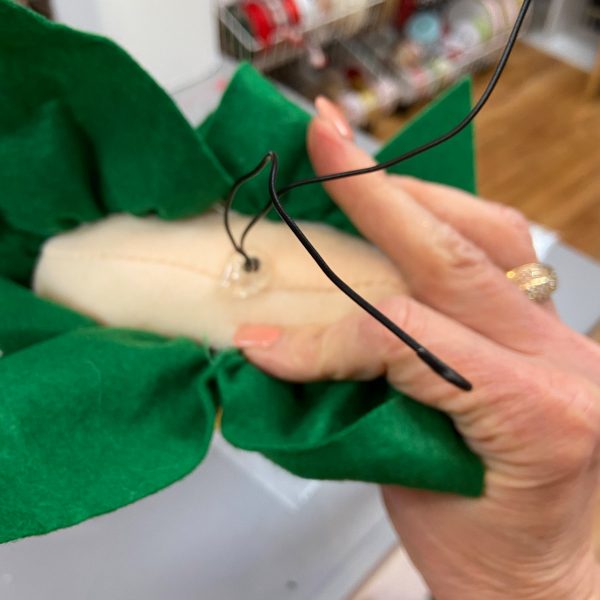
The pick set is conveniently supplied with wiring pre-attached to each piece, making it super simple for you to secure to your wreath base. Use the wire to attach each piece to the wreath base.
You might choose to use some hot glue to make things extra secure. Or depending on where and how you position your pieces, you might need some extra grip to keep things just where you want them. We used a little to stick the elf’s head to the Decomesh to help keep it from dropping forward.
Step 4
It’s time to add even more colour and texture.
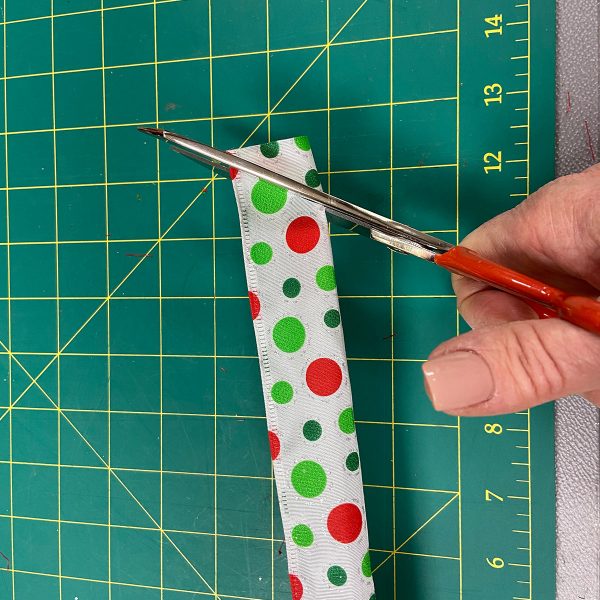
Cut 14 pieces of each ribbon design, so you will have 28 pieces in total. Each ribbon should be approximately 12 inches (30 cm) long. These are what we refer to as ribbon streamers in the world of wreath making.
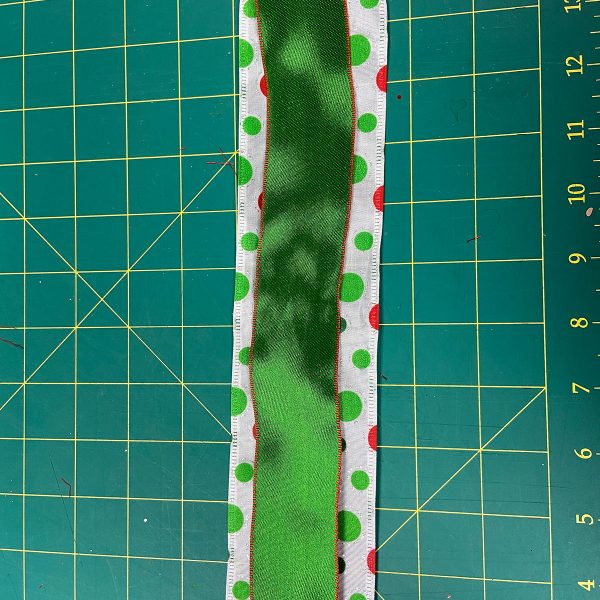
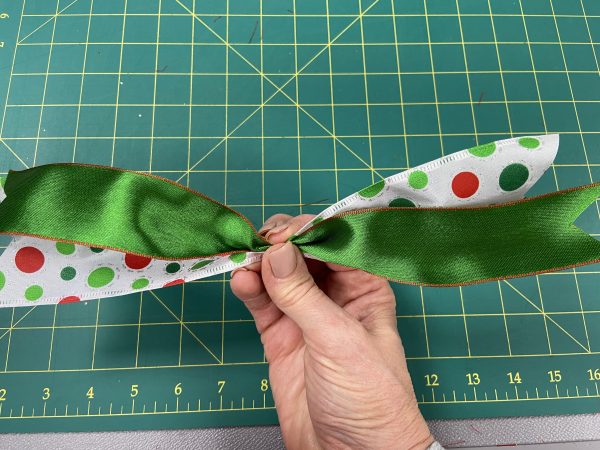
Fold each streamer in half lengthways and trim diagonally up and out from the centre edge towards the outer edge to create a dovetail finish on each end and lay the contrasting pieces on top of each other, with the narrowest piece on top.
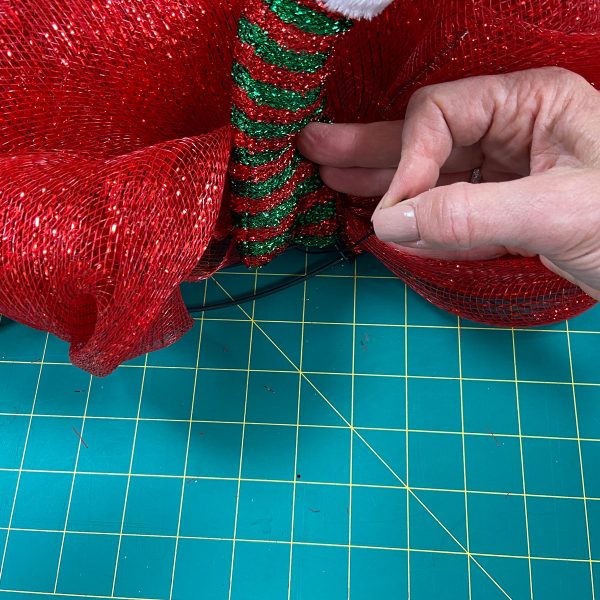
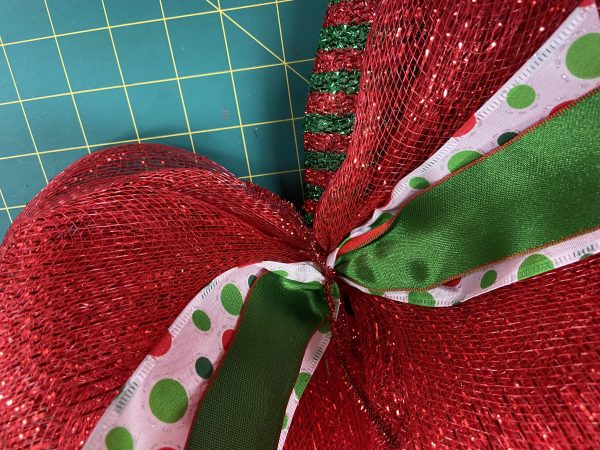
Pinch the pair of ribbons in the centre and secure them to the wreath base at each of the bars where the pipe cleaners are. Twist 2 of the pipe cleaners around the pair of ribbons to hold them in place.
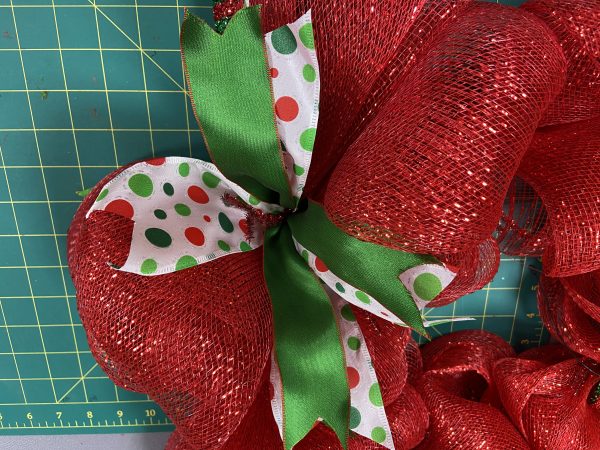
Each pair of pipe cleaners will be holding 2 ribbons, meaning there will be 14 sets (pairs) of streamers around the wreath. One pair will be sitting on the bar of the wreath between rings 1 and 2 and the other between rings 3 and 4. Separate out the ribbons to create plenty of interest at each point.
Give everything a last fluff, adjust and zhuzh to get it looking just right, and there you have it, your very own DIY Wreath that is bursting with colour and fun and plenty of festive cheer.
Shop our complete DIY Wreath Kits today and get everything you need to create a gorgeous looking wreath that you can be proud to put your name to. If you love the look of the gorgeous wreath but are quite sold on the DIY side of things yet, you can buy it ready made too!
Of course, if we’ve got your creative juices flowing but you don’t want to make one exactly as per the kits, then that is fine too. You can buy most of the pieces from our DIY wreath kits separately and we have plenty of other wreath bases, sprays and picks, craft supplies and ribbons for you to get crafty and make something truly one-of-a-kind. There’s plenty of DIY wreath making and Christmas Craft inspiration and ideas on our blog. Check it out!