Make and Create: Christmas Sprinkles Cone Trees
Materials You'll Need for Your Christmas Sprinkles Cone Trees:
- Polystyrene cone (readily available at craft stores)
- Chunky wool in pastel hues of your choice
- Small pom poms in a variety of complimenting pastel colours
- Hot glue gun
- Scissors
Step 1: Gather Your Supplies
Before you begin crafting, ensure you have all your materials laid out on your crafting table for easy access.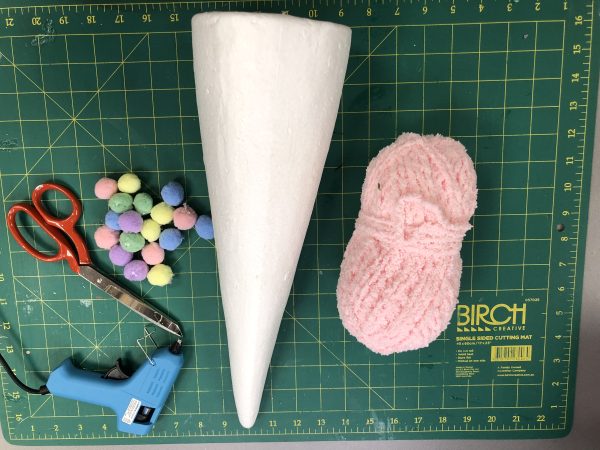
Step 2: Starting at the Base
Kick off your project by anchoring a strand of pastel chunky wool at the base of the polystyrene cone using your trusty hot glue gun. This will serve as the foundation for your first delightful Christmas Sprinkles Cone Tree.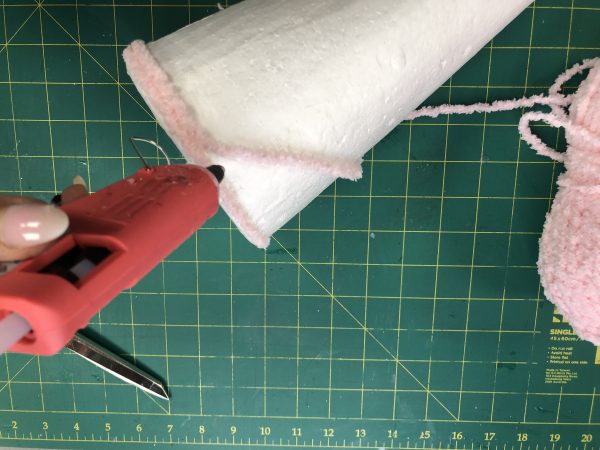
Step 3: Twist and Glue
Here comes the fun part! Begin wrapping the pastel chunky wool around the cone, gently twisting it as you progress. Remember to apply small dots of hot glue at intervals as you wind the wool. This not only ensures a secure hold but also helps you maintain control over the design. [gallery link="none" size="medium" columns="2" ids="https://www.thechristmascart.com.au/blog/wp-content/uploads/2023/09/Christmas-Sprinkles-cone-tree-wrap-1-scaled-e1695645564951.jpg|,https://www.thechristmascart.com.au/blog/wp-content/uploads/2023/09/Christmas-Sprinkles-cone-tree-wrap-3-scaled.jpg|"]Step 4: Adjust as You Go
As you continue upward, you may find it necessary to nudge the strands of wool closer together to achieve a lush, full appearance,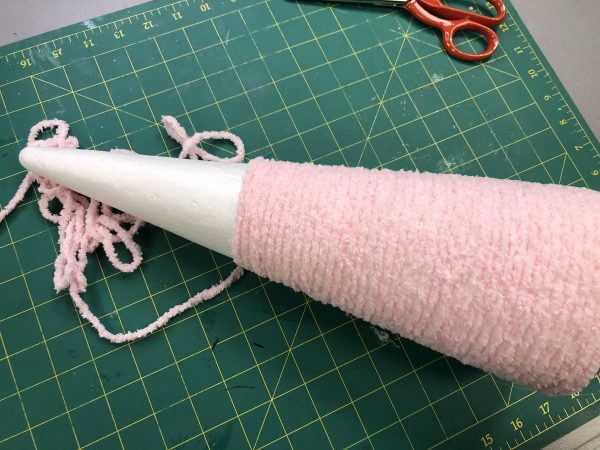
Step 5: Finish at the Top
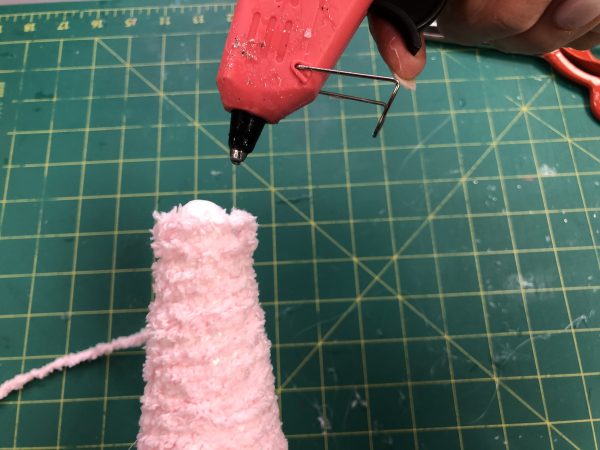
Once you've reached the top of the cone, use a final dab of hot glue to secure the pastel chunky wool. Trim any excess wool with your scissors to achieve a neat finish.