Sweet and sticky candy canes are a super-popular Christmas treat.
While most people (especially the kids!) are probably content enough to enjoy candy canes al-la-natural, there’s so much more you can do with the little red-and-white-striped delights. These deliciously festive recipes all feature candy canes and are sure to be a big hit.
Can you trust yourself to not eat the main ingredient before you get to actually try the recipes?!
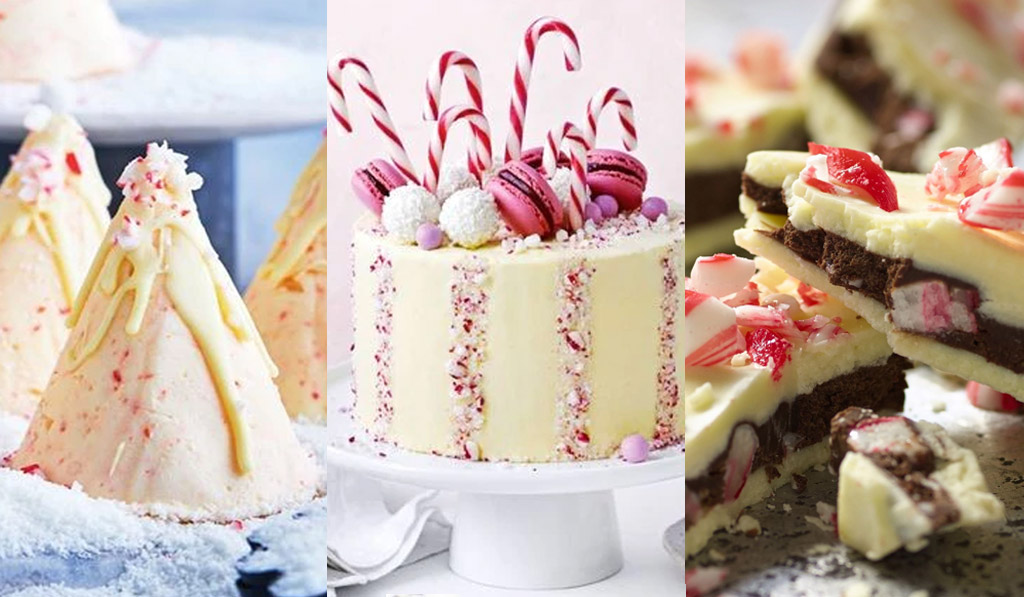
Candy Cane Cheesecake Ice-Cream Cones

These gorgeous candy cane cheesecake ice-cream cones are the perfect treat on a warm Christmas Day. So cool and refreshing and great for entertaining too. Prepare them well in advance and all you have to do on the day is decorate and enjoy!
Prep: 7:30 Hrs and Mins
Serves: 10
INGREDIENTS:
- 200g candy canes, plus extra, to serve
- 600ml thickened cream
- 500g icing sugar mixture
- 500g cream cheese, at room temperature, chopped
- 1/2 teaspoon peppermint essence
- 170g (2 cups) desiccated coconut
- Melted white chocolate, cooled slightly, to drizzle
METHOD
Step 1
Cut an 18cm round from a piece of cardboard. Cut another 18cm round from a piece of baking paper and use sticky tape to stick the baking paper to the cardboard. Cut a 3cm-wide wedge from the circle. Discard. Shape round into a cone, with baking paper layer on the inside. Repeat to make 10 cones.
Step 2
Place 125g candy canes in a food processor and process until finely chopped.
Step 3
Use electric beaters to beat cream and icing sugar in a bowl until soft peaks form. Add cream cheese and peppermint. Beat until combined (be careful not to overbeat). Add chopped candy cane and stir to combine. Divide mixture among prepared cones, smoothing the surface. Stand cones, wide-end up, in 2 empty egg cartons and freeze for 6 hours or up 2 months (see tip).
Step 4
On the day of serving, process remaining 75g candy canes until finely chopped.
Step 5
Scatter a thin layer of some of the coconut across 2 large serving platters. Turn out cheesecake cones onto platters. Drizzle with melted chocolate. Sprinkle with remaining coconut and candy cane and serve immediately with extra candy canes.
Source link: www.taste.com.au
Candy Cane Layer Cake

You don’t have to be a professional pastry chef to create spectacular Christmas desserts. This super-simple candy cane layer cake uses all pre-made components so all you need to do is put it all together. It’s ready in no time and looks amazing too.
Prep: 0:10 Mins
Serves: 16
INGREDIENTS:
- 2 x pre-made White Mud Cakes
- 125g pkt peppermint candy canes
- 400g bought vanilla frosting
- 4 Raspberry Macarons
- Mixed chocolate balls, to serve
METHOD
Step 1
Cut ten 4cm-wide strips of baking paper. Roughly break up 4 candy canes. The process broke candy cane in a food processor until crushed.
Step 2
Place 1 cake on a serving plate. Spread top and side with vanilla frosting. Top with remaining cake. Spread top and side with more frosting. Smooth the surface. Place in the fridge for 30 mins to chill.
Step 3
Arrange baking paper strips vertically around the side of the cake at even intervals. Press crushed candy cane onto the side and top of the cake. Remove and discard baking paper. Top cake with remaining candy canes, macarons and chocolate balls.
Source link: www.taste.com.au
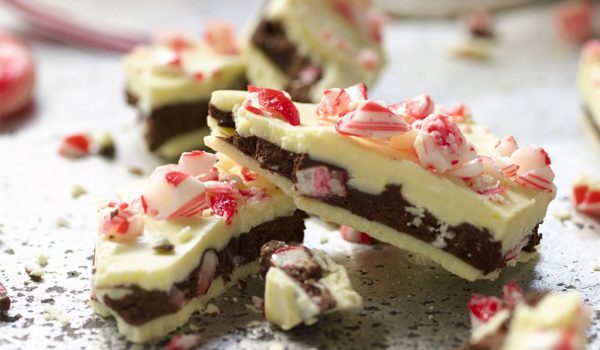
Chocolate Peppermint Bark

What’s one way to make a popular Christmas treat like candy cane even more amazing? Add chocolate, of course! The delightful marriage of white chocolate, dark chocolate ganache and candy canes makes this chocolate peppermint bark irresistable.
Prep: 1:45 Hr and Mins
Cook: 0:15 Mins
Serves: 20
INGREDIENTS:
- 125g peppermint candy canes
- 450g good-quality white chocolate, finely chopped
- 2/3 cup thickened cream
- 250g dark chocolate (60% cacao), finely chopped
- 1/2 teaspoon peppermint extract
METHOD
Step 1
Cover a baking sheet with foil or parchment paper.
Step 2
Using a Bump and Grind or another mortar and pestle, crush the candy canes, allowing some of the candy to become finely ground and some to remain in small pieces.
Step 3
To form the first layer of white chocolate: In a medium bowl, place the white chocolate. Set the bowl over a saucepan of barely simmering water, but do not allow the bottom of the bowl to touch the water. Using a silicone spatula, stir the white chocolate constantly just until the chocolate has melted and becomes smooth, and is just warm, not hot. Do not allow any moisture to get into the bowl of chocolate, or it will clump.
Step 4
Using an offset palette knife, spread half of the melted white chocolate over the foil to form a 30x25cm rectangle. Sprinkle 2 tablespoons of the crushed candy canes evenly over the white chocolate. Refrigerate for about 20 minutes, or until set.
Step 5
To make the dark chocolate ganache layer: In a small heavy saucepan, bring the cream to a near simmer over medium heat. Remove the saucepan from the heat. Stir in the dark chocolate and peppermint extract. Cover and set aside for 5 minutes, or until the chocolate has melted. Whisk the mixture just until blended. Using an offset palette knife, spread the warm dark chocolate mixture over the white chocolate rectangle to cover it completely. Refrigerate for about 45 minutes, or until firm.
Step 6
To form the second layer of white chocolate: Reheat the remaining white chocolate in the bowl set over hot water just until it is fluid again but still thick. Drizzle the white chocolate over the cold dark chocolate layer and quickly spread to cover. Sprinkle the remaining crushed peppermints evenly over the white chocolate. Refrigerate for about 25 minutes, or until firm.
Step 7
To finish and serve: Remove the bark from the foil or parchment paper. Break the bark into bite-size pieces. Arrange the bark pieces between sheets of parchment paper and store in an airtight container. Keep refrigerated until serving.
Source link: www.taste.com.au


